Einleitung
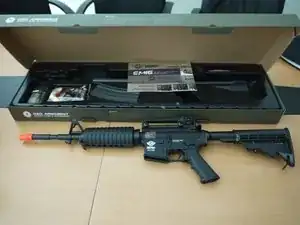
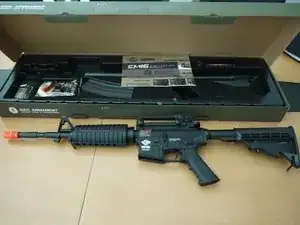
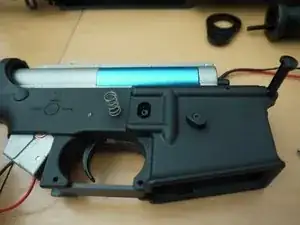
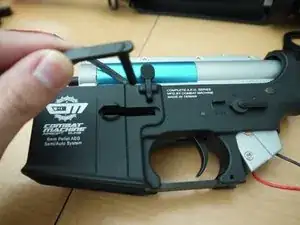
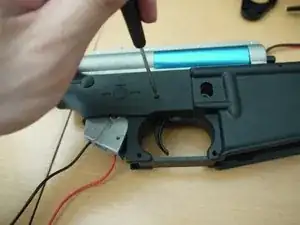
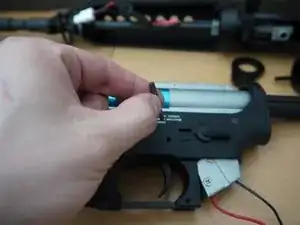
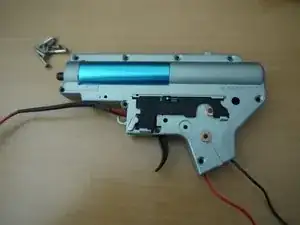
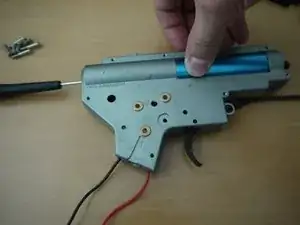
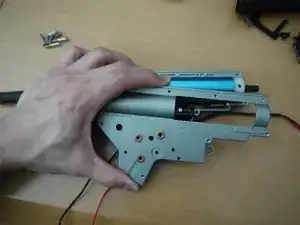
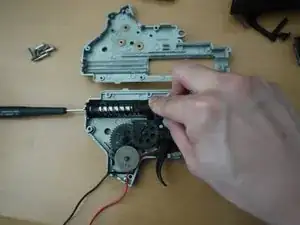
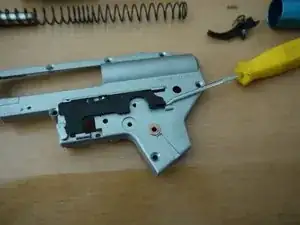
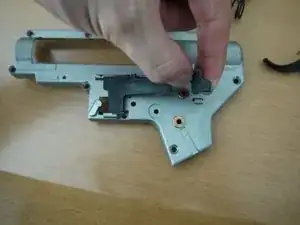
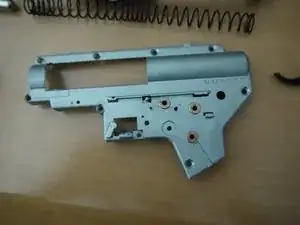
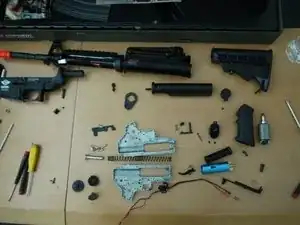
This guide will show you how to completely disassemble a G&G Combat Machine 16 airsoft rifle down to the gearbox.
Werkzeuge
-
-
Prior to disassembling the gun, it would be a good idea to fire one shot on semi-auto. This will release spring tension and make disassembling the gearbox slightly easier.
-
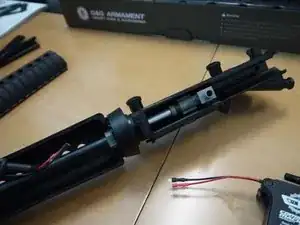
Start by removing the lower half of the handguard, as you would to install a battery.
-
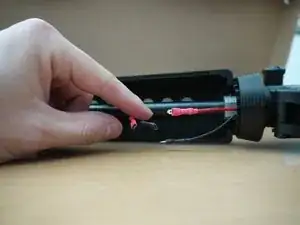
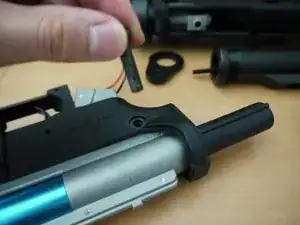
Disconnect the two wires coming out of the receiver from the small segment of wiring with the fuse and Tamiya plug.
-
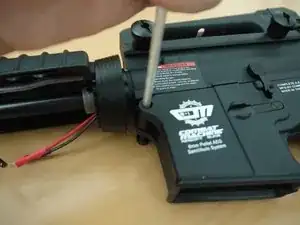
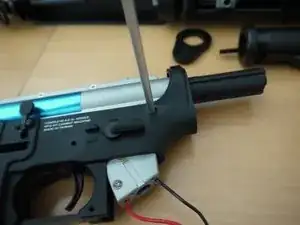
Using a punch or rod, push the front receiver takedown pin out from left to right, as shown. Note: the pin is captured in the receiver, and will not separate from it, so do not try to force it out.
-
-
-
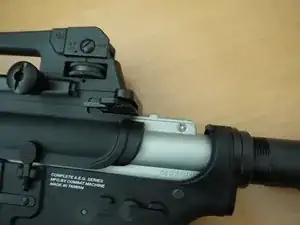
After the takedown pin is out of the way, slide the upper receiver forward. You will notice that the charging handle will get caught on a small nub on the top of the gearbox. Simply pull the charging handle back slightly and lift it over the nub.
-
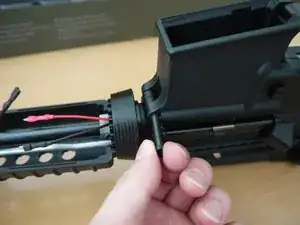
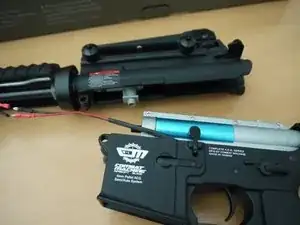
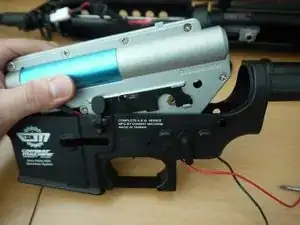
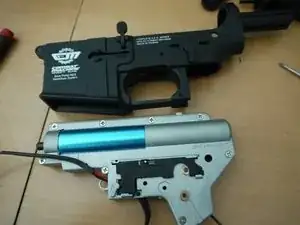
Continue to pull the upper receiver forward until the two halves separate. Do not yank on the wires too hard if they get stuck, just gently guide them out.
-
-
-
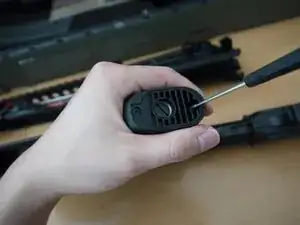
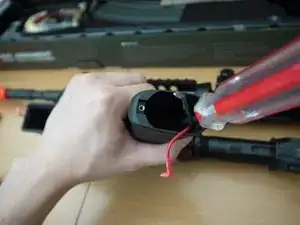
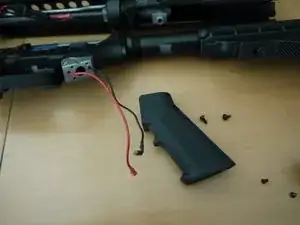
Using a 2mm hex driver, remove the two small screws that hold the pistol grip plate in place.
-
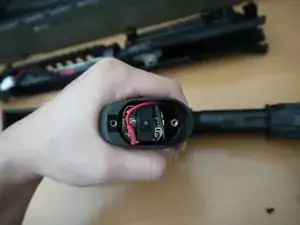
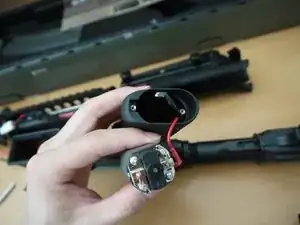
After removing the plate, you will see the motor and two wires attached to it. Carefully lift the wires up off of the motor terminals. Note the orientation of the motor and the wires, you will need to re-install them the same way later on.
-
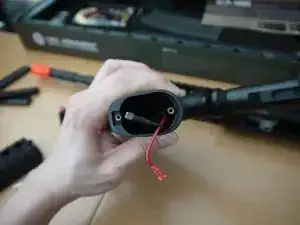
Pull the motor out of the pistol grip.
-
-
-
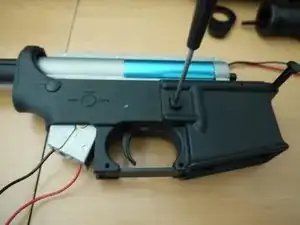
Using a #1 Phillips screwdriver, remove the two screws holding the pistol grip to the gearbox. Note that there are four holes in the pistol grip and gearbox, but only two of them will have screws. The screws will be arranged diagonally from one another, and can be re-installed in either diagonal configuration.
-
Pull the pistol grip off, and be careful when guiding the wires out.
-
-
-
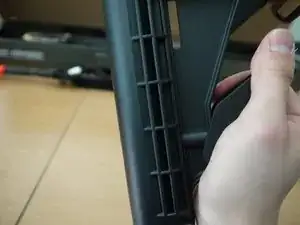
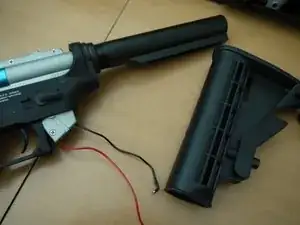
Remove the stock by lifting the adjustment lever as shown while simultaneously sliding it backwards, off of the buffer tube.
-
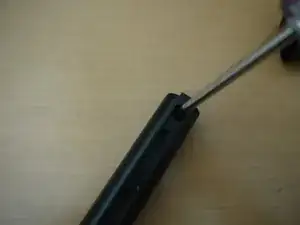
Use a #2 Phillips screwdriver to remove the single screw at the rear underside of the buffer tube.
-
-
-
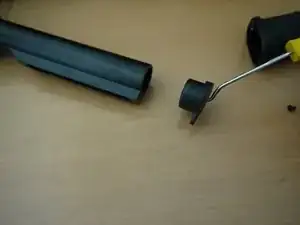
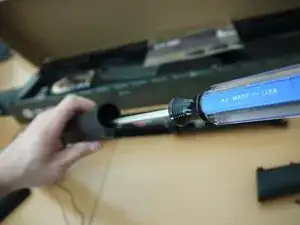
Insert a small curved pick in buffer tube plug, and pull it out.
-
Using a #1 Phillips screwdriver, remove the long screw that holds the buffer tube to the gearbox.
-
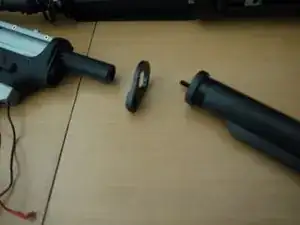
Remove the buffer tube and the receiver end plate from the lower receiver.
-
-
-
Using a #0 Phillips screwdriver, remove the screw that holds the mag catch button in place.
-
Remove the mag catch button as well as the mag catch spring.
-
Pull the mag catch out from the other side.
-
-
-
Punch out the small receiver pin from right to left, as shown. It is important that you do it in this direction because the pin is installed at the factory from left to right, and has a knurled surface on one end to help hold it in place.
-
Punch out the rear takedown pin. Unlike the front takedown pin, this one will completely separate from the receiver.
-
-
-
Set the selector switch to the semi-auto position, and remove the gearbox from the lower receiver, pulling it upwards and slightly forward.
-
-
-
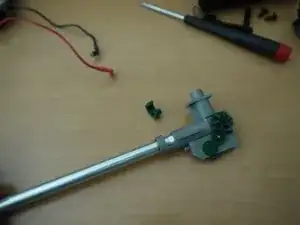
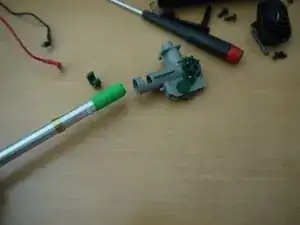
You can disassemble the inner barrel and hop-up unit by adjusting the hop-up to its lowest setting (turn the knob counterclockwise until it stops), removing the small green clip on the underside of the hop-up unit, then pulling the barrel out. You can also remove the hop-up bucking as well as a small brass ring that helps support the barrel.
-
-
-
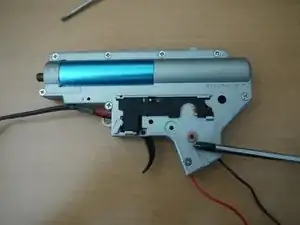
Remove the eight gearbox screws with a #2 Phillips screwdriver (note that on older versions, the screws will likely have hex sockets, and require a 2mm hex driver instead of a Phillips).
-
Flip the gearbox over so that the front is pointed to your right. Insert a small tool through the back of the gearbox to help hold the spring guide rod down when the gearbox is opened.
-
Place your thumb on the cylinder as shown, and hold it down. Using your index finger, carefully pry the gearbox open from the top while holding the cylinder and spring guide down.
-
-
-
Remove the right half of the gearbox while holding the cylinder and spring guide down. If you fired a single shot on semi-auto beforehand, the piston should be fully forward. If not, it may be half-cocked, increasing spring tension and possibly causing the gears to pop out when you open the gearbox.
-
-
-
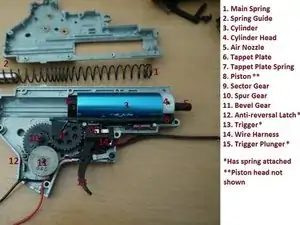
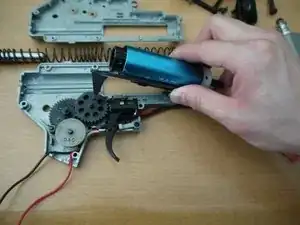
Remove the cylinder, piston, tappet plate, and air nozzle assembly by lifting it up. Be careful not to lose the tappet plate spring when you do this.
-
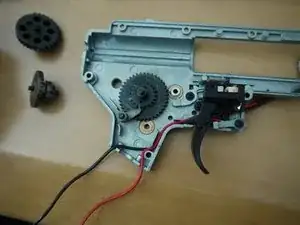
Note that each gear may have one or more shims on them. Keep each shim in its original position and be careful not to mix up or lose any while removing the gears. Each gearbox has a unique shim configuration.
-
After the gears are out of the way, carefully pick up the anti-reversal latch and do not lose the small spring that is attached to it.
-
-
-
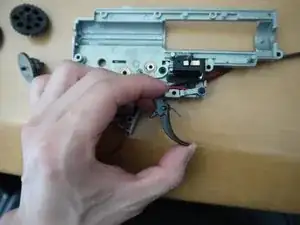
Remove the trigger and trigger spring.
-
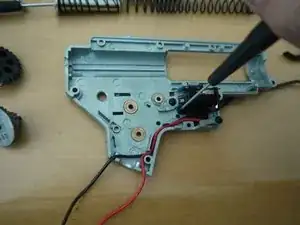
Using a #00 Phillips screwdriver, remove the small screw holding the wire harness in place.
-
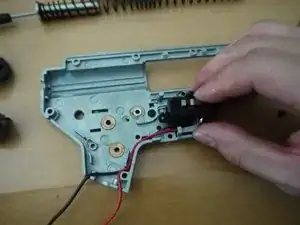
Remove the wire harness by unhooking the trigger plunger spring, then lifting the harness up from the top, and then sliding it upwards. Sometimes this part can be a bit stiff when new.
-
-
-
Flip the gearbox over and you will see the selector plate. In order to remove this, you will first need to get a very small spring out of the way. This can be accomplished with a pick tool, and should be done very carefully to avoid losing the spring.
-
After the spring is removed, slide the selector plate forward, and pry it out starting with the bottom right edge, as shown.
-
-
-
Slide the selector plate rearward to remove it.
-
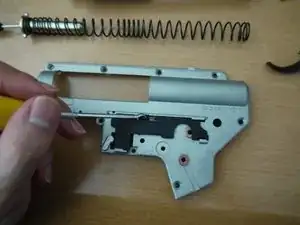
The gearbox should now be fully disassembled with the exception of the safety lever and the cutoff lever. These are each held in place by one screw and can be removed easily, but there is usually no need to do so.
-
To reassemble your device, follow these instructions in reverse order.
2 Kommentare
Is it possible to reword it to be back wired?
Also do you know the outer barrel diameter where the gas block is?
