Einleitung
Werkzeuge
-
-
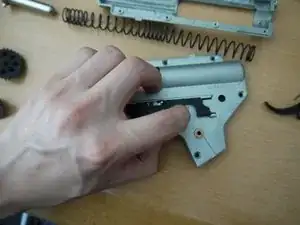
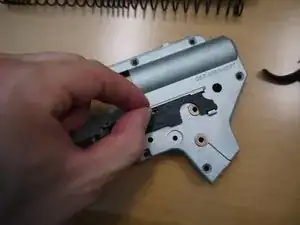
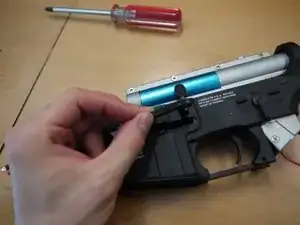
Reinstall the selector plate by sliding the front end in first.
-
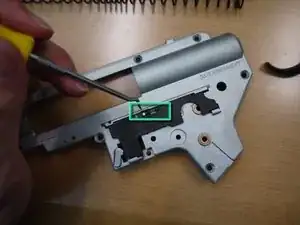
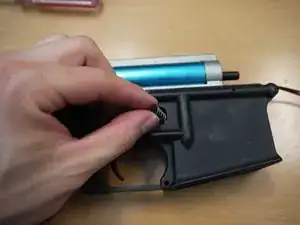
After the selector plate is back in place, reinstall the spring by carefully popping both ends back on to the nubs on the selector plate and cutoff lever. A dental pick is helpful for this.
-
-
-
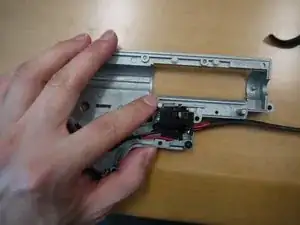
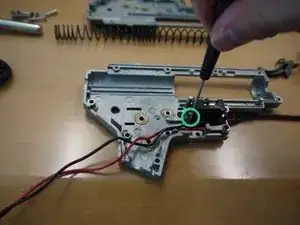
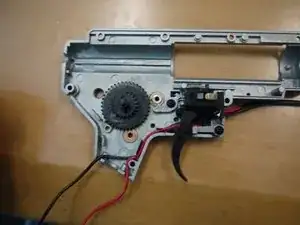
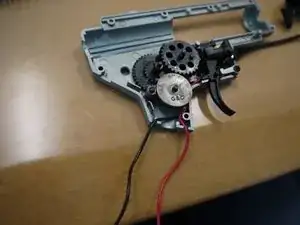
Put the wire harness back in place by sliding the lower portion down into the slot in the gearbox, then pushing the top end back down. There is a round hole in the harness that corresponds to a small peg in the gearbox. Don't forget to hook the trigger plunger spring back onto its post.
-
Reinstall the small screw that holds the wire harness in place.
-
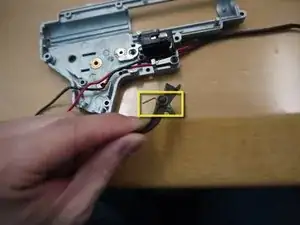
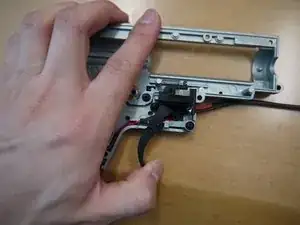
Make sure the trigger spring is attached to the trigger as shown.
-
-
-
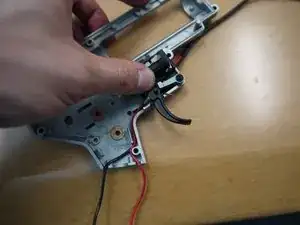
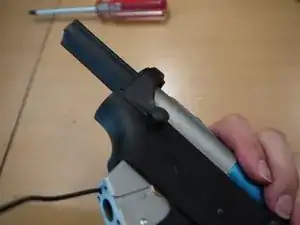
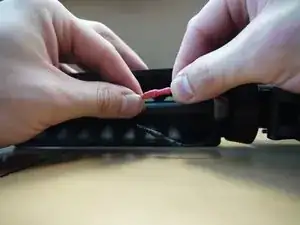
Reinstall the trigger. It's easier to rotate the arm of the spring upwards after the trigger is in place. Refer to the first and second pictures.
-
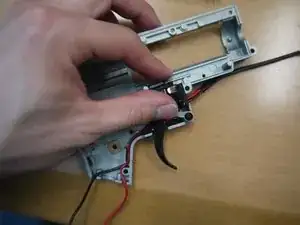
Pull the trigger to ensure that it slides smoothly, pushes the plunger forward, and resets properly when released.
-
-
-
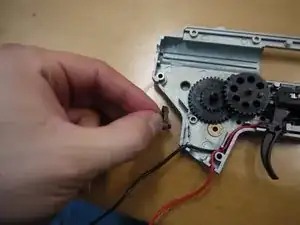
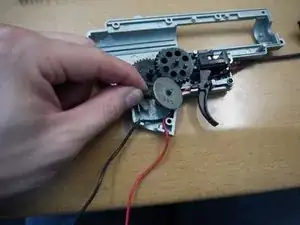
Place the gears back in the gearbox starting with the spur gear. Check to make sure that there are no loose shims around.
-
Before installing the bevel gear, place the anti-reversal latch in and turn it clockwise so that spring tension will push it up against the bevel gear. Refer to the third picture and be sure you are installing it exactly as shown.
-
-
-
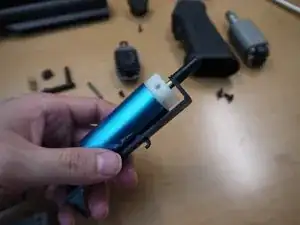
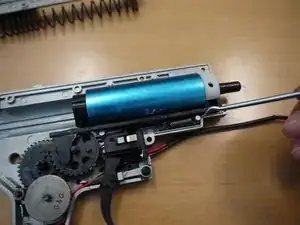
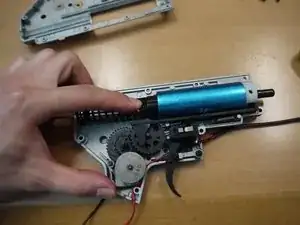
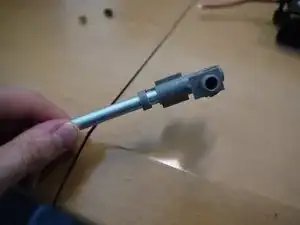
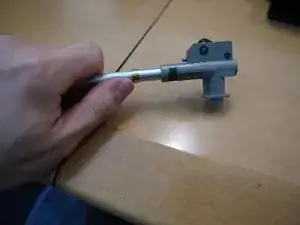
After the gears are in place, reassemble the cylinder assembly so that it resembles the pictures. The air nozzle must slide into the groove in the tappet plate.
-
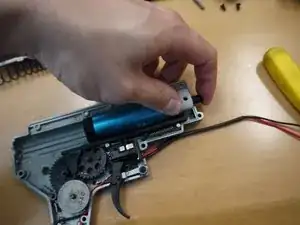
Place the entire cylinder assembly back into the gearbox, and reattach the tappet plate spring as shown.
-
-
-
Press on the air nozzle to ensure that it slides back and springs forward when released.
-
Reinstall the main spring and spring guide. Placing a tool such as a thin screwdriver into the rear of the spring guide can assist in pushing the spring in and holding the guide down.
-
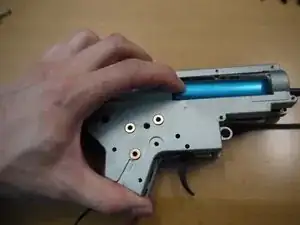
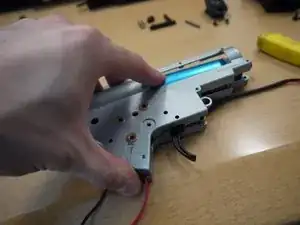
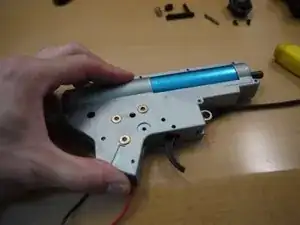
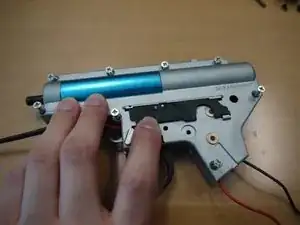
Place the right half of the gearbox back on top. It is best to start from the rear, at the spring guide, then pull the gearbox half forward over the cylinder head.
-
Make sure all of the gears, anti-reversal latch, and trigger line up in their respective holes.
-
-
-
Ensure that the gearbox is fully closed before reinstalling the screws. Forcing the screws in while the gearbox has misaligned parts will damage the gearbox.
-
-
-
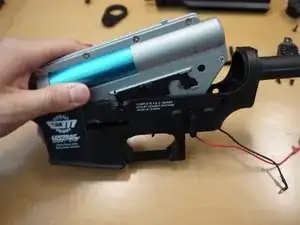
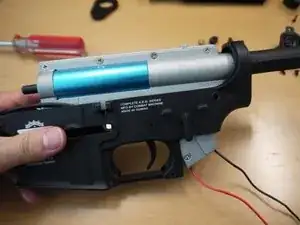
Make sure that the selector is set to semi-auto, and place the gearbox back into the lower receiver.
-
-
-
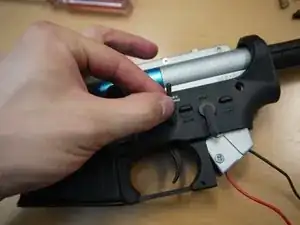
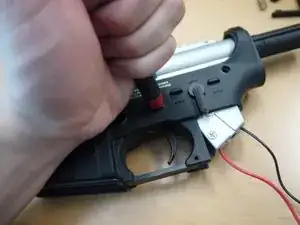
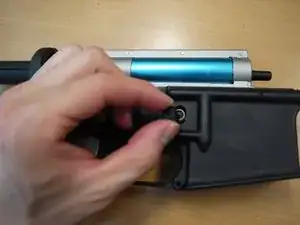
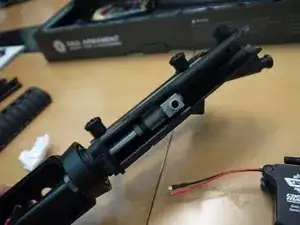
Reinstall the small receiver pin, making sure to place it exactly as shown in the first picture; from the left side, with the knurled end pointing up.
-
Reinstall the rear takedown pin from the right side.
-
-
-
Reinstall the mag catch, then place the spring on the post and the button on top of it. Tighten the screw that holds the button in place.
-
-
-
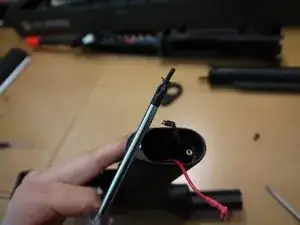
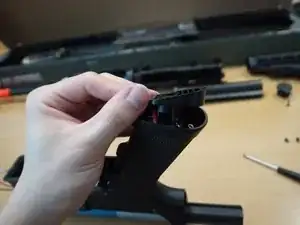
Reinstall the pistol grip by first guiding the two wires from the gearbox into the respective holes in the pistol grip.
-
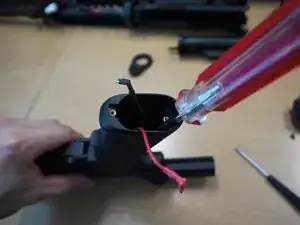
It is recommended that a magnetic screwdriver be used to reinstall the pistol grip screws. Remember to arrange the two screws diagonally from one another.
-
-
-
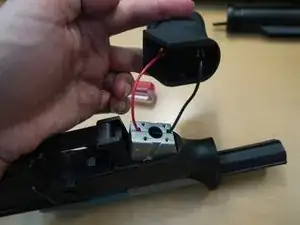
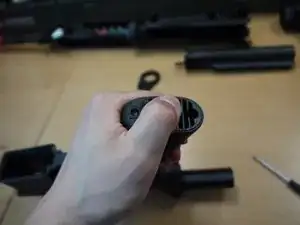
Arrange the wires so that both are against the rear of the pistol grip. Place the motor in the pistol grip, making sure that it slides in freely and bounces back from spring tension after you push down on it.
-
-
-
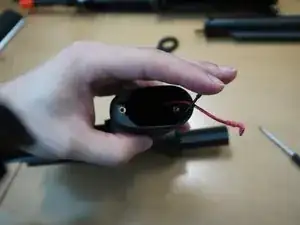
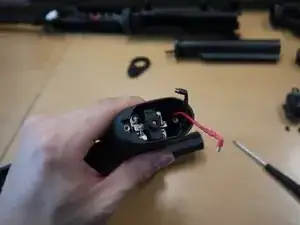
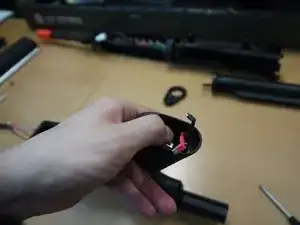
Attach the wires to the motor terminals, making sure to match the red wire with the positive terminal and the black wire with the negative one. Positive terminals are marked with a "+"
-
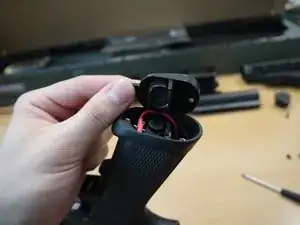
Reinstall the pistol grip plate as shown, and be sure not to pinch or mash up the wires.
-
-
-
Tighten the pistol grip plate screws.
-
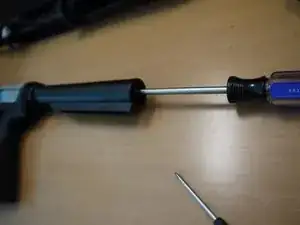
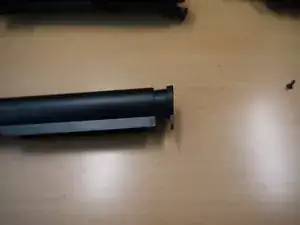
Slide the receiver end plate back onto the lower receiver, and reattach the buffer tube.
-
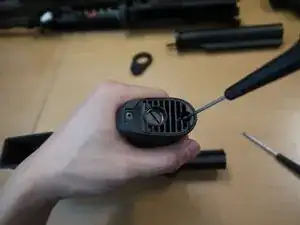
Replace the buffer tube end cap.
-
-
-
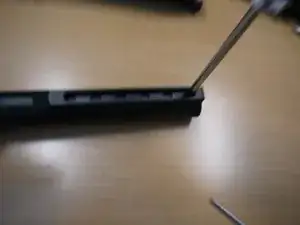
Reinstall the buffer tube end cap screw. It is threaded into the plastic cap, so do not use too much torque.
-
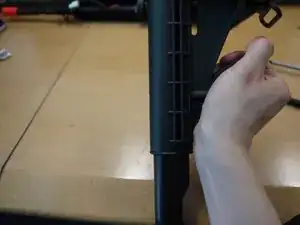
Lift the collapsible stock adjustment lever, and slide the stock down onto the buffer tube.
-
-
-
To reassemble the hop-up unit and barrel, first slide the hop-up bucking onto the barrel, making sure to slide the line in the bucking into the groove in the barrel.
-
Then slide the barrel and bucking into the hop-up unit with the groove in the barrel facing down, and install the green clip.
-
Finally, slide the brass ring around the barrel and into the front of the hop-up unit.
-
-
-
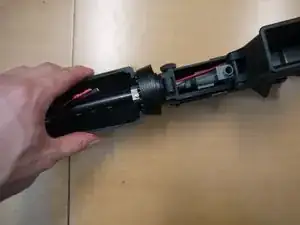
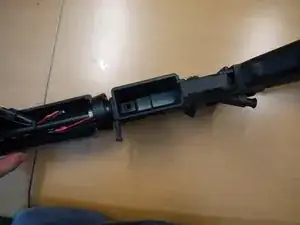
Slide the upper receiver back onto the lower receiver, arranging the wires as shown. You will need to lift the charging handle over the nub on the top of the gearbox, just as you did when disassembling the gun.
-
After the wires have been slid through the upper receiver, push the front takedown pin back in.
-
To reassemble your device, follow these instructions in reverse order.
5 Kommentare
We're do I get the screws to ajust the motor in the grip I have one of the is and the person that I got it from cut the wire to the battery and I have enough to splice them together but it's not gonna be wright is their a # or a company that replaces or fixes them.
And I have a H&K mp5 with the same problem battery must go in the handle and the wires went even short enough to even splice on that one
Jason -
Hi!
I have thoroughly visited this web site it has good information on carbine rifles which is helpful to everyone in the community but i have also visited a website yesterday that is on sniper long range rifles which is also a good and comprehensive site on long range or short range rifles. so I also recommend u people to visit that site also. Highly recommended:
henrey -
We're do I get the screws to ajust the motor in the grip I have one of the is and the man or woman that I acquired it from reduce the wire to the battery and I have ample to splice them collectively however it's no longer.
