Einleitung
The repair of the LCD is straight forward. No special skills or knowledge are required.
Werkzeuge
Ersatzteile
-
-
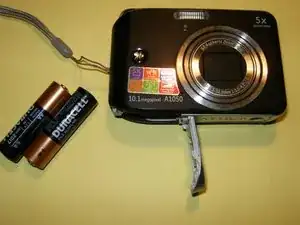
Remove the batteries, hand strap, and memory card if so equipped.
-
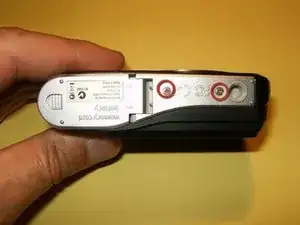
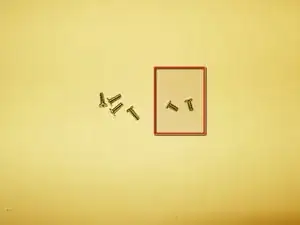
Remove the two Phillips screws from the bottom.
-
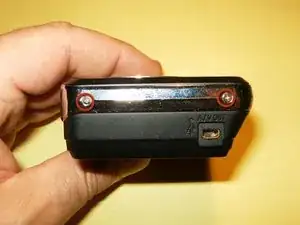
Remove the two Phillips screws from the left side.
-
-
-
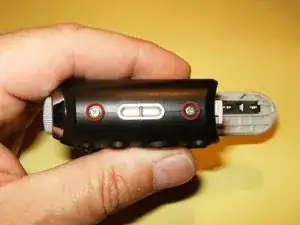
Remove the two screws from the right side.
-
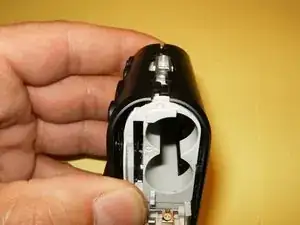
Start splitting the case from the battery compartment to the sides. No special tool is needed to split the case.
-
-
-
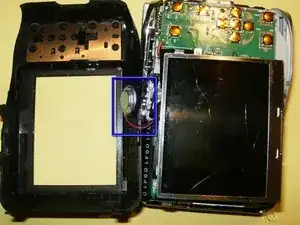
Do not remove the back side of the case, just flip it over. The speaker is connected by wires to the main body, but positioned in the back case.
-
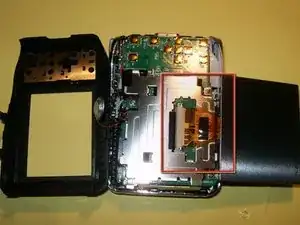
Flip the LCD to the bottom. You can not yet remove it, because it is still attached to the board.
-
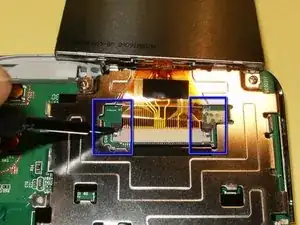
The LCD cable is held into the connector via some compression clips. Move both ends carefully away from the connector, toward the LCD.
-
-
-
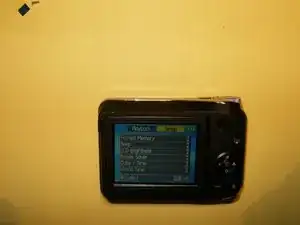
After exchanging the LCD for a new one, and after reassembling your camera, you should have a working LCD.
-
To reassemble your device, follow these instructions in reverse order.
