Einleitung

  1. 6Nq5wrdgb6xFlU2I
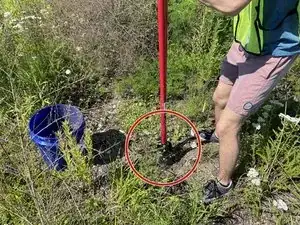
    • Locate a spot in the middle of the rain garden where the soil is bear/free from plants.

    • We need to install in the middle of the rain garden to ensure quality data.

  2. RQJJswCMcc36lXbn
    RQJJswCMcc36lXbn
    1gU6V6BVHunBDVG6
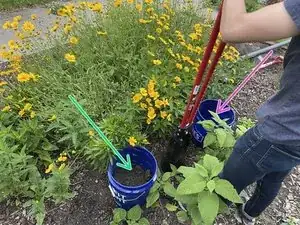
    • At the selected location, use a post hole digger to make a hole for the node.

    • Take your time so as to not disturb the soil too much.

    • Use a tape measure to make sure the hole is 3 feet deep.

    • The soil removed from the hole will fill roughly 2 buckets

    • Fill the first bucket with topsoil

    • When the soil begins to look like clay, switch to filling the second bucket

  3. ARiNdYnbiP4cwSwm
    ARiNdYnbiP4cwSwm
    RyTxHhVLmSVTsPJN
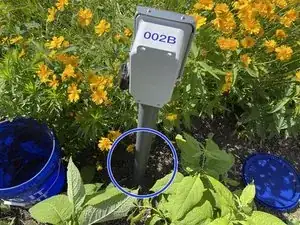
    • Set the GI node into the 3 ft hole.

    • Do your best to make sure it is straight in the ground.

    • Pack the topsoil from the first bucket around the node to make sure it is secure in place. You shouldn't need to use any soil from the second bucket

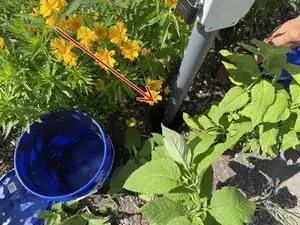
    • If the surrounding plants are too tall, shading the solar panel, use the shears to trim the plants.

    • Fill out the deployment form on AirTable.

    • Once installed, confirm the GI node is reporting to the internet by going to its designated website.

Brooke Mason

Mitglied seit: 29/05/19

2928 Reputation

0 Kommentare