Einleitung

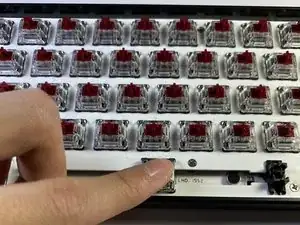
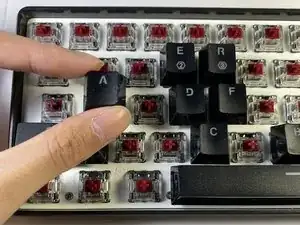
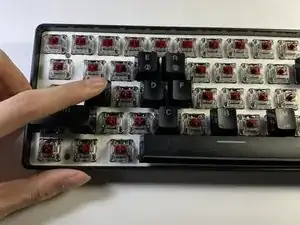
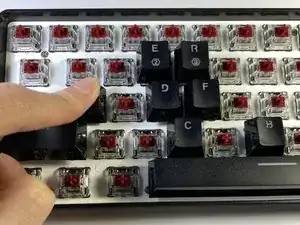
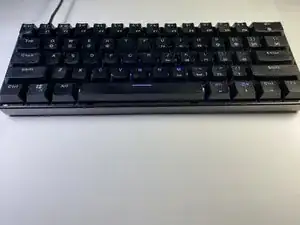
In this guide, I will show the process of repairing and replacing keycap switches on the GK61 Keyboard mechanical keyboard.

Over a period of time, though keyboards look fine on the exterior, the little crevices collect hair, oils and dust which will affects its performance. This guide will show how easy it is to repair your mechanical keyboard.

  1. 6VPHqu55a2F4LZh6
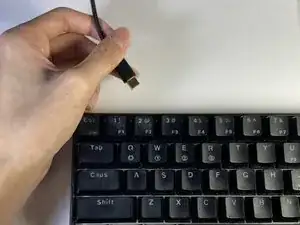
    • Unplug the keyboard.

    • When the keyboard lights are off, it indicates that the keyboard is turned off.

  2. GgvXGBNFLhlTDKun
    GgvXGBNFLhlTDKun
    A1l3xH5G631WFuaM
    M2xCWKPU5ubjkSbR
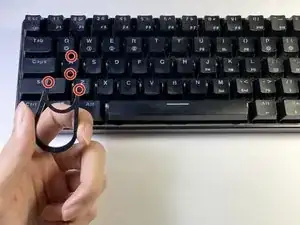
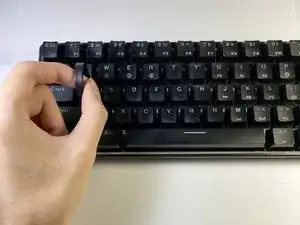
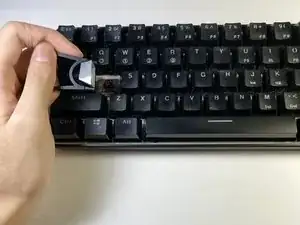
    • Use a keycap puller to remove the top and bottom of the keycaps from the keyboard.

    • When pulling the keycap, make sure to apply pressure until you hear a click sound from the keycap.

    • Remember when using a keycap puller, place it on a key in a vertical position.

  3. U4VeQCGmhDo1PiZh
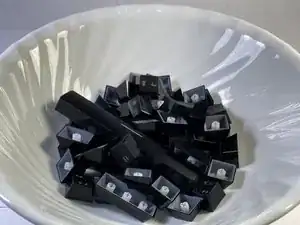
    • After removing all the keycaps, put it in a bowl.

    • You can either use alcohol wipes or water to clean your keycaps.

  4. UQ4Igd6XM1dJcoOn
    • Dry the keycaps on a rag or paper towel.

    • Remember to let your keycaps dry for about 5-10 minutes after cleaning.

  5. RJGkZDlBKFCMLjtj
    • Using a hand held vacuum cleaner remove any excess dust, hair, and oils.

    • Tilting your keyboard will also help for a deeper clean

    • If you cannot locate a hand held vacuum cleaner, a compressed air duster will also work.

  6. sTLamLcixMioHVZP
    sTLamLcixMioHVZP
    b6ZYnWTTo6RPrSDB
    kOhJZubPdHKaObJd
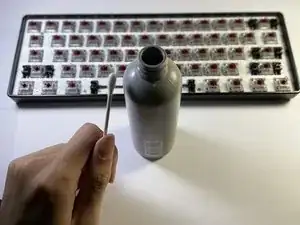
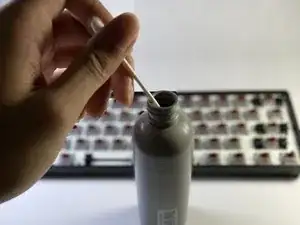
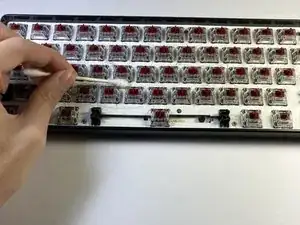
    • Using a Q-Tip with rubbing alcohol, gently clean and rub the crevices around the plate of the keyboard.

    • Make sure not to pour rubbing alcohol onto your keyboard. Doing so may cause severe damage to the keyboard.

  7. Ck6sBk36ZjEYPyqv
    Ck6sBk36ZjEYPyqv
    PXmSXaEm6vHPqBMo
    BYFHc5Xb1BnAHmQG
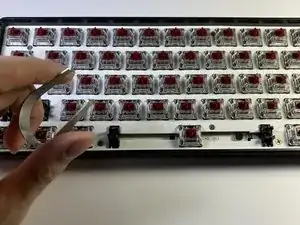
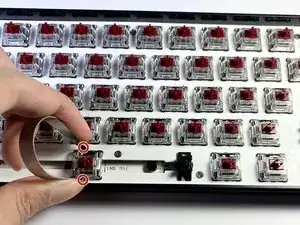
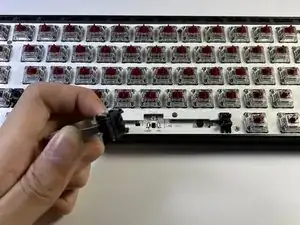
    • Using a switch puller, pull the keyboard switch from the top and bottom of the switch.

    • Remember to always pull straight up to fully remove the switch.

  8. mXH1wlBYYYkS3JYD
    mXH1wlBYYYkS3JYD
    cAjZtXxcWXwDkPGj
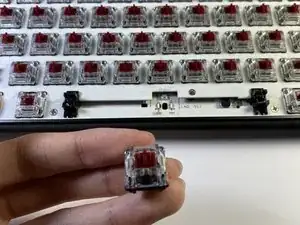
    • Grab a replacement switch to replace the broken switch.

    • Push the switch straight down into the socket of the switch.

    • To avoid any damages, make sure to always push straight down and not in any other direction.

  9. xicBRRe1quggTwQO
    xicBRRe1quggTwQO
    53YTfr4Duj1PvCXc
    JIgYuPQLKLANGCGq
    • After drying the keycaps, put the keycaps back into their sockets.

    • Align the keycap with the socket of the switch and push straight down with a bit of pressure.

    • When pushing straight down, you will hear a click sound that will indicate that the keycap has been placed.

Abschluss

To reassemble your device, follow these instructions in reverse order.
Alexander Truong

Mitglied seit: 05/05/21

169 Reputation

0 Kommentare