Einleitung

Hier wird der Austausch der Kamera am Galaxy Tab S 10.5 gezeigt.

  1. AqbDR6UevUpHD4Ky
    AqbDR6UevUpHD4Ky
    GoNFfW4gBVXBCBWT
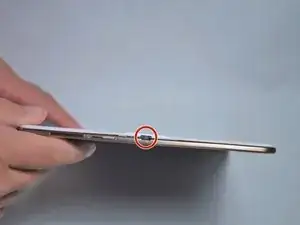
    • Setze ein Plastiköffnungswekzeug in den Spalt am SD Kartenleser oder der Ladebuchse.

    • Hebe nach oben, bis sich Rückteil und Tablet trennen.

  2. X32DAYGcFxTVulOv
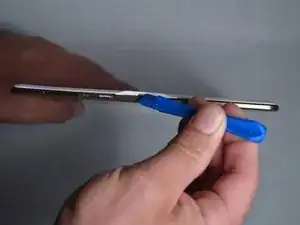
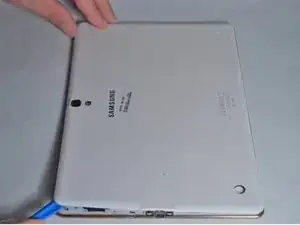
    • Schiebe das Werkzeug rings um das Tablet.

    • Wenn dies das erste Mal ist wird es recht schwer gehen.

    • Die Rasten sind etwa 5cm weit voneinander entfernt. Beim Lösen kannst du entsprechende Geräusche hören.

    It is not necessary to remove just the white part under penalty of breaking the pins, it is necessary to remove the back with the colored outline of the tablet

    paquito -

    Both plastic tools broke within the first two minutes of use. Had to resort to a narrow conventional flat screwdriver.

    Dennis Durost -

  3. 1L2FAwXS62ifNYtD
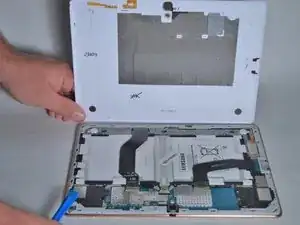
    • Wenn alle Rasten geöffnet sind kannst du das Rückteil abnehmen.

    • Sei vorsichtig wenn du innere Bauteile berührst.

    This is the wrong method to open it! You have to open it beetween the front-Display and the golden rim.

    agnuz6569 -

    I’ve taken the back cover off my Samsung tablet, and in the process I have torn one of the little orange plastic connectors that are attached to the back cover. The connector I’ve damaged is the second one in on top left in the picture above. Can you please tell me if I need to replace this before I can get the tablet to work?

    Thanks.

    Tom -

    If you remove just the back cover - which to the uninitiated does look less scary than trying to get between the bezel and the display - you will destroy the tiny plastic rivets that lock the cover onto the bezel. More importantly, you will then find that getting to the parts you need to replace is rendered impossible because they will be hidden under the bezel, which of course will still be in place. So the correct way to take this tablet apart is the more challenging way i.e. separate the front display from the bezel and rear. But with care and the right tools this is still not too difficult. And if you are in any doubt about this, it is worth pointing out that in all of the photos below from Step 4 onwards, the work shown is taking place with the bezel removed. There is nothing written in this guide to indicate that this had to be done.

    PhilipHN -

    Have just gone through this process, successfully having read this and other guides and I totally agree with PhilipHN that the most reliable is the slightly scarier approach of removing the front display from the bezel and rear. It is easier overall, you just have to attack it confidently (but gently!).

    Jeremy Linskell -

  4. GSt3nqJrxPwAuuVA
    GSt3nqJrxPwAuuVA
    wLAshHbPOotVOiQG
    xgloyW5QHqZfoDFT
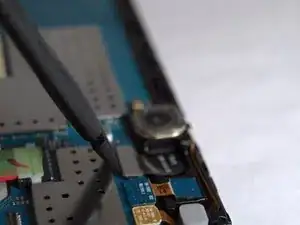
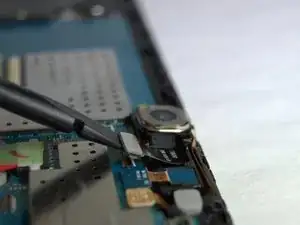
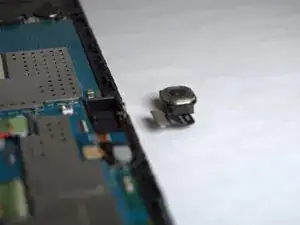
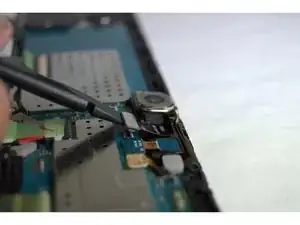
    • Löse die Kamera mit einem Spudger von der Hauptplatine und entferne sie.

Abschluss

Um dein Gerät wieder zusammen zu setzen folge den Schritten in umgekehrter Reihenfolge.
Jordan Soto

Mitglied seit: 26/08/15

3240 Reputation

0 Kommentare