Einleitung

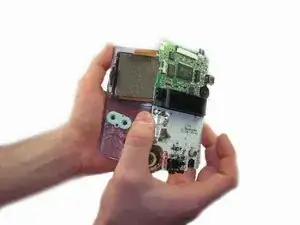
Die Hauptplatine enthält alle wichtigen elektronischen Bauteile des Game Boy. Hier wird gezeigt, wie du sie austauschen kannst.

  1. c3LIxTjWvUGxcYZu
    c3LIxTjWvUGxcYZu
    oYIXQjPFhQsYx4cb
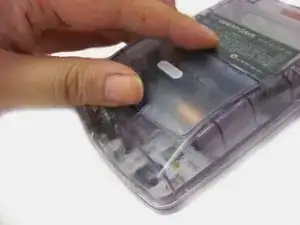
    • Das Batteriefach befindet sich auf der Rückseite des Game Boy Color.

    • Drücke die Rasten nach oben. Kippe den Batteriefachdeckel nach oben und hebe ihn weg.

  2. uFQGYmIMX2PCiLaG
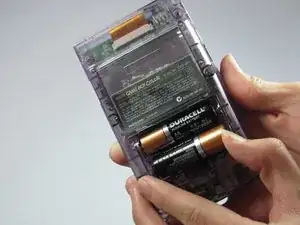
    • Entferne die Batterien aus dem Fach.

  3. DsXcimKolb1pBNXH
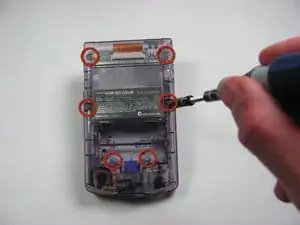
    • Schraube die sechs TriWing Y1 Schrauben auf der Rückseite wie im Bild gezeigt heraus. Die unteren beiden Schrauben befinden sich im Batteriefach.

    I did this with a Y0 bit. It works if you are careful. I wouldn't recommend it on other consoles but for this tiny thing, it works.

    phnome -

  4. RrHNVnA1jYSYLAMJ
    RrHNVnA1jYSYLAMJ
    aFVfBIhWWKMpEAKh
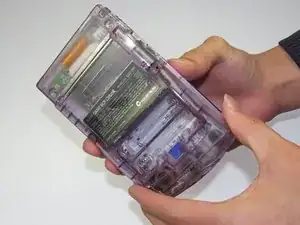
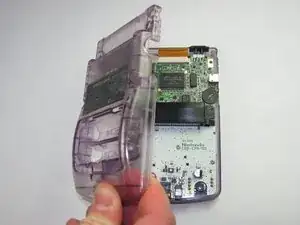
    • Hebe das rückseitigen Gehäuseteil vorsichtig vom restlichen Gerät ab.

  5. QLlb11byBHORVS6F
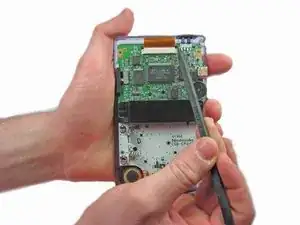
    • Ziehe die Laschen an jeder Seite mit einem Spudger hoch.

  6. qhFGO3C1pCyNBJNl
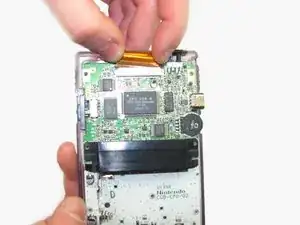
    • Entferne das Kabel vorsichtig aus dem Sockel.

  7. SryC5LT6oTGaKeaU
    SryC5LT6oTGaKeaU
    RDTrtinAhjCcqaRW
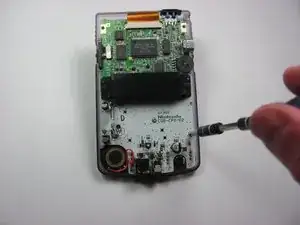
    • Drehe die drei Kreuzschlitz #1 Schrauben heraus.

    It’s not mentioned here, but be sure to unplug the LCD flex cable at the top of the motherboard before removing the motherboard. To do so, gently press the clips on either side of the receptacle toward the top of the Game Boy. When they are both pressed up, the orange cable will slide freely out

    Ben Perkins -

    Thanks Ben. That's a very good point. Just ripping it out will cost you a couple bucks, not to mention your Gameboy will not work until you replace that ribbon cable.

    Chris Pavlik -

  8. GjDQ5jUVNGkkCCaj
    • Hebe die Hauptplatine vorsichtig aus dem vorderen Gehäuseteil heraus.

Abschluss

Um dein Gerät wieder zusammen zu setzen Folge den Schritten in umgekehrter Reihenfolge.

Alex Wu

Mitglied seit: 11/01/13

1362 Reputation

0 Kommentare