Einleitung

If your joystick has broken over time, this guide will help you replace these parts. This repair can take anywhere from 4 to 5 minutes and only requires a Phillips #1 screwdriver and the iFixit opening tool. A good replacement for this device is the Dual Shock 4 joystick.

  1. EKYDuOuhGH3IVs2m
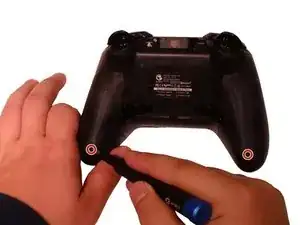
    • Using the Phillips 1 screwdriver, gently turn the screw to the left (repeat this step until all four screws are taken out).

  2. Z253w1hw1YAOjJxm
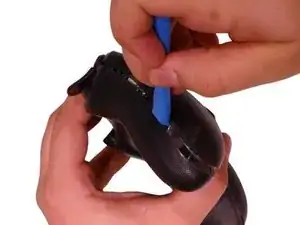
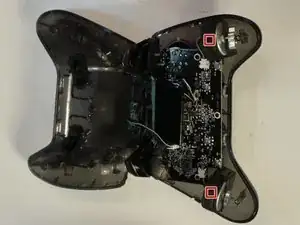
    • Use your iFixit opening tool to break the seam of the back of your controller.

    • Be careful when pulling apart, as the charging port wires are connected to both sides of the controller.

  3. jUg1fYhBZi5jeRCv
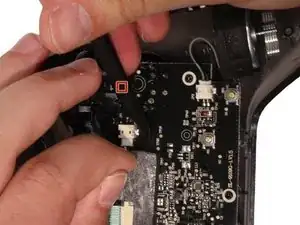
    • Using the plastic spudger, wiggle the connection out of place.

  4. eFTIEf6Ls2hFPq6f
    • Apply a slow, but consistent pull to the old 600 maH battery.

    • Attach new battery onto the pad

  5. qpDu3JuiaVfWMrAA
    qpDu3JuiaVfWMrAA
    54DHAB1h2hvTiXOF
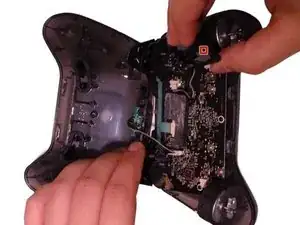
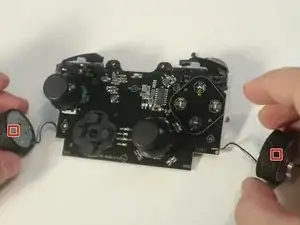
    • Disconnect the rumblers from the motherboard

    • Be careful not to pull the wires while disconnecting rumbler

  6. fPiPeitCEAl4ZumK
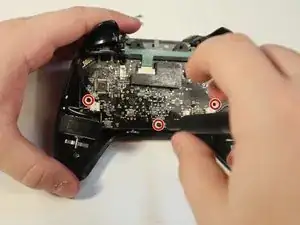
    • Using the screwdriver, remove the 5 mm screws from the motherboard

  7. 1uZOT2UjVwqgbVWu
    1uZOT2UjVwqgbVWu
    IbRDvgdp2jYcBaWU
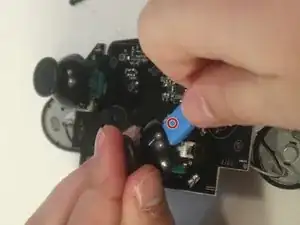
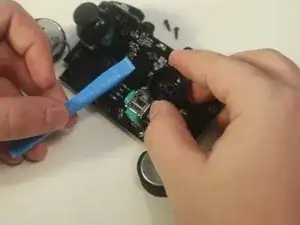
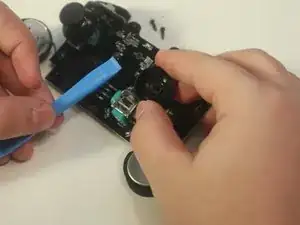
    • Using the wedge tool, pop the joystick out

  8. BdbUFHSaAxZOytmu
    BdbUFHSaAxZOytmu
    dxRAlZfbDW2UTVBc
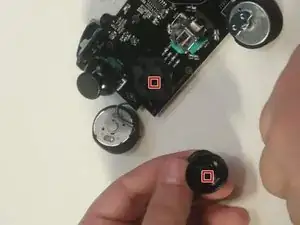
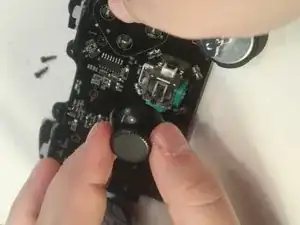
    • Make sure the square of the joystick matches the square of the pad and pop it in place.

Abschluss

To reassemble your device, follow these instructions in reverse order.
Madison Puckett

Mitglied seit: 16/09/22

680 Reputation

0 Kommentare