Einleitung

  1. CXOFEKNEmENaAPIf
    • Microwave the iOpener for about 30 seconds. Then place it on top of the screen, and let it sit for about 2 minutes.

    • Repeat this process a second to ensure that the glue is becoming loose.

  2. lmcgVSCTMVOVOyPk
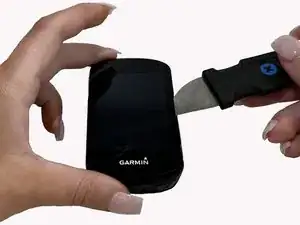
    • Use the Jimmy tool carve around the edges of the screen to break the glue seal.

  3. WqXONU5VpX1YiLWZ
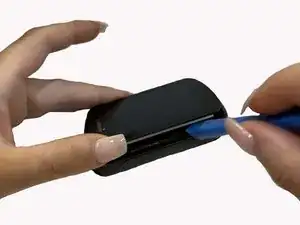
    • Use the iFixit plastic opening tool to pry open the screen.

  4. 1p2rRc3VqhLsH6hS
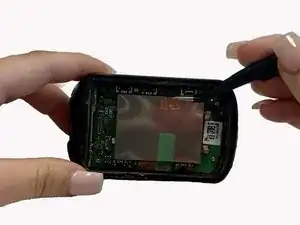
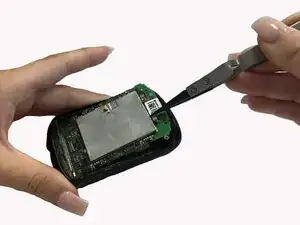
    • Remove brown and green tape with angled tweezers

  5. JQWjXVCJp1AeHULZ
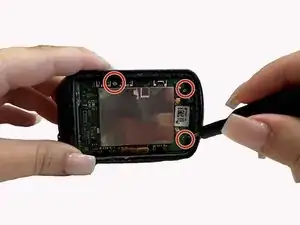
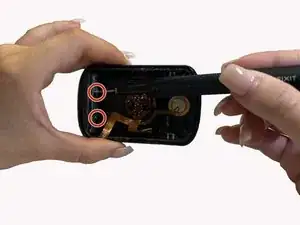
    • Unscrew the three 1 mm screws around the perimeter of the motherboard

  6. aNTUtEPIAEf5K23N
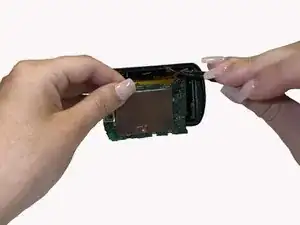
    • Use the reverse tweezers to gently pull on the silver box on top of the motherboard to remove it from the back cover.

  7. ReWMPmWOBxewmBLR
    ReWMPmWOBxewmBLR
    QgVNBrdJGbdFI21d
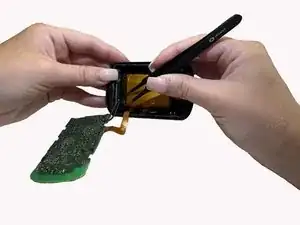
    • Locate the wire connector on the motherboard. Slowly release the wires by gently pulling with the blunt tweezers.

  8. sakXrwGA5pXvnaek
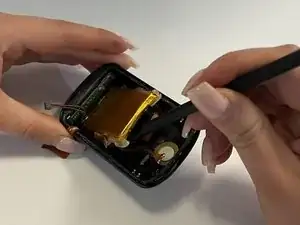
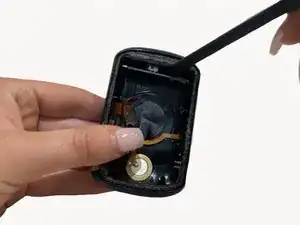
    • Use the halberd spudger to lift and remove the battery from the back cover.

  9. WJScXQoY2XPYG1Gt
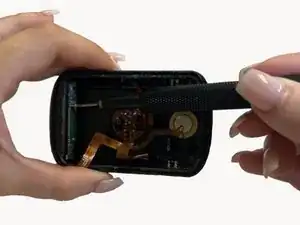
    • With the T4 screwdriver, unscrew the two 1 mm screws on the green piece located on the inside of the cable connector

  10. PJkTKhtXvqqeLmcj
    • Use the halberd spudger to lift and remove the cable connector from the back cover.

Abschluss

To reassemble your device, follow these instructions in reverse order.
Samantha Klopman

Mitglied seit: 21/03/22

293 Reputation

0 Kommentare