Einleitung
We will remove all of the components from the watch in order to replace the housing. You will need a nylon spudger and Torx T9 screwdriver.
Werkzeuge
-
-
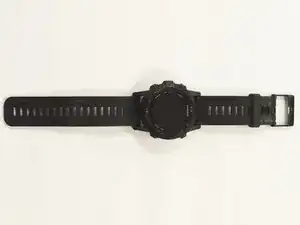
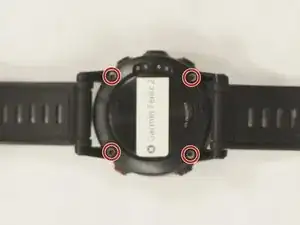
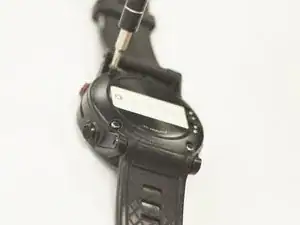
Grab your Garmin watch and flip it over to get a good view of the four screws that connect the straps to the housing.
-
-
-
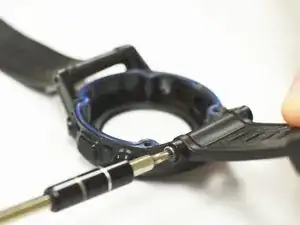
Use a Torx T9 screwdriver to remove the four .8mm screws. Once the screws are removed the watch straps should fall out of the housing.
-
-
-
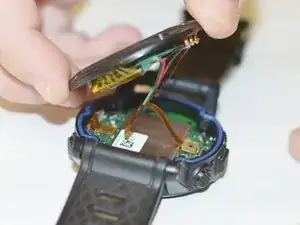
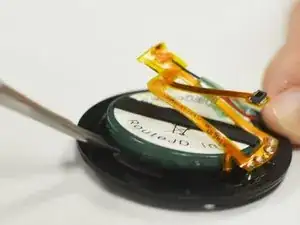
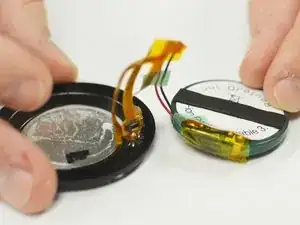
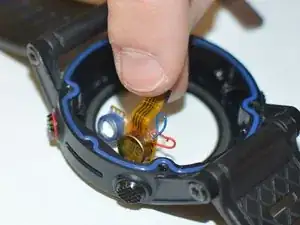
Use a spudger tool to disengage the power ribbon from the main board. Once the ribbon is disconnected you can separate the bottom piece of the housing that holds the battery.
-
-
-
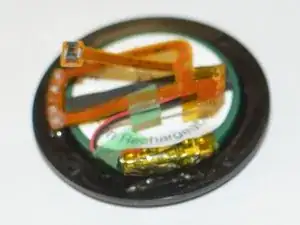
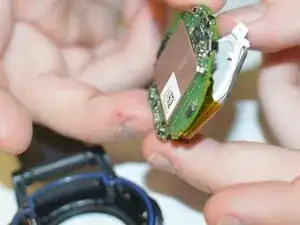
Use the spudger tool again and wedge it in between the battery and the housing, pry until the battery starts to separate from the adhesive holding it in place. Once you have the battery disconnected you are ready to replace it.
-
-
-
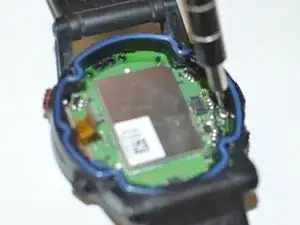
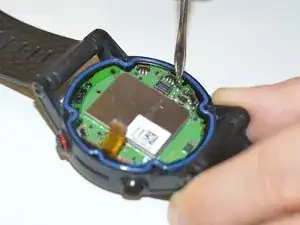
Use your Torx T9 screwdriver to remove the one .8mm screw that holds the main board to the watch housing.
-
-
-
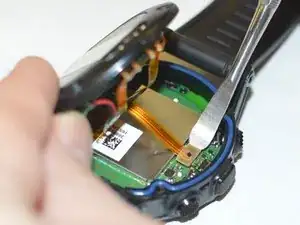
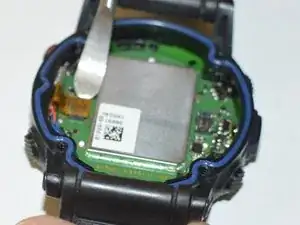
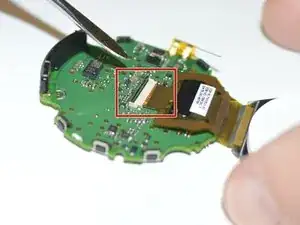
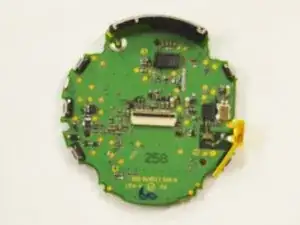
Lastly use your spudger tool to pry the data ribbon open from the motherboard. Once the ribbon is removed the board will be free and you can replace the board.
-
-
-
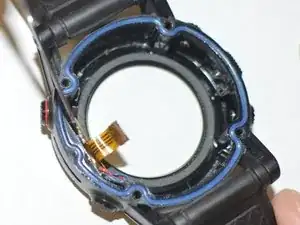
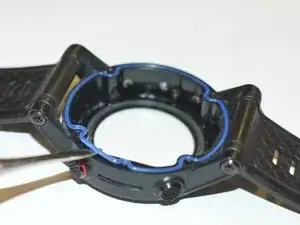
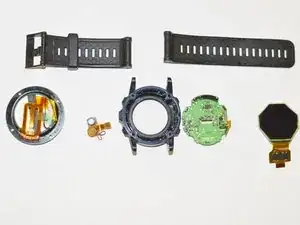
Once all your components are removed the housing with buttons is ready to be repaired/ replaced.
-
To reassemble your device, follow these instructions in reverse order.
2 Kommentare
Hi there!
Thanks for the tutorial!
When i reassemble the watch, do i have to put some glue to seal the tiny holes out of the soundboard, or those rubber rings does the job?
I’m just afraid of screwing the waterproof feature of the watch…
Thanks!!
do you know where i can find atmospheric pressure and temperature sensors?
No way is this a two minute, easy to do exercise. The screws connect to the bar. The bar rotates. Once the first screw is out, the second is very difficult to extract because there is no leverage to use when attempting to turn the remaining screw. Even the simplest internet post recommends a vise.
chiphoyt -