Einleitung
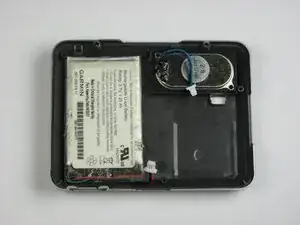
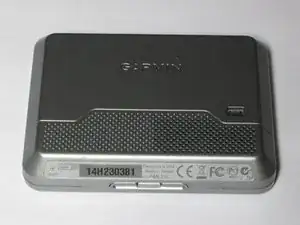
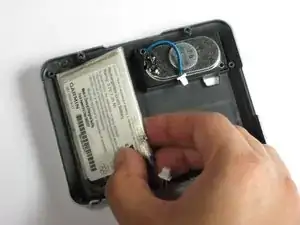
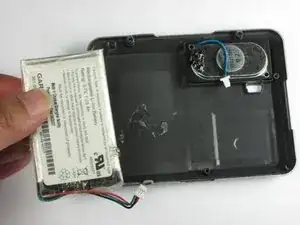
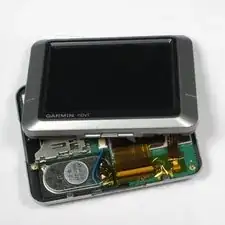
In dieser Anleitung wird gezeigt wie man den Akku des Garmin Nüvi 200 austauscht.
Werkzeuge
Ersatzteile
-
-
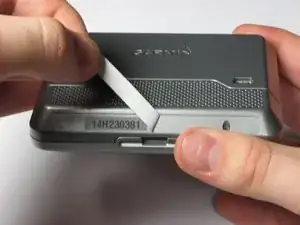
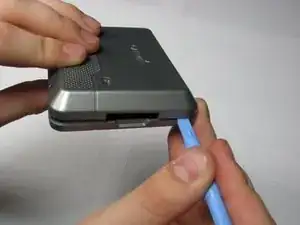
Stecke ein Öffnungswerkzeug in den Spalt zwischen vorderem und hinterem Gehäuse.
-
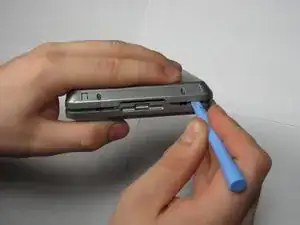
Arbeite dich sorgfältig um das Gerät herum um die beiden Gehäusehälften zu trennen.
-
-
-
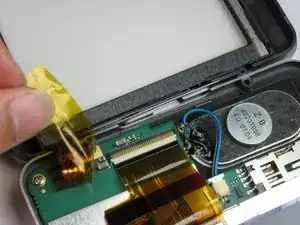
Ziehe das Klebeband ab, das die Flachbandkabel abdeckt.
-
Klappe den Sicherungsbügel am ZIF-Anschluss des Flachbandkabels mit dem Spudger hoch. Löse dann vorsichtig das Kabel ab.
-
-
-
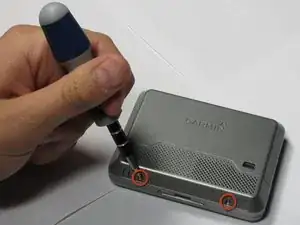
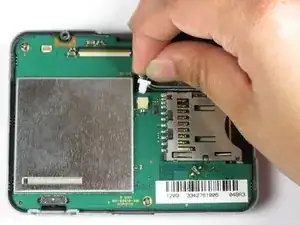
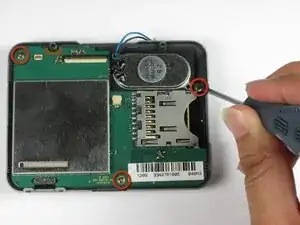
Löse die drei Schrauben, die die Platine befestigen, mit dem #00 Philips Schraubenzieher.
-
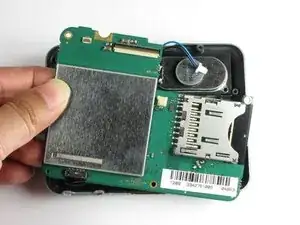
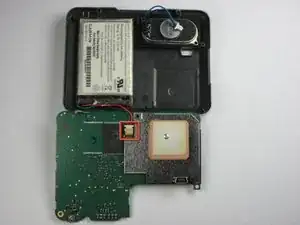
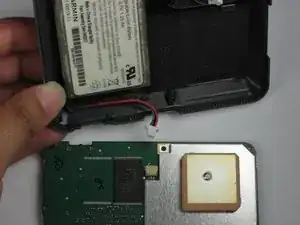
Hebe die Hauptplatine aus dem Gehäuse aber ziehe sie nicht ganz heraus, da nach wie vor der Akku noch damit verbunden ist.
-
Um das Gerät zusammenzusetzen befolge die Schritte in umgekehrter Reihenfolge.
13 Kommentare
This document could be improved by including information about where to acquire a replacement battery, and any modifications that might be required to a generic battery.
Seems like there are some on Amazon and Ebay. Not sure how to verify getting the right one. Not that expensive, so maybe worth the risk.
It was a huge mistake to peel away the ribbon cable. It needs matched up precisely and exactly in the same alignment as it was before during reassembly, an apparently impossible task once it's been detached. I'd advise opening the halves in book form, leaving the ribbon cable as a hinge. Have about given up trying to position it.
Nice tutorial, except for the booby trap.
gepetto4 -
Yep, fell into this trap, too. The Nuvi powers up but no video. Can't place the ribbon cabe just exactly so. Ugh.
