Einleitung
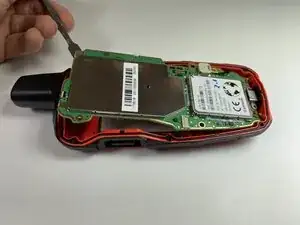
The Garmin inReach Explorer Plus is a backcountry GPS device. This guide shows how to remove and replace the button pad of the Garmin inReach Explorer Plus. The button pad allows the user to input commands for the device to send messages or access settings. See our troubleshooting page here for possible symptoms. WARNING: Before disassembling device, make sure that the device is turned off and there are no signs of a swollen battery or shattered glass in the device.
Werkzeuge
-
-
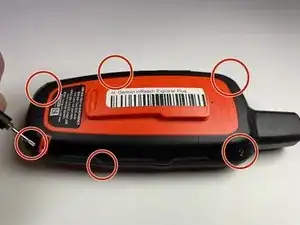
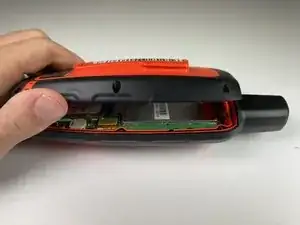
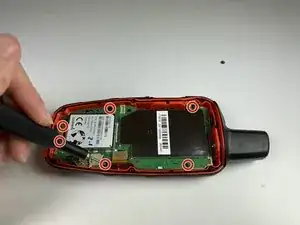
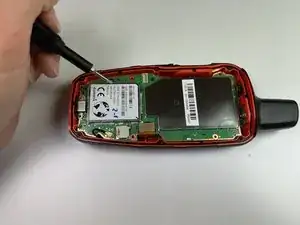
Using the TR6 Torx Security screwdriver, remove six 10 mm screws from the back cover of the device.
-
-
-
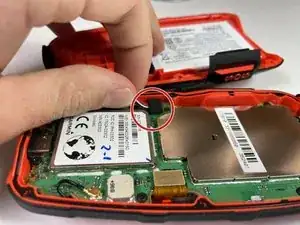
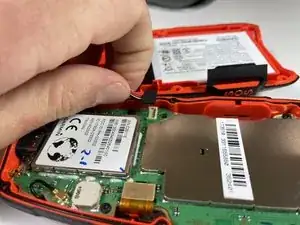
Gently grasp the battery wire and disconnect it from the device.
-
Remove the battery from the device.
-
-
-
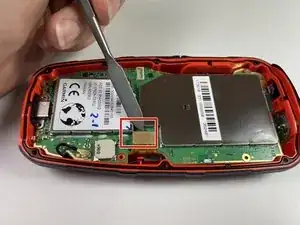
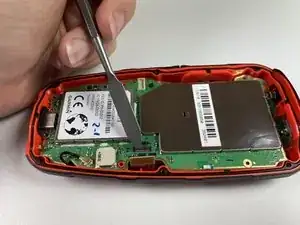
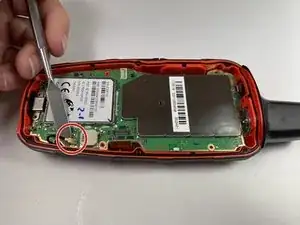
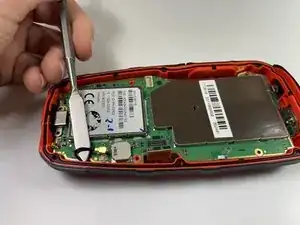
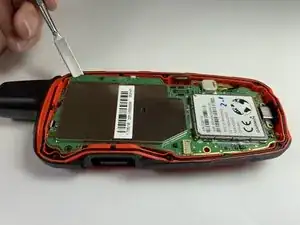
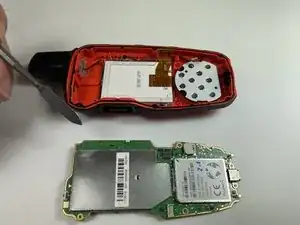
Disconnect the LCD screen from the motherboard by lifting on the flap with the nylon spudger.
-
-
-
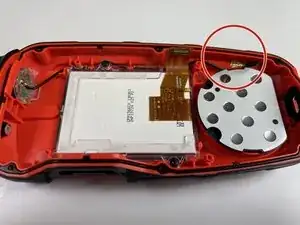
After the motherboard is removed, make sure the wire is out of the way of the button pad.
-
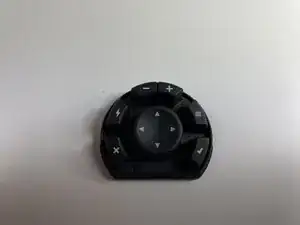
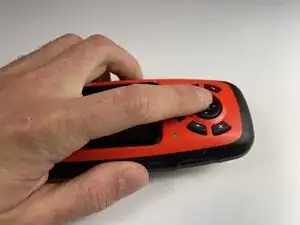
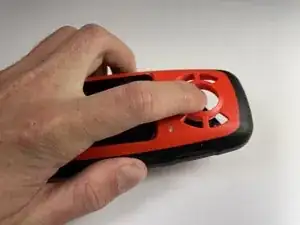
Flip the device over and push down on the button pad to remove it from the device.
-
To reassemble your device, follow these instructions in reverse order.
