Einleitung
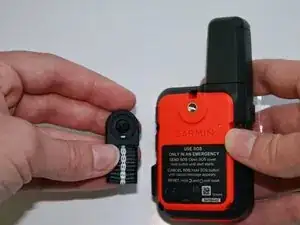
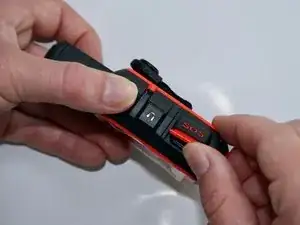
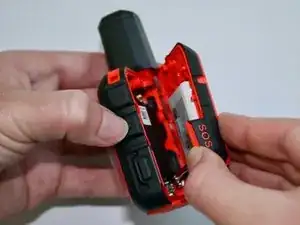
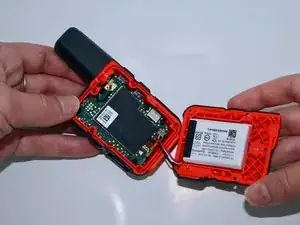
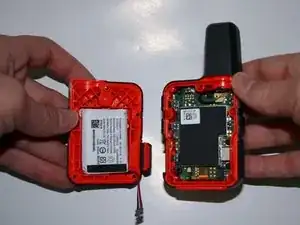
This guide demonstrates how to replace the motherboard in a Garmin inReach Mini. Before replacing the motherboard, the back hard case of the device must be fully removed. The battery, which is located on the inside of the back hard case, must also be disconnected from the motherboard.
Replacing the motherboard is last resort if the device is not functioning correctly. Symptoms that indicate a need for this replacement include an inability to send or receive messages, delayed responses to button-commands, or freezing or glitching screens.
The motherboard is connected to the rest of the device by a few different cables that cannot be severed, so precision is crucial.
Werkzeuge
-
-
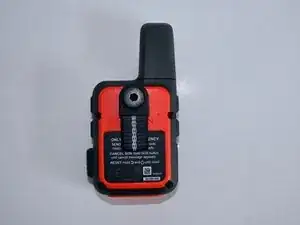
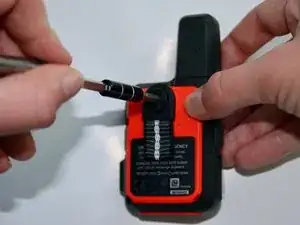
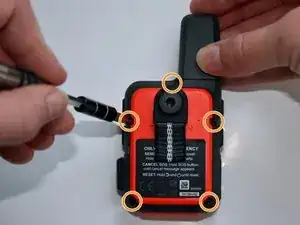
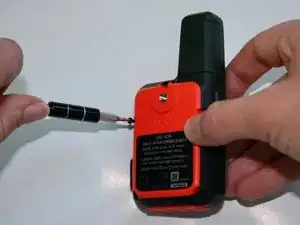
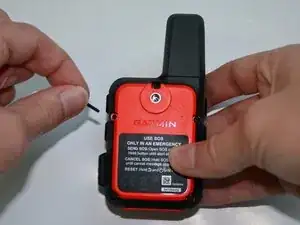
Remove the five 1.8 mm screws located on the top, sides, and bottom corners of the backside of the device.
-
-
-
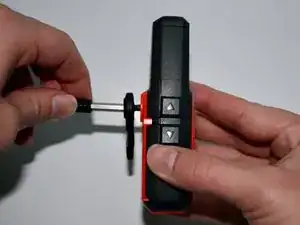
Lastly, lift the protective cap on the side of the device that states "SOS". Slowly pull it to the right in order to remove the back hard case.
-
-
-
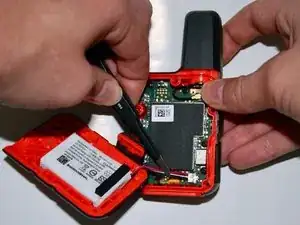
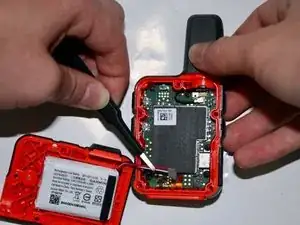
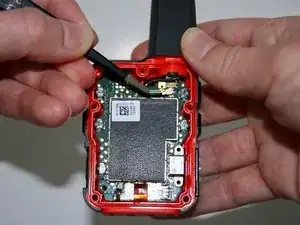
Using the precision tweezers with the round tips, detach the battery connector from the motherboard.
-
-
-
After removing the back hard case, users can access the battery on the inside of the back hard case.
-
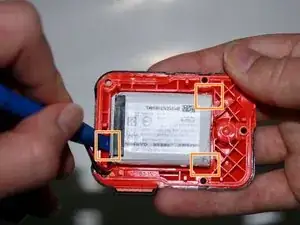
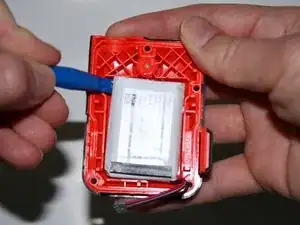
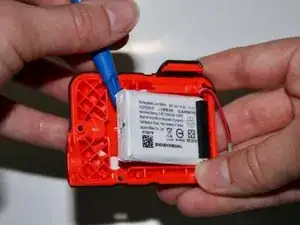
Take the iFixit opening tool and insert it into the small crevices on each side of the battery. Once inserted, apply pressure downward in order to lift the battery up. Repeat on all 3 corners.
-
-
-
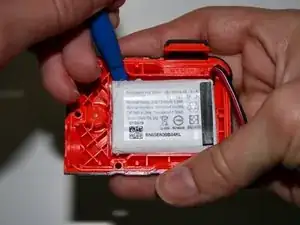
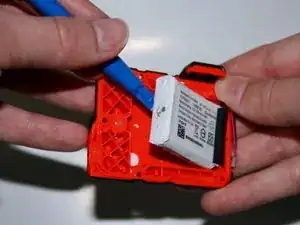
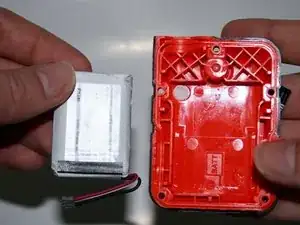
Create leverage by inserting the opening tool underneath the battery. Lift the battery up until it detaches from the case, then remove the battery entirely.
-
-
-
Then using the precision tweezers with the round tips, lightly pull the battery out from the case.
-
-
-
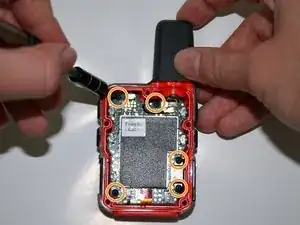
Use the T5 screwdriver to remove each 5 mm screw.
-
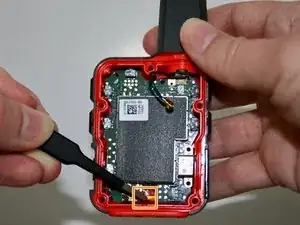
Next, use the precision tweezers with the round tips to disconnect the black antenna wire from the motherboard.
-
-
-
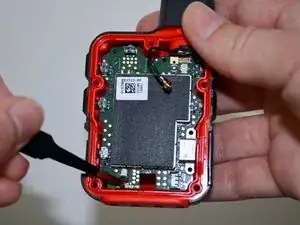
Using the precision tweezers with the round tips, gently pull up the thick red strip until it pops off of the motherboard.
-
Using the same tweezers, gently pull the thin red strip towards the end of the case in order to detach it from the motherboard.
-
-
-
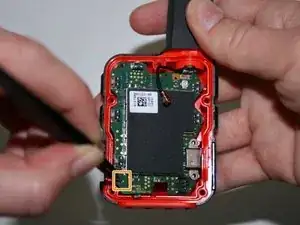
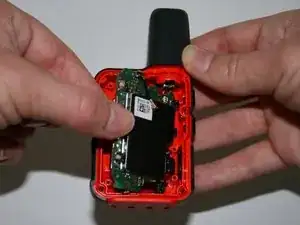
Using the precision tweezers with the curved, pointy tips, squeeze both ends together, then insert them into the bottom left hole of the motherboard. Next, gently lift up the tweezers and pull out the motherboard.
-
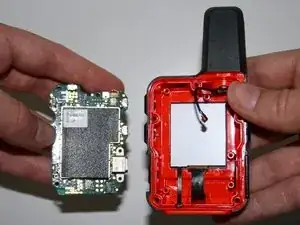
Once you've pulled the motherboard halfway out, use the precision tweezers, or your fingers, to pull the motherboard out completely.
-
To reassemble your device, follow these instructions in reverse order.
