Einleitung

  1. UPVjQPX6DYWGjraA
    UPVjQPX6DYWGjraA
    NHxtIApjWZbsNEZq
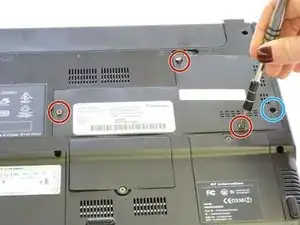
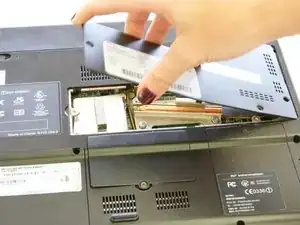
    • Unscrew the screws with a PH1 Phillips-Head screwdriver and pry off the panel with care.

    • Screws that are circled in red are 3mm; the screw circled in blue is 14mm

  2. Tm5McNXl6XOABTQZ
    Tm5McNXl6XOABTQZ
    1NUIwDjk26OlYTA5
    WxpAoDB6uSZyvPqp
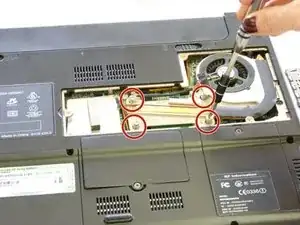
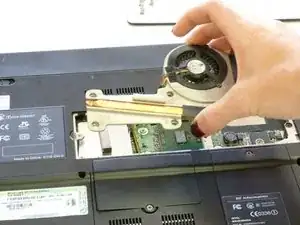
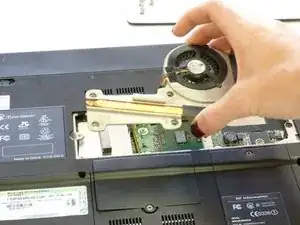
    • Unscrew the four screws holding it in place with the same PH1 Phillips-Head screwdriver. They are numbered on the fan, 1,2,3,4.

    • The four screws are 12mm long, they also have a spring surrounding them.

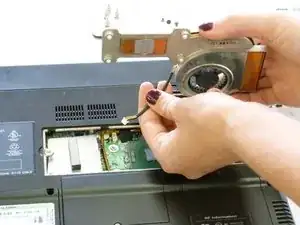
    • Then carefully pull the cord connecting the fan to the notebook.

    • Insert your replacement fan, plug in its cord, screw it into place, and reattach the protective cover.

Abschluss

To reassemble your device, follow these instructions in reverse order.
Nathan Parr

Mitglied seit: 12/09/16

25 Reputation

0 Kommentare