Einleitung
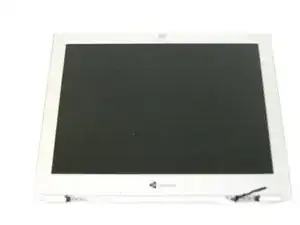
Replace a faulty display on your Gateway 600YG2 using this guide. If the glass on your display cracks or breaks, it may need to be replaced. Before using this guide, inspect the display for any swelling and check software compatibility. This could harm the computer's liquid crystal display (LCD) capabilities. The LCD is an energy-efficient liquid organic material with long-lasting LED backlighting, no screen burn (deteriorated pixels from overuse), and adaptable file sizes.
To disassemble electronic components in step 1 of this guide, you will need a Phillips #0 Screwdriver (identified as piece number IF145-005). Sprunger (identified as piece number IF145-002) will also be required to pry open the pieces.
Turn off your laptop and disconnect it from any power sources before beginning the process.
Werkzeuge
-
-
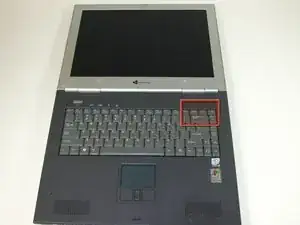
Insert the spudger between the "sysrq" and "ins" keys.
-
Lift the power button panel gently located above the F12 key. Beginning with the right to the left, using a spudger (optional).
-
-
-
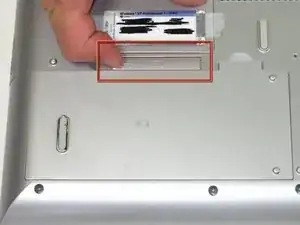
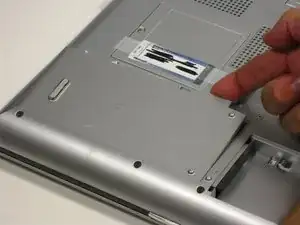
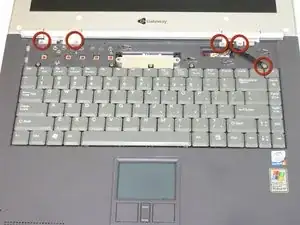
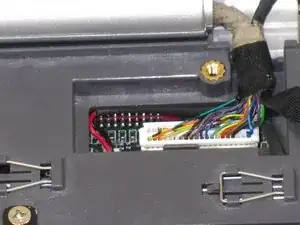
Take out and remove 5 screws with a Phillips #0 screwdriver.
-
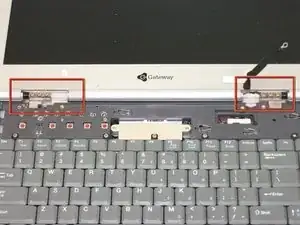
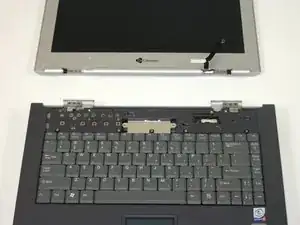
Lift the hinge covers along the outer edges with the spudger until they become released.
-
To reassemble your device, follow these instructions in reverse order.
