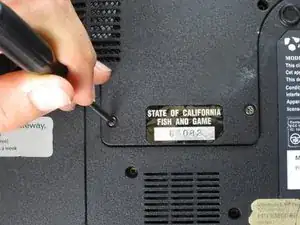
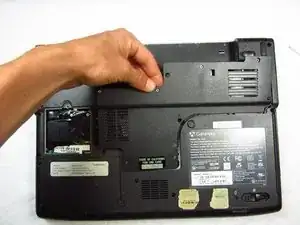
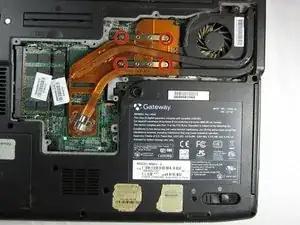
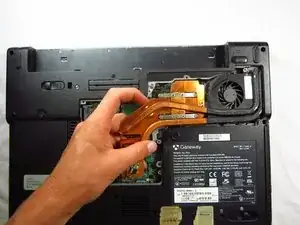
Einleitung
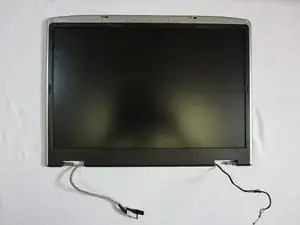
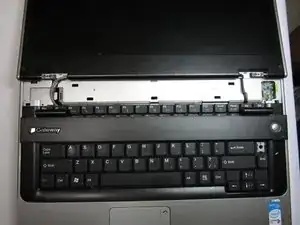
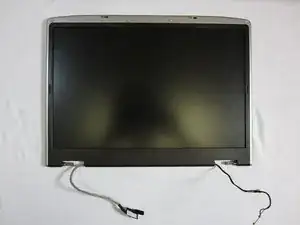
The display assembly will need to be replaced if the display itself is damaged, or if its connection to the computer is damaged.
Werkzeuge
-
-
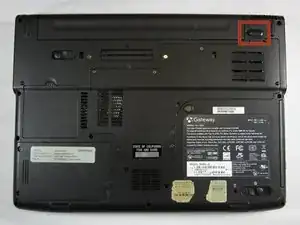
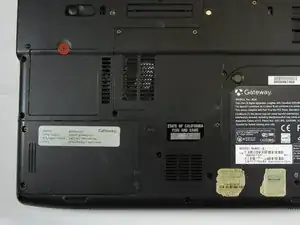
Make sure the switch in the upper right corner of the laptop is switched to the "unlock" position (toward the unlocked padlock icon).
-
-
-
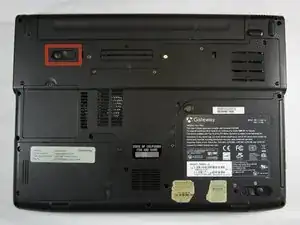
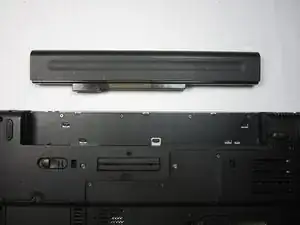
Pull the switch on the upper lefthand corner of the laptop towards the unlocked padlock icon.
-
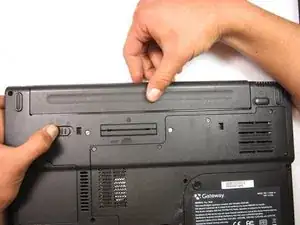
Firmly pull the battery outwards and away from the laptop.
-
-
-
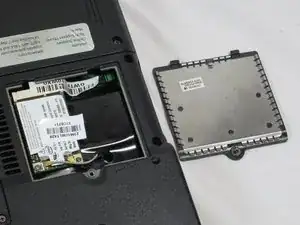
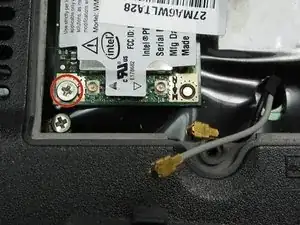
Loosen the 3mm Phillips #0 screw from the back of the WiFi card backplate.
-
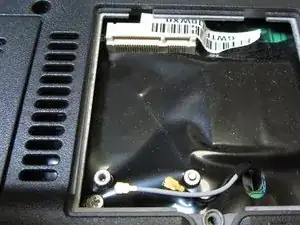
Lift upwards on the back plate to remove it.
-
-
-
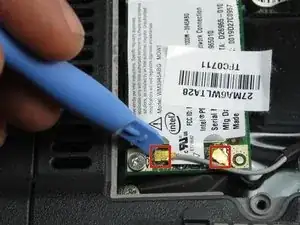
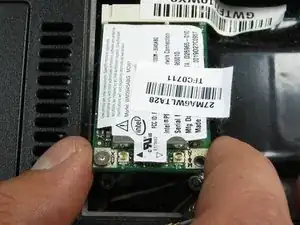
Use the plastic opening tool to gently pry upwards on the two connecting cables to remove them.
-
-
-
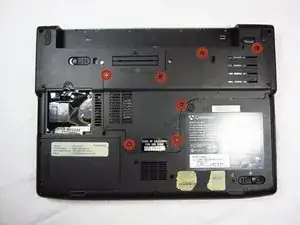
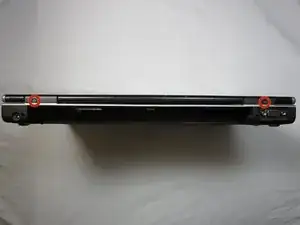
With the computer oriented upright with the back facing towards you, remove the two 3 mm Phillips #0 screws.
-
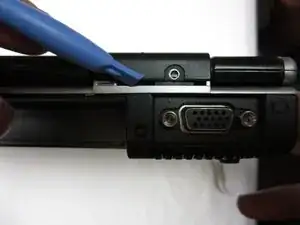
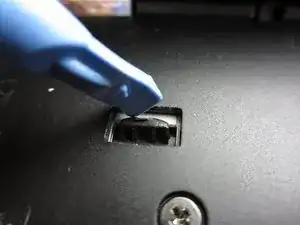
Use the plastic opening tool to pry upwards on the bottom of the plastic piece covering the screw hole on the right side. Do the same for the left side.
-
-
-
Lay the computer down carefully on its keyboard, with the screen open.
-
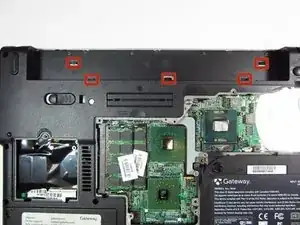
There are 5 plastic pins that hold in the upper case cover. With the plastic opening tool, pry downwards on each of the plastic pins to pop them out one at a time.
-
Flip the computer back over carefully, and remove the loosened upper case.
-
-
-
Flip the computer over so the bottom is facing upwards.
-
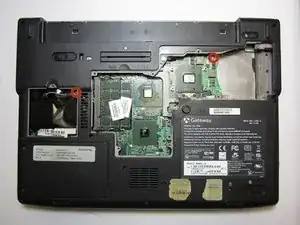
Remove the two 5 mm Phillips #0 screws.
-
-
-
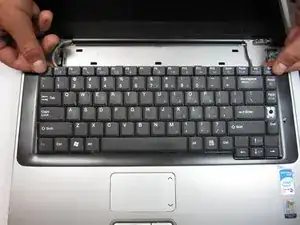
Flip the computer back over and open the screen. The keyboard will now be loose.
-
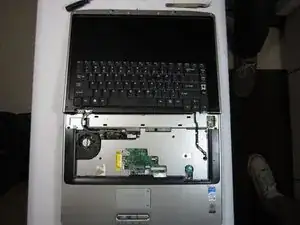
Gently pull towards the screen on both sides of the keyboard and slide it upwards. Set it upside down onto the mousepad area.
-
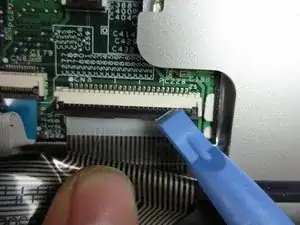
Using the plastic opening tool, carefully pry between the black and white portion of the connection. It will pop out with moderate force.
-
Remove the keyboard.
-
-
-
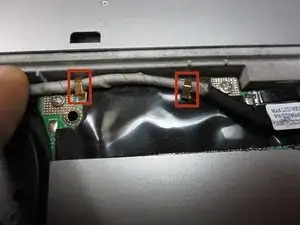
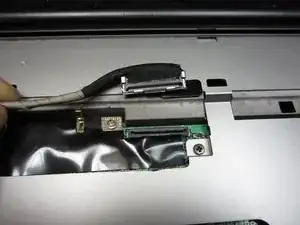
Using your fingers, carefully pry upwards on the two gold prongs holding in the connection cable, to free it. These are located at the top left side of the case near the display hinge.
-
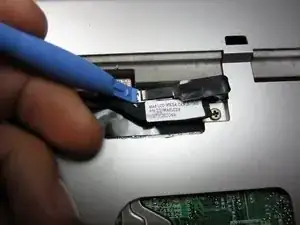
Using the plastic opening tool, pry upwards on the port connection for the display cable. It will release with minimal force.
-
-
-
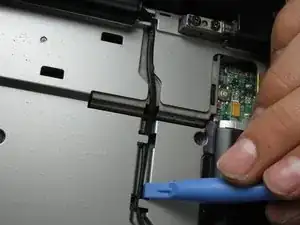
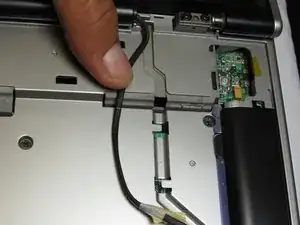
Use the plastic opening tool to pry out the WiFi cable coming out of the right side of the display from the prongs that hold it in place.
-
-
-
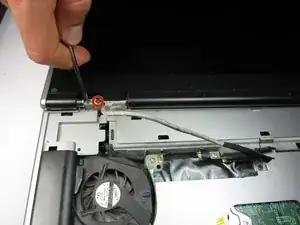
Remove the two 5 mm Phillips #0 screws from the left side of the display hinge.
-
Repeat for the two 5 mm Phillips #0 screws on the right side.
-
Pull upwards on the sides of the display to fully separate it from the computer.
-
To reassemble your device, follow these instructions in reverse order.
