Einleitung
Voraussetzung zum Entfernen der Gehäuse-Frontplatte des optischen Laufwerks #78, 79, 80
Werkzeuge
-
-
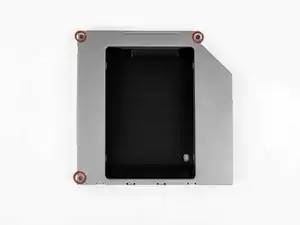
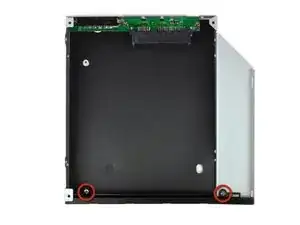
Entferne die drei 3,0 mm Kreuzschlitz #0 Schrauben aus dem Gehäuse des optischen Laufwerks.
-
-
-
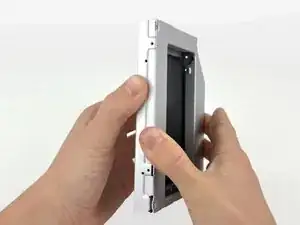
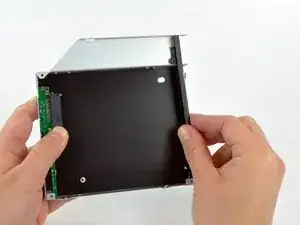
Öffne das Gehäuse, indem du von der linken Kante ausgehend vorsichtig ziehst.
-
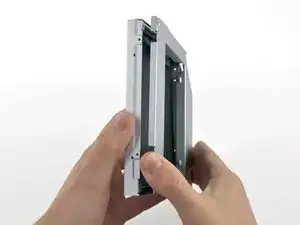
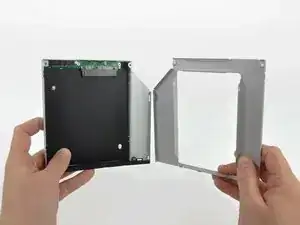
Ziehe weiter an den beiden Gehäusehälften, bis sie sich trennen.
-
-
-
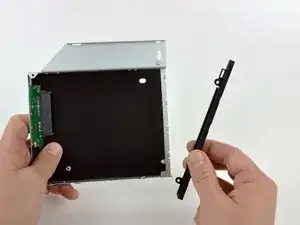
Entferne die beiden 3,0 mm Kreuzschlitz #0 Schrauben, mit welchen die Frontblende am Gehäuse des optischen Laufwerks befestigt ist.
-
-
-
Hebe die schwarze Kunststoff-Frontplatte aus dem Gehäuse der Optical Bay.
-
Baue das Gehäuse des optischen Laufwerks ohne die Frontplatte unter Verwendung der drei originalen 3,0 mm Kreuzschlitz Schrauben wieder zusammen.
-
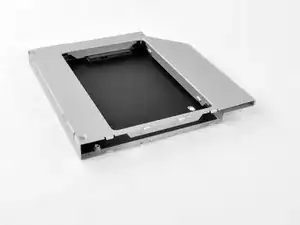
Arbeite die Schritte in umgekehrter Reihenfolge ab, um dein Gerät wieder zusammenzubauen.

Hello, is the sata & power cabla from the mac can directly feet inside the SSD?
Roman Quenin -
plug in the back of the ssd
Roman Quenin -
I'm trying to find out as well. I read elsewhere you need something like this without the bracket: http://www.amazon.com/gp/product/B0056OB...
However I have NOT confirmed this.
Allen Borza -
If I understand you correctly; the enclosure allows you to use the existing iMac optical cable. Also the enclosure allows for a safe fitting of the optical drive. In my newer machine I had to double side tape the SSD to the back of the iMac and buy a special cable. Note: this was not an optical drive replacement scenario or I would have done exactly as this tutorial suggests.
EkDor -
I bought another caddy, not the one from the description. i had to extract the plastic adaptor from the optical drive and put in on the new caddy 12,7mm
Cristian Pizarro -
The SDD caddy I purchased was 22 pin SATA both inside and outside so that the optical drive cable (13 pin) would not fit. Does anyone know where I can find a SDD caddy with 13 pin SATA outside for the optical cable and 22 pin SATA inside for the SDD?
benja.mcg -