Einleitung
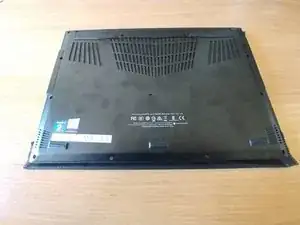
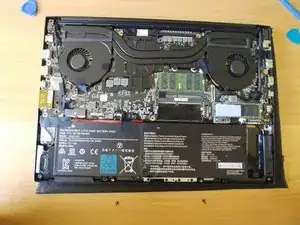
This is a guide for removing the back cover on the Gigabyte Aero 15x for upgrades or for maintenance.
To start shut down your computer
Werkzeuge
-
-
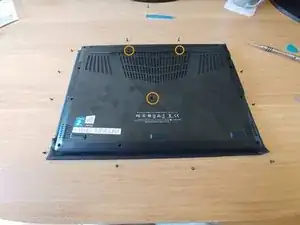
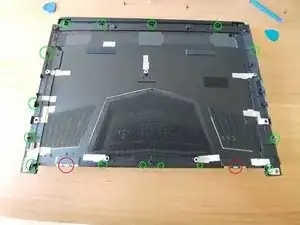
Using a Torx T6, remove the 13 screws. Remember their exact spot because 3 of them have different lengths. (marked on picture 2)
-
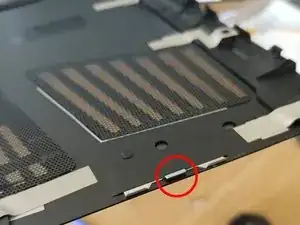
There are 3 screws are hidden by a black stickers. Simply push down on the screwdriver to catch the indentation of the screw.
-
-
-
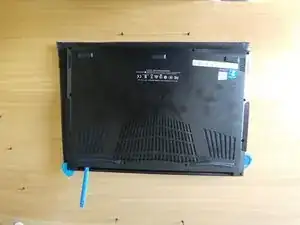
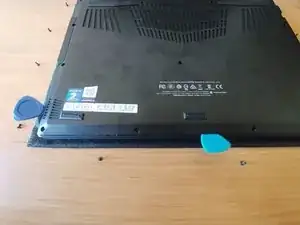
Using plastic tools, you can start unclipping the back from the body. Insert one opening tool and insert a second. Slide the tools around to pop off the bottom of the laptop.
-
Do not unclip the back face fully; only the front and the two sides. You can nevertheless detach the 4 corners.
-
-
-
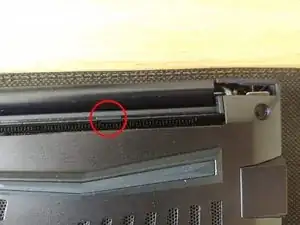
Before removing the hood, remember that it is held by 2 aluminum rails at the back (hinge side).
-
Remove the cover starting at the front two corners. Lift up at those corners.
-
To reassemble, follow these steps in reverse order.
Ein Kommentar
Thank you for writing this! I really appreciate it
