Einleitung
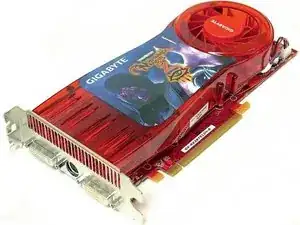
Model: GV-RX387512H-B
-
-
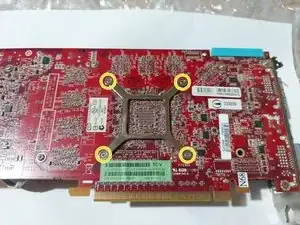
Remove the 4 screws that hold the heatsink bracket in place. Be sure not to lose any screws or springs during disassembly.
-
Disconnect the fan.
-
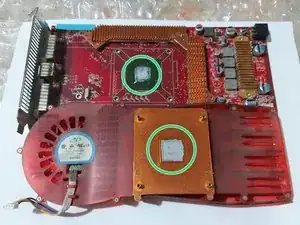
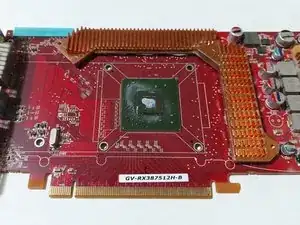
Clean the old thermal paste both from the cooler and the die. It is best to use isopropyl alcohol and cotton swabs or paper towel, but be careful not to go too hard on the die.
-
-
-
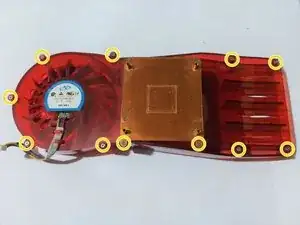
Remove the 11 screws that hold the assembly together.
-
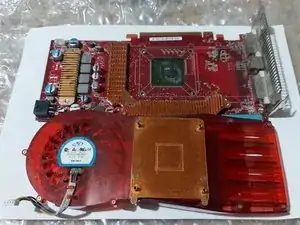
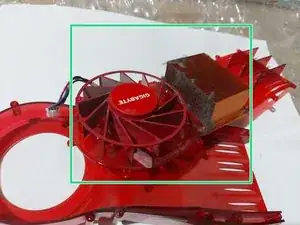
Use a soft brush or compressed air to clean the heatsink fins and fan.
-
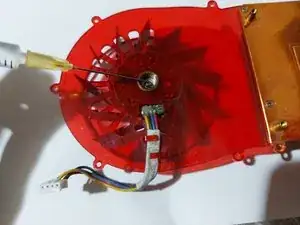
My fan was making a grinding noise so I unpealed it`s back sticker carefully and used just a tiny drop of sewing machine oil from a needle to fix it. Then reapplied the sticker to keep dust out.
-
When putting back the cooling assembly, do NOT tighten the screws a lot, because the base is made of plastic and will break.
-
-
-
Don`t use too much thermal paste, just enough to cover some portion of the pad. If you have a spreader, use it. The thermal paste will apply evenly after you tighten the heatsink bracket.
-
Last, put the heatsink back carefully and tighten the screws in a criss cross pattern to ensure even pressure. Dont forget to plug in the fan cable.
-
To reassemble your device, follow these instructions in reverse order.
