
Einleitung
Ersatzteile
-
-
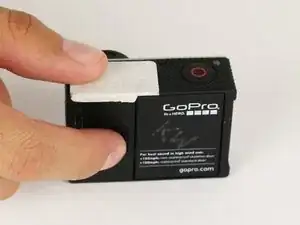
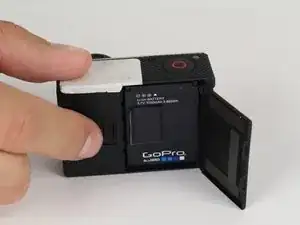
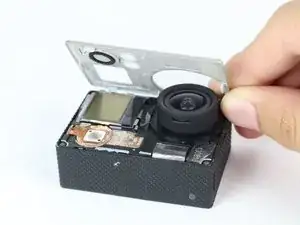
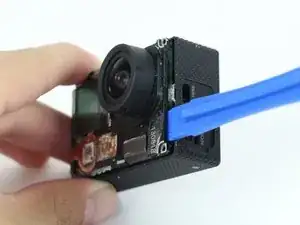
Use the plastic opening tool to remove the faceplate.
-
There is some adhesive and clips so be careful and the faceplate should pop right off.
-
-
-
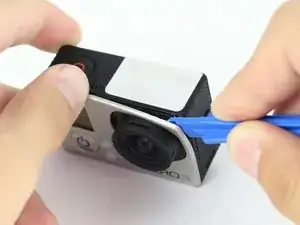
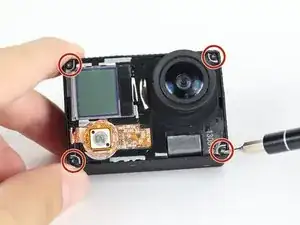
Now that the faceplate is off, it is time to remove the 4 screws on each corner.
-
Use the T4 tool bit from the iFixit toolkit in order to remove the 4 screws on each corner.
-
-
-
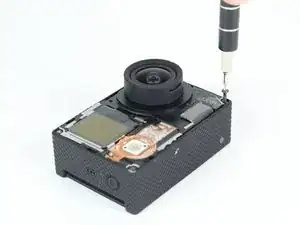
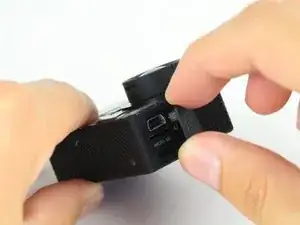
Note: Make sure you remove the door cover of the USB, mini HDMI, and SD port before. Separating the motherboard will be easier.
-
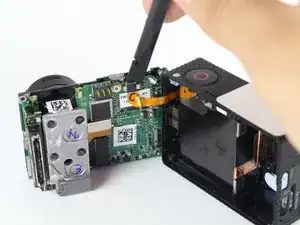
Using the plastic opening tool, slowly pry open the motherboard assembly.
-
-
-
Use the spudger to gently pry off the connector of the housing to the motherboard.
-
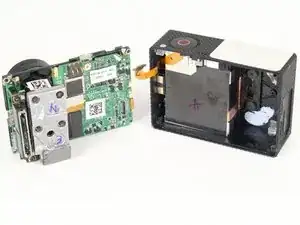
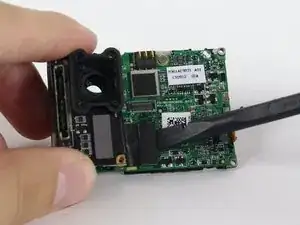
You should now have the motherboard assembly and the housing separated.
-
-
-
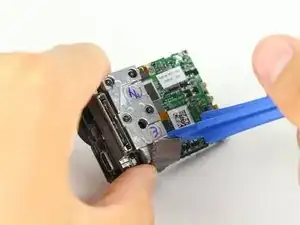
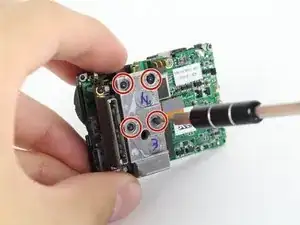
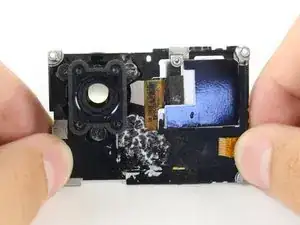
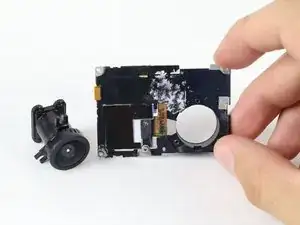
Use the spudger to remove the heat shield tape and detach the image sensor from the motherboard.
-
Using the T4 Torx toolbit, remove the 4 screws that connect the sensor to the lens.
-
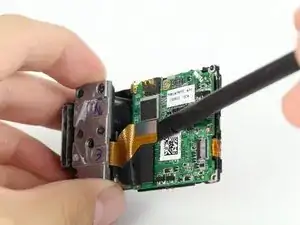
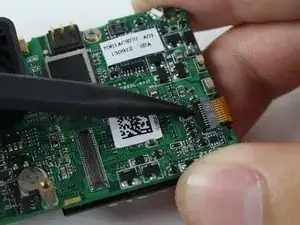
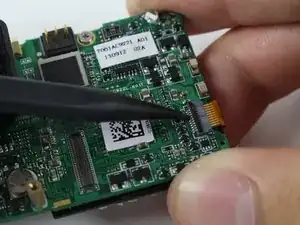
Remove the silver connector of the image sensor from the motherboard using the spudger to pry it off.
-
-
-
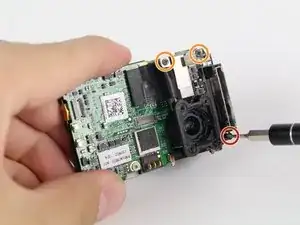
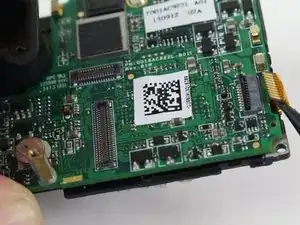
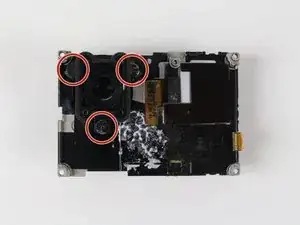
The media adapter is attached to the motherboard via 3 screws:
-
x1 T4 Torx
-
x2 Phillips #00
-
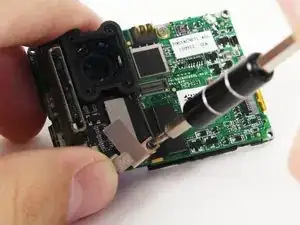
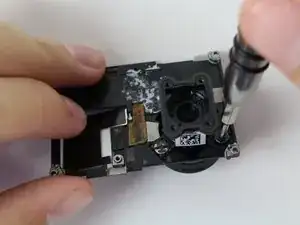
With a little prying, use the spudger to detach the media adapter's connector from the motherboard.
-
-
-
Use the spudger to lift the black tab up to unlock.
-
Then remove LCD screen connector by sliding out.
-
-
-
Using the Phillips head bit, remove the silver screw near the top edge of the board.
-
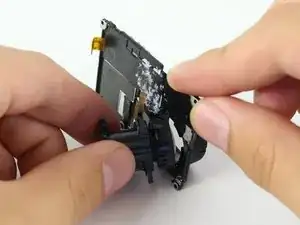
Separate the LCD assembly by pulling it away from the motherboard.
-
-
-
There are 3 Phillips #00 screws holding the lens onto the LCD housing that need to be removed.
-
-
-
Carefully remove the camera lens from the LCD Housing.
-
You now have your GoPro's lens removed!
-


To reassemble your device, follow these instructions in reverse order.
5 Kommentare
awesome guide thanks a bunch!
Thanks
Great job guys! Was successfully able to install the lens and put the camera back together to working order. Thanks for saving me $250
Thanks for not telling me to push on the display. When I pried off the front cover I broke the disply ribbon as the display was stuck to the front cover.
Please people for future check that the display is not stuck to the cover. The ribbon is so thin you dont even feel it tear.
Now i no display on me hero ...3. in tears...