Einleitung
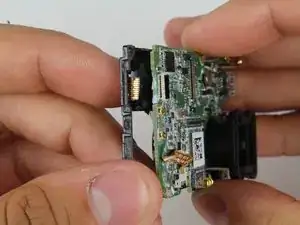
You can't capture every breathtaking moment with a cracked lens! Use this guide to replace a broken or faulty lens!
Werkzeuge
Ersatzteile
-
-
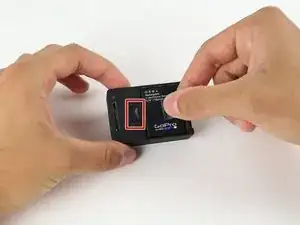
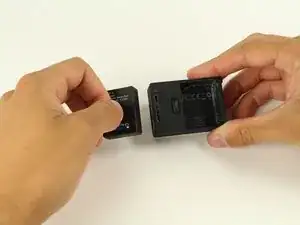
Pull the tab on the back of the device to release the back cover. It should come right off.
-
-
-
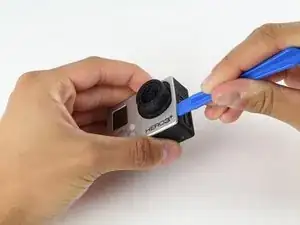
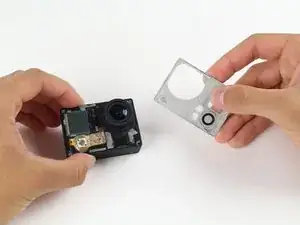
Using a plastic opening tool, pry the gray, front face plate until it can be removed from the housing.
-
-
-
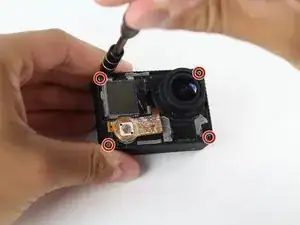
Using your screwdriver, remove the four 8.1mm PH00 screws securing the motherboard to the black housing unit and set them aside.
-
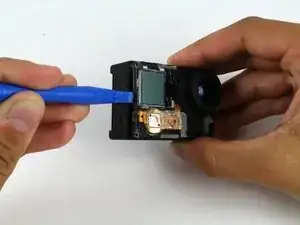
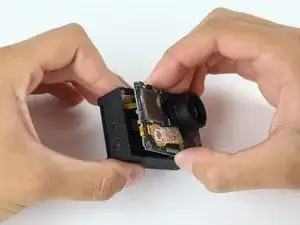
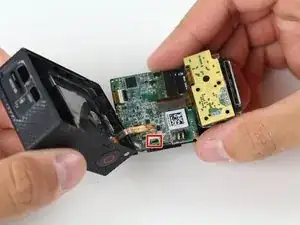
Use the plastic opening tool to help pry the motherboard/midframe up from the main housing. Once you can get a hold of the edge, simply pull the internal components up and out!
-
-
-
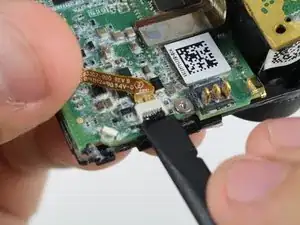
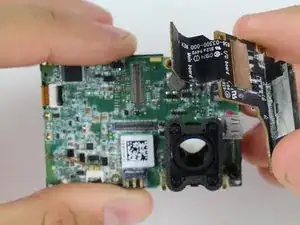
Remove the ribbon cable connecting the housing to the motherboard by flicking up the black clip with the spudger tool and gently pulling the cable out.
-
-
-
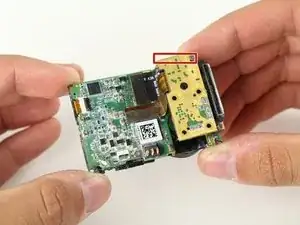
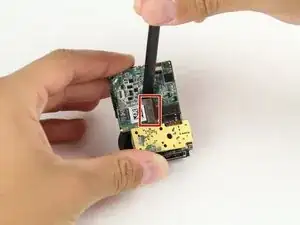
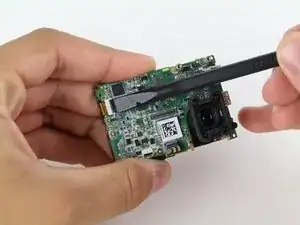
Once the internal components are removed, take out your handy dandy spudger tool and pry off the piece of tape that holds down the image sensor.
-
-
-
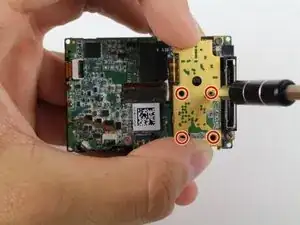
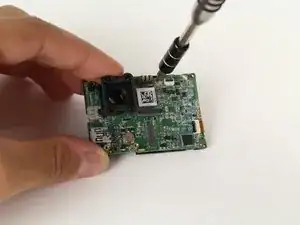
Using your screwdriver, remove the four PH00 screws securing the image sensor to the motherboard.
-
-
-
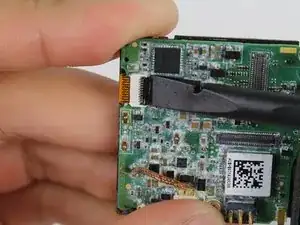
Using the spudger tool, pry off the connector ribbon from the motherboard (don't worry it comes off pretty easily).
-
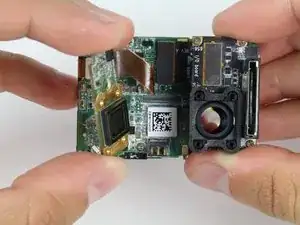
Remove the image sensor from the motherboard assembly.
-
-
-
Using the spudger tool, pry off the corresponding ribbon cable from the motherboard.
-
The microSD/accessory board is ready to come off.
-
-
-
Using your trusty screwdriver, remove the single 3.2mm PH00 screw connecting the motherboard to the midframe.
-
-
-
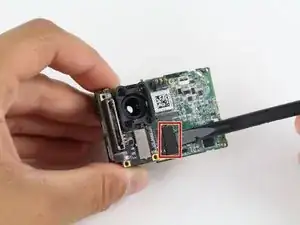
Use the spudger tool to disconnect the front LCD from the motherboard. Gently pull the ribbon cable out.
-
Gently pull the motherboard away from the midframe.
-
-
-
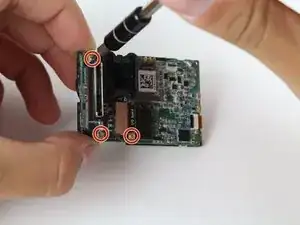
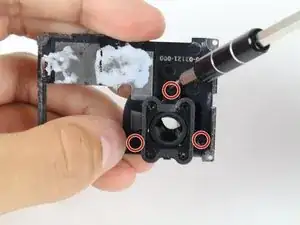
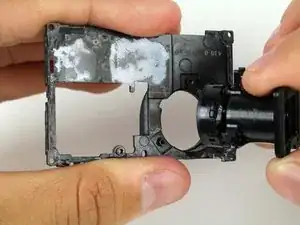
Simply use your PH00 screwdriver to remove the last three screws, and the lens housing is ready to come off.
-
To reassemble your device, follow these instructions in reverse order.
Ein Kommentar
Hey, is there any lens to replace the original one you can recommend? I've seen prices from 15 to 80 Euro, basically everyone claiming the same features (170°).
