Einleitung
Werkzeuge
Ersatzteile
-
-
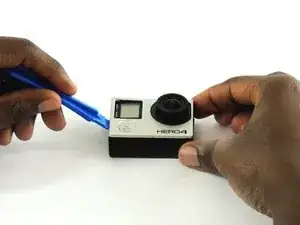
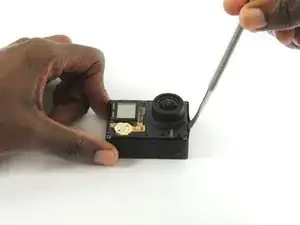
Remove the faceplate by carefully prying around the edge using a plastic opening tool. Loosen the clips on the edge, then pull the faceplate off.
-
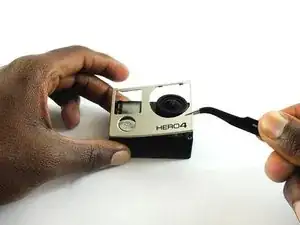
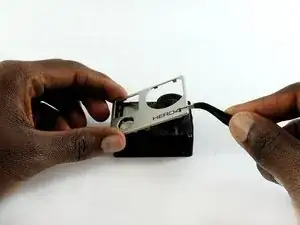
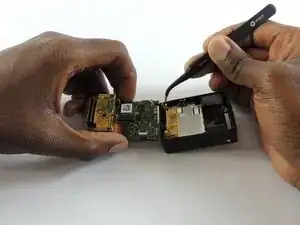
Use the tweezers to lift the faceplate from the rest of the device.
-
-
-
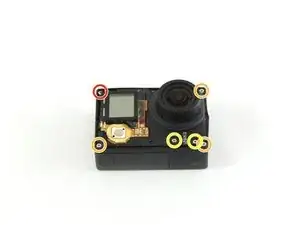
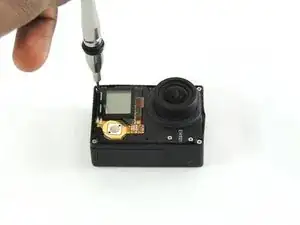
Using a #00 Phillips head screwdriver, remove the following screws:
-
One 4.6 mm screw
-
Three 8.2 mm screws
-
Two 6.1 mm screws
-
-
-
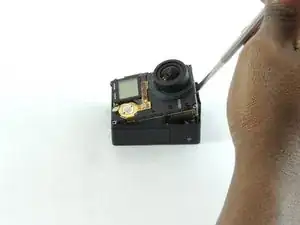
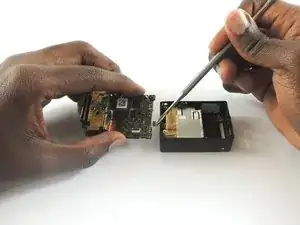
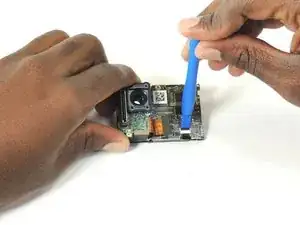
Insert a metal spudger between the back plastic housing and the camera board assembly. Working around the edge to be careful of the inner components, carefully remove the camera.
-
-
-
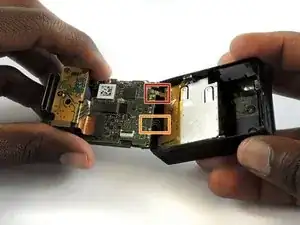
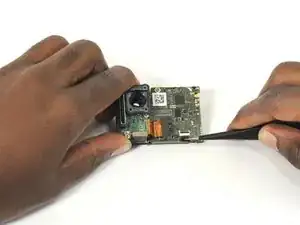
Using tweezers, remove the ribbon strip by pulling on it. This will remove the connection.
-
Push down on the three wires with the metal spudger and the clip will disconnect from the motherboard.
-
-
-
Open the clip that is located on the motherboard
-
Use a pair of tweezers to pull the ribbon from the clip
-
-
-
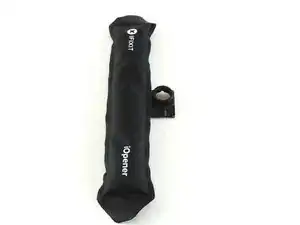
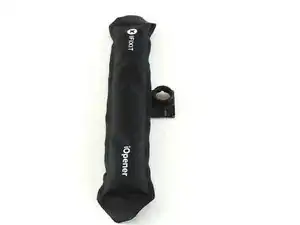
Place the iOpener on the LCD screen cover to release the glue
-
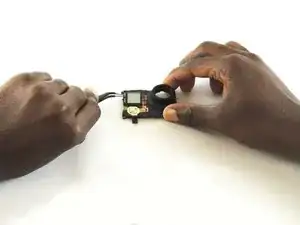
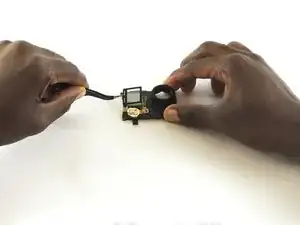
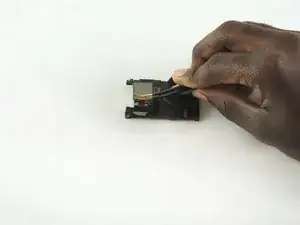
Lift the covering of the LCD screen cover off with a pair of tweezers
-
-
-
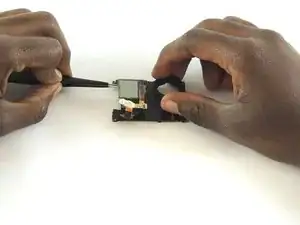
Use a pair of tweezers to lift the ribbon through the opening and lift all the way up to the LCD screen
-
-
-
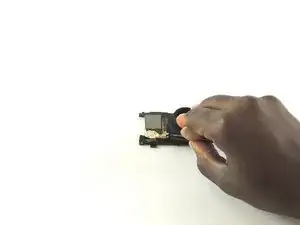
Place the iOpener on the LCD screen to remove the glue
-
Use a pair of tweezers to left the LCD screen off the device
-
To reassemble your device, follow these instructions in reverse order.
Ein Kommentar
Bonjour , est ce que je peux installer un écran LCD sur une hero 4 silver ( sans écran LCD d'origine ) . Je dispose d'une hero 4 black LCD HS . Merci de vos réponses. Sébastien
Coolsaet -

