Einleitung

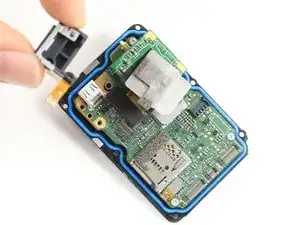
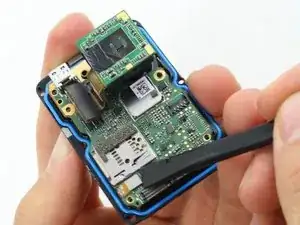
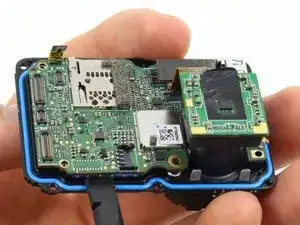
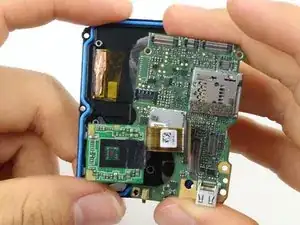
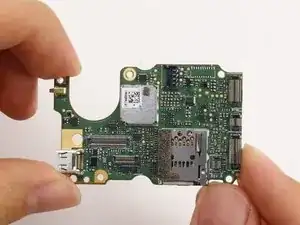
In this guide, you will be separating the motherboard from the Midframe of the GoPro Hero5 Black. The GoPro Hero5 Black is waterproofed with plenty of adhesives. By completing this guide, you will have to remove the adhesive and your GoPro will no longer be waterproof.

  1. wqVqafNBoLH1PmBZ
    wqVqafNBoLH1PmBZ
    CZnGNSxZUJh4YPa5
    ZNDmoBFQyQGj1xqA
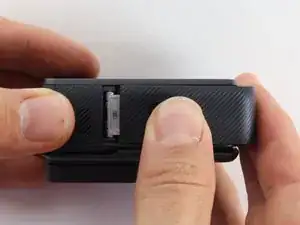
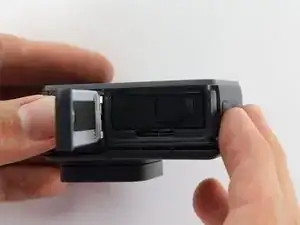
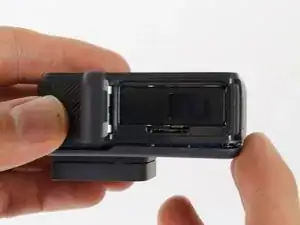
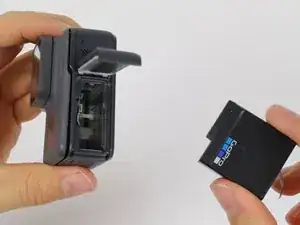
    • While pressing the button on the bottom of the GoPro, slide the battery door to the side to pop it open.

  2. BVGCiQtBPYK4HA2f
    BVGCiQtBPYK4HA2f
    C2DcclxGxAIWYt4O
    CKDEXUHbcni5lDfs
    • Grab the plastic flap on the battery and pull the battery out.

  3. 5ANYshnWRnqSX2WV
    5ANYshnWRnqSX2WV
    WEDIOBobFpV3eIIE
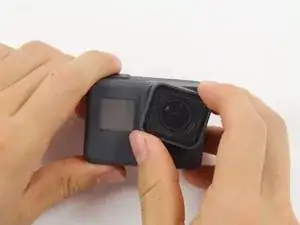
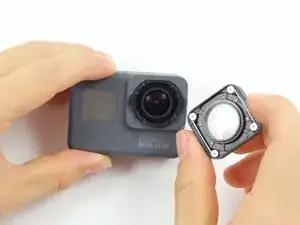
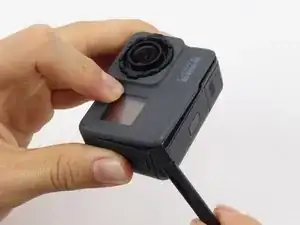
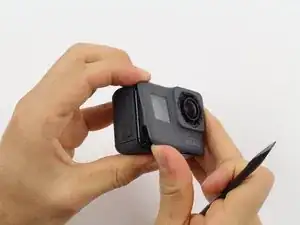
    • Pull and twist the lens cover right or left until it pops off.

    • The lens cover is secured tightly and might be difficult to twist off.

    レンズを回すには爪などをレンズカバーと本体との隙間に入れて、手前に引き出してから回転させます。

    Taizo Yamamoto -

    Go around the gap between the lens cover and camera body with a thin spludger to open a small gap and the cover will twist off easily.

    Paul -

  4. LIUybTfceCOWdd12
    • This step is not necessary but will make the process of removing the faceplate much easier.

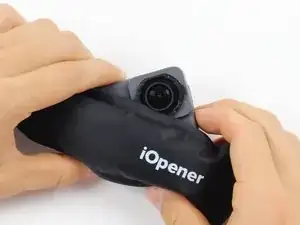
    • Refer to the iOpener instructions for how to heat up and use the iOpener.

    • Apply the heated iOpener to the front of the GoPro for a few minutes to melt the adhesive under the faceplate.

    • The heated iOpener is very hot and can burn your hands. Avoid burns by using towels or gloves to hold the iOpener.

  5. FWDKpAyGtEigTFmN
    FWDKpAyGtEigTFmN
    asUlRbMfROnKRWke
    LMXH5rEmOLDalNRj
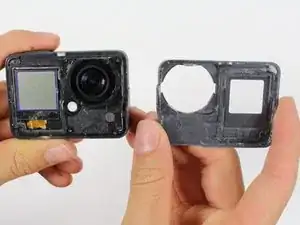
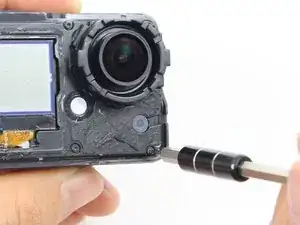
    • Starting with the edges, use the spudger to pry off the faceplate.

    • The faceplate is held down with adhesive and may take a while to get off.

  6. rvOjAToNgLq6baHA
    rvOjAToNgLq6baHA
    3YOvo3BuwPdI32Ty
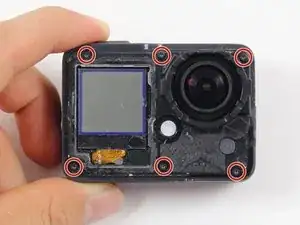
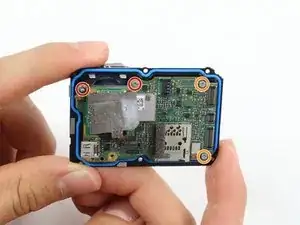
    • Remove the six T3 Torx screws.

    Where can I get the screw driver

    subashzeeq -

    Mine are actually T4 screws.

    John Hahn -

  7. ISictWQTJWObHcFc
    ISictWQTJWObHcFc
    M2unCn3HEFa1WluF
    kdOxtbvIRwPEO6SQ
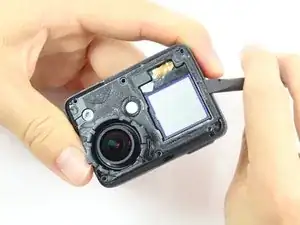
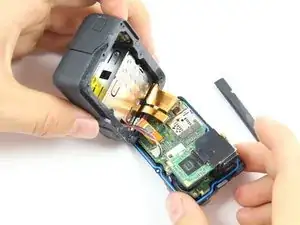
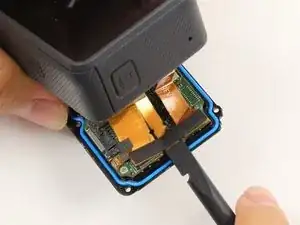
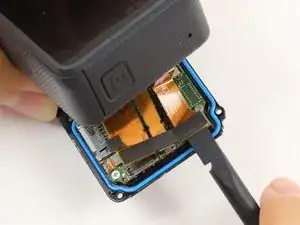
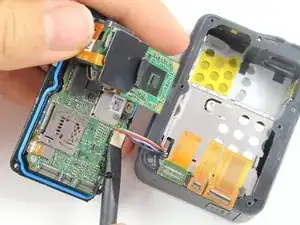
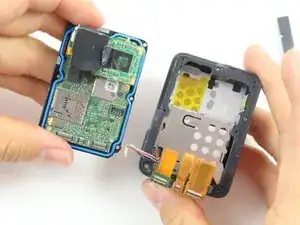
    • Be careful when pulling open the motherboard assembly as it is still connected to the back housing by four cables. The cables may break if stretched.

    • Using the spudger, slowly pry open the motherboard assembly from the LCD side of the GoPro.

    Little FYI ; pry slightly on the side with the LCD. Once it pops, work the other slightly. Then pull the board up and out but remember the cables. THE PICTURE ABOVE WHERE THE METAL SHIELD IS IS THE CAMERA LENS! CABLES ARE ON THE SIDE WHERE YOU BEGIN PRYING.

    stevan othon -

  8. 1hDFQUQ3oKUtS3kj
    1hDFQUQ3oKUtS3kj
    VCGi2IEPP1xFdrUE
    ZnF3wAUGgTQfYWSv
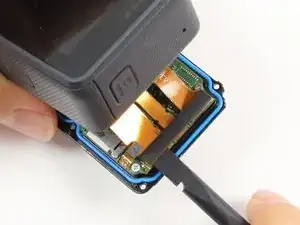
    • Use the flat end of a spudger to pry the three ribbon cables connected to the side of the motherboard.

  9. BG6KZncfTxdJkVG4
    BG6KZncfTxdJkVG4
    WIBHeXUkOKClQhZU
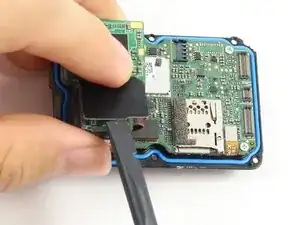
    • Use the flat end of the spudger to pry the battery housing power cable straight up from its socket on the motherboard.

    Does anyone know which are the specs of the connector/socket? Thanks

    Pietro De Caro -

  10. Y5QmT2idrKFwkYN5
    • Use the flat end of the spudger to pry the black cover plate straight up from its socket on the motherboard.

  11. QO2cW6ZGYQmh4VmP
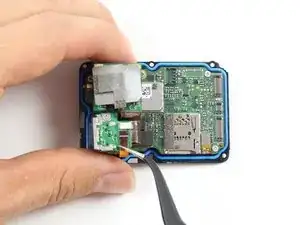
    • Use the tweezers to pull the ribbon cable connector out of its white socket on the charging assembly board.

  12. faurIcHSTM5KUl1x
    faurIcHSTM5KUl1x
    BZUQOptggUqPuCmC
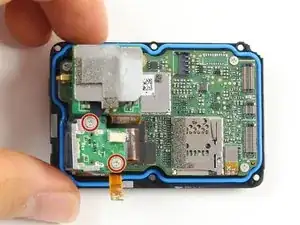
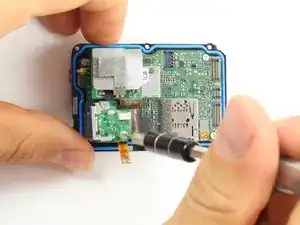
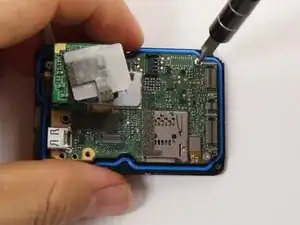
    • Remove the two #000 Phillips screw.

  13. iIHRJ4LAltGyglG4
    iIHRJ4LAltGyglG4
    EEHvjEX1S6ruYfWq
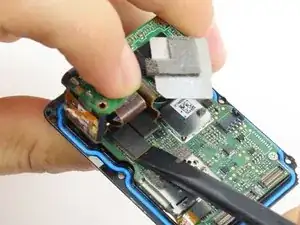
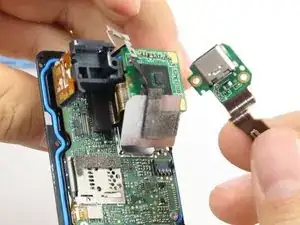
    • Use the flat end of the spudger to pry the charging port ribbon cable connector straight up from its socket on the motherboard.

    • Once the ribbon cable is disconnected from the motherboard. The charging port assembly should come right off.

  14. XpgT6pmgctfAq5gF
    XpgT6pmgctfAq5gF
    4wC6itBCgsDebBww
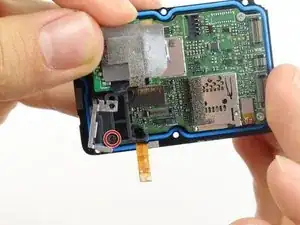
    • Remove the 10mm #000 Phillips screw.

  15. RuyoSl5YAi43Zdko
    • Remove the charging assembly housing by pulling it straight up off the motherboard.

  16. WkVQNOcKSnZlB4iQ
    WkVQNOcKSnZlB4iQ
    2NZjCPFWHmQTIQ3W
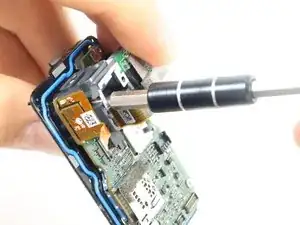
    • Remove the two 6mm #000 Phillips screws.

    • Remove the two 2mm #000 Phillips screws.

  17. 3amiXEwkgMWERPOF
    • Use the flat end of the spudger to pry the lens assembly ribbon cable connector straight up from its socket on the motherboard.

  18. D3RBW12ofTIQaZwO
    • Use the flat end of the spudger to pry the LCD screen ribbon cable connector straight up from its socket on the motherboard.

  19. 3gAlLeXSpqt6wDEH
    3gAlLeXSpqt6wDEH
    Yy4XxlPDTHP16dbh
    nVoAAPY3DWxyGXN3
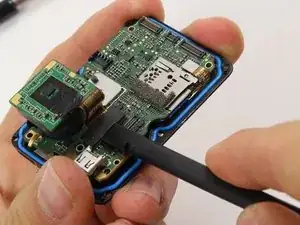
    • Use the flat end of the spudger to pry the motherboard off the midframe.

    • The motherboard is held onto the midframe with light adhesive and should come right off with a little force.

Abschluss

To reassemble your device, follow these instructions in reverse order.

Christopher Adams

Mitglied seit: 03/10/16

2032 Reputation

10 Kommentare

Hi

I took off only faceplate. Do you guys have an idea how to make it waterproof again? What can be used as an adhesive? Thanks

ramone4 -

you can try silicone glue, although obviously there is no guarantee to what extent it would be waterproof.

mattatron4 -

I think you better use an extra waterproof case to put your GP5 in it

Loic -

I used this guide to replace the USB port in my GP5. Does anyone know of a good way to hold the face plate down once it’s been removed? Not looking to make it waterproof again, just trying to hold the faceplate down a little better.

Mario Wong -

I would try either a silicone- or cyanoacrylate- (super glue) based adhesive. You can try to peel off the blue gasket and/or sand where the two pieces meet for better adhesion.

mattatron4 -

Be careful with CA glue. The vapors as it dries can haze over some plastics. I’m going to try silicone-based.
Winston Moy -

Can you tell me where the WIFI card or antennae is and can it be permanently removed?  Thanks.
Jim Cork -

any chance to geht schematics on the hero5 or hero5 session? I need to replace some components

Jan -

Anyone know what type the clock battery is?

purnadika -

Thanks everyone that put together this tutorial. You saved me $130 bill from a repair shop or making my 5 an expensive paperweight!

David Lee -