Einleitung
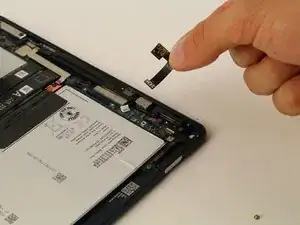
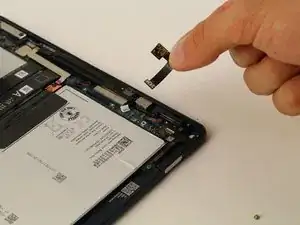
This replacement guide demonstrates the steps required to replace a cracked, damaged, or otherwise inoperable rear-facing camera in your Google Pixel Slate.
The rear-facing camera is used to take photos from the back of your device. It may become inoperable for a number of reasons including factory defect. Before replacing, first try resetting your device. If the problem remains the same, continue with the replacement.
Replacing the rear-facing camera requires no special skills. Each of the steps is in this guide is accompanied by a brief description and photos demonstrating what you will need to do.
Werkzeuge
-
-
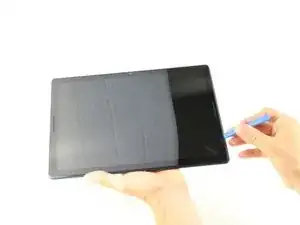
Orient the Google Pixel Slate so that the screen is facing upwards.
-
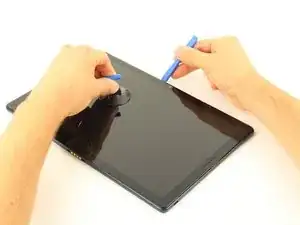
Use the iFixit opening tool to separate screen from main body.
-
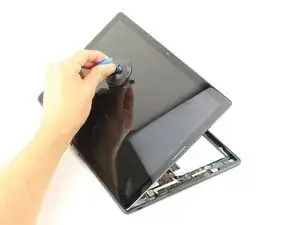
Use the suction cup to remove the screen from the body of the device.
-
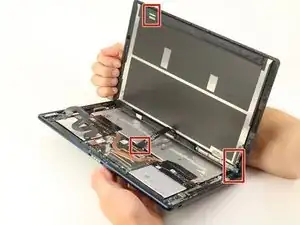
-
-
Gently disconnect the three flat-wires from the screen.
-
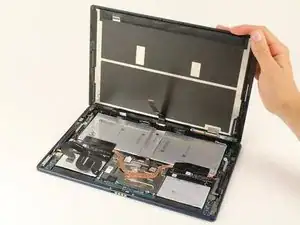
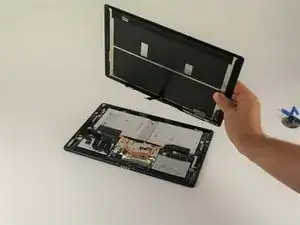
Carefully separate and remove the screen from the body of the device.
-
-
-
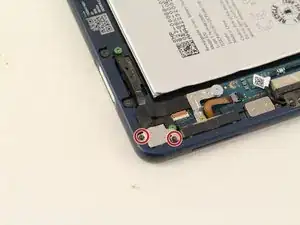
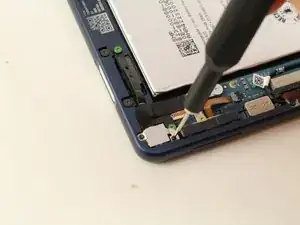
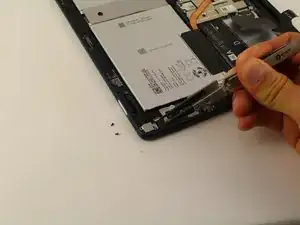
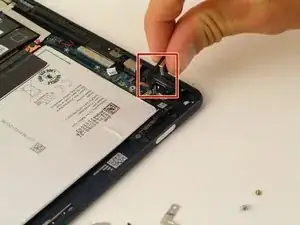
Use a T2 Torx screwdriver to remove the two black 2mm screws holding down the square plate.
-
Use the Nylon Tipped Tweezers to lift the metal plate.
-
-
-
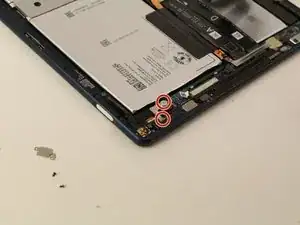
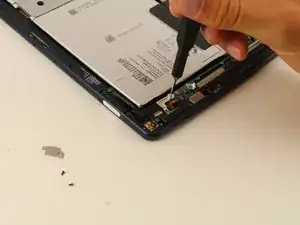
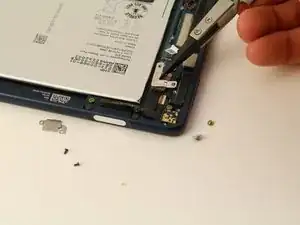
Use a T3 Torx screwdriver to remove the two yellow and grey 3mm screws from the L-shaped plate.
-
Use the Nylon Tipped Tweezers to lift the plate from the device.
-
To reassemble your device, follow these instructions in reverse order.

The tool and suction does not work for me. The adhesive is too strong.
beep -
It’s so easy to crack the screen here. I recommend using heat to soften the bond and avoid cracking the screen. Ideally a heating pad ($$$), but a heat gun or hair dryer also does the trick. I’ve seen a temperature range of 80-90 C (matching specs from a heating pad). I heated a pizza stone to temperature to make a homemade heating pad. That worked to soften the adhesive here.
beep -