Einleitung

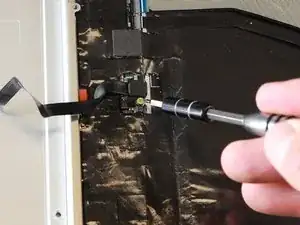
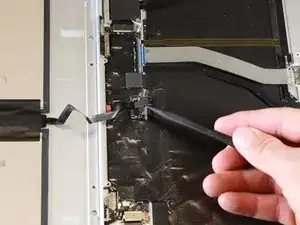
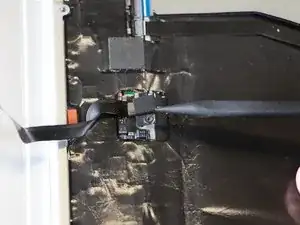
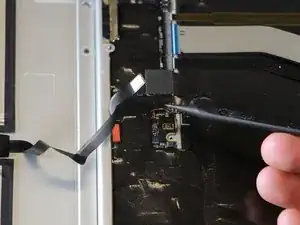
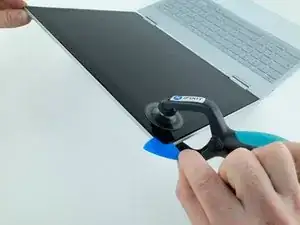
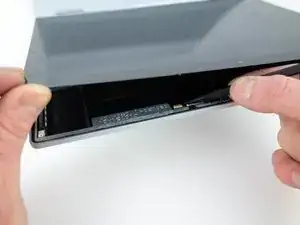
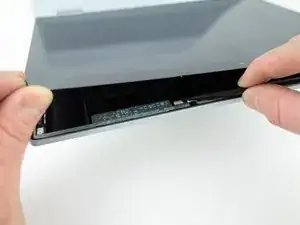
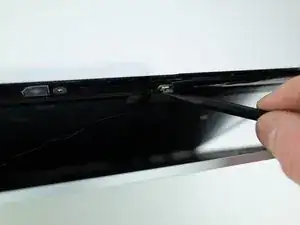
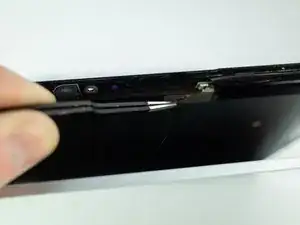
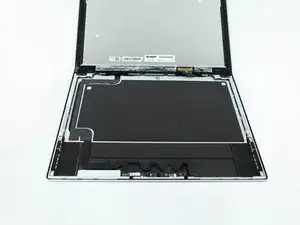
The display on the Google Pixelbook is secured with strong adhesive and requires some careful prying to separate it from the case. Using heat from a hairdryer, or an iOpener, may help soften the adhesive for easier removal.

  1. fBlrlGgslxP2nxM4
    fBlrlGgslxP2nxM4
    1ol2EHpPeINwjUWP
    BSJwHoMleKY5wZrc
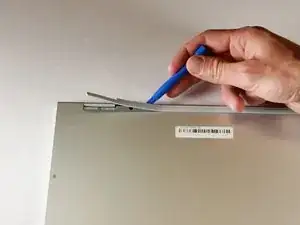
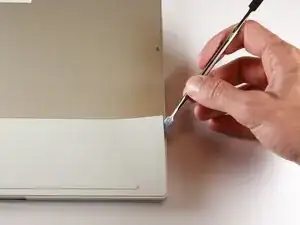
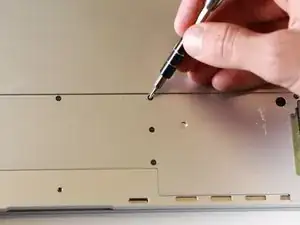
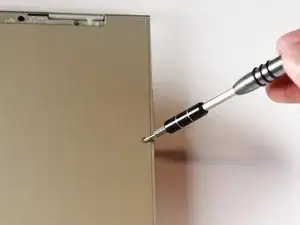
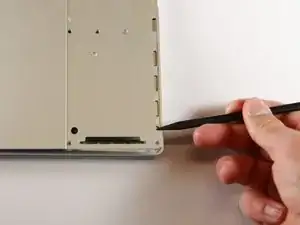
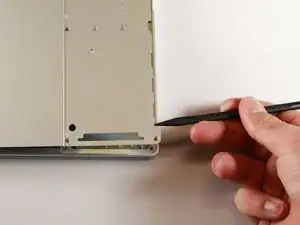
    • Use the iFixit opening tools or a metal spudger to pry the rubber covers off the back of your Pixelbook.

    • Peel the linings off completely until the back of the Pixelbook looks bare.

    After using the spurger to start lifting the rubber like cover at a corner, a two inch wide paint scrapper proved to be an easy way to continue. Using the scrapper at roughly a 30 degree angle (with respect to the laptop rectangle) allowed progressive lifting of the cover. Ripping of the cover tended to occur if only the narrow spurger was used.

    Marvin Stodolsky -

    Please i need to buy the motherboard

    This my email chikaubah33@yahoo.com

    chika ubah -

    The narrow rubber foot at the base of the display is supported by bendable metal. Be careful how evenly you remove it as uneven motions will result in a more bent and harder to re-apply piece.

    Meta Data -

  2. ujFHV24exWMcLwC6
    ujFHV24exWMcLwC6
    QnPGxD3D2fsMqLZ3
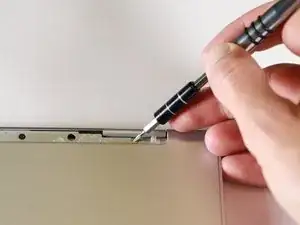
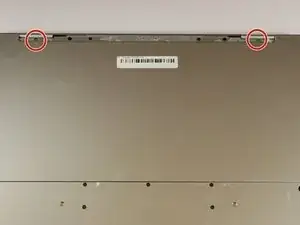
    • Remove the two yellow 2.0mm screws by using a T3 Torx screwdriver.

  3. XkXTc1bQFnvkLSJp
    XkXTc1bQFnvkLSJp
    juHrNhkwRtQS1pZh
    XLWEBOPaEYdCpaY1
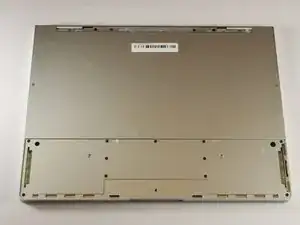
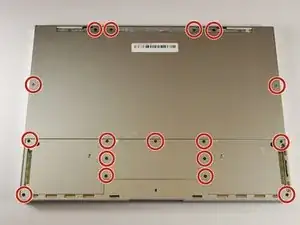
    • Remove the seventeen 3.0mm T5 Torx screws from the bottom panel.

    Just a heads up on “Step 3”: (not sure if maybe mine is a newer model since I just got it about a week ago) But there are only 15 of the T5 Screws on mine… Not 17. There are only 2, instead of 4, screws at the top of the picture (located at the hinge) showing the back where they are all circled.

    Jeff Lewis -

    I had the same experience as Jeff.

    Paul Schreiber -

    same, there are only two screws up top, not 4, thus 15 total

    Meta Data -

  4. DMZstGpyFEuGlSGm
    DMZstGpyFEuGlSGm
    KcVOqnNaONt1gZoH
    o1USKUKMnBRibeTT
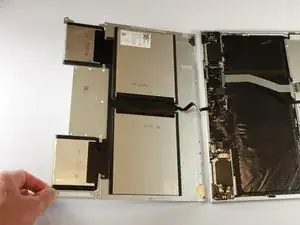
    • Use the nylon spudger to pry the edge of the Pixelbook up until you can grab the edge with your fingers.

    • Open the back panel completely and lay it flat so you see the whole inside of the computer.

  5. 1Wr4uGkGVQx1V4DC
    1Wr4uGkGVQx1V4DC
    kq4AGbdtfNLculoJ
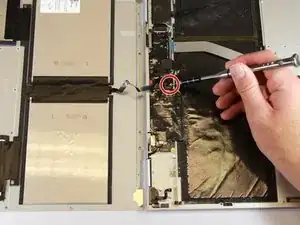
    • Remove the yellow 2.0mm screw from the middle of the panel by using the T3 Torx screwdriver to turn the screw counterclockwise.

    For me, these were T4 and not T3 screws (everything labelled T3 was a T4 for me).

    Paul Schreiber -

  6. pcBGPF3sTkC1ib2R
    pcBGPF3sTkC1ib2R
    CYqyUHm3QSAWb2YZ
    • Remove the small, black casing by using the spudger to lift it up from its place.

  7. C4HBMGvP3FFFOp2N
    • Disconnect the flat, black cord from the main component by using a spudger to push it out of the slot, or by using your hand to carefully pull it out.

    • Your back panel is now free from the main component.

  8. vWAtJIocjh4VdOIq
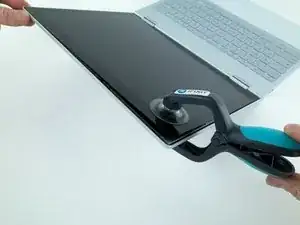
    • Use an iSclack, or suction cup, to lift up the corner of the display from the case.

  9. UjWvErTwlrd1EQMn
    UjWvErTwlrd1EQMn
    fnxOxP2ER1K6CVwn
    H2OyNDVSj6UTqEBr
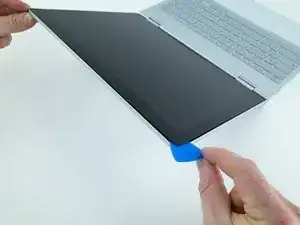
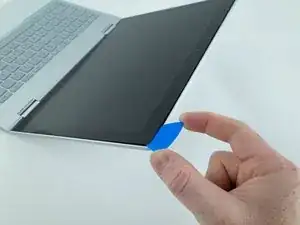
    • Insert an opening pick into the gap between the display and case.

    • Repeat this procedure on other side.

  10. i6CXWRS4lOaZJmPy
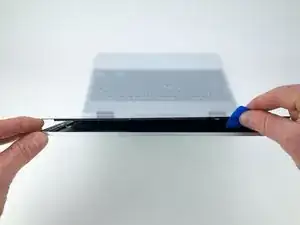
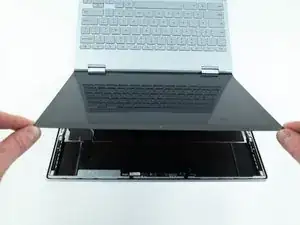
    • Using an opening pick, slowly pry up on the display until it separates.

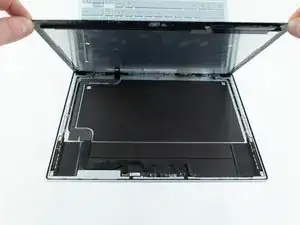
    • Don't completely remove the display as ribbon cables connect it to the case.

  11. Vg6bBHNqsA1C3mXs
    Vg6bBHNqsA1C3mXs
    BKEvoY6HRjfkGQov
    kpuZpgoDOxglE1kX
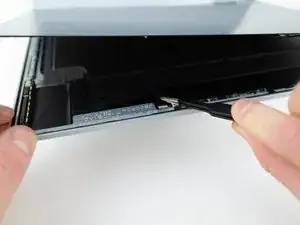
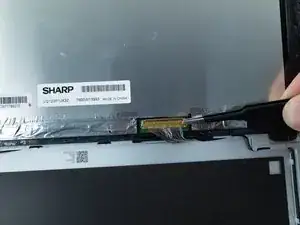
    • Use the pointed end of spudger to flip up the small locking flap on the ZIF connector.

    • Remove the display ribbon cable from the socket.

  12. dBeQ4A3IyEc3etYq
    dBeQ4A3IyEc3etYq
    c5wFlTGy4FmfyL5N
    3frCD6dwjhe2SSAB
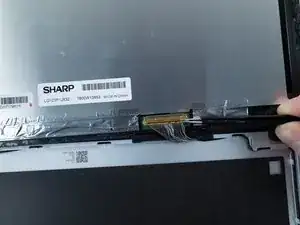
    • Use the pointed end of a spudger to flip up the small locking flap on the ZIF connector.

    • Remove the display ribbon cable from the socket.

    The text is misleading for this step- you're really just peeling back the cushy adhesive and pulling out the ribbon cable. The pictures are accurate.

    Cliff Galloway -

  13. eMkKpwailmpnGG6p
    eMkKpwailmpnGG6p
    ITPgowTmKpMINbO4
    AwsVGQMJODHrBgaV
    • Flip the display over and lay it flat on the keyboard.

  14. aZ2CrowFPnJXcvoa
    aZ2CrowFPnJXcvoa
    DC2YwmquB5X2RgU4
    wHmMybOrsBUFIAmG
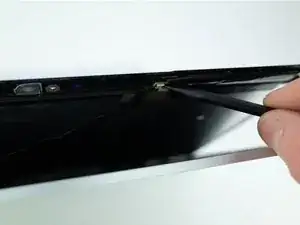
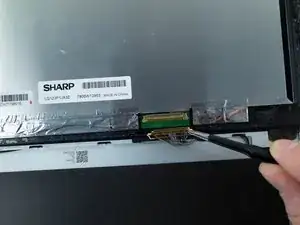
    • Use a pair of tweezers to grab the clip on the display connector and swing it over to the other side of the socket.

    • Pull on the clip to disconnect the display.

    • Remove the display.

Abschluss

To reassemble your device, follow these instructions in reverse order.

Blake Klein

Mitglied seit: 30/01/17

67752 Reputation

9 Kommentare

Where would you find a replacement display?

Carlos Garcia -

Any idea on where to get a display replacement for the Pixelbook?

Nicolas -
Is it necessary to remove the back in order to remove the screen? I cant see any connection between the two?

Thanks

Stevie B -

You remove the back to disconnect the battery.

Sergio B -

any idea how to remove the glass shade on the back panel?

jon -

Is there a way to remove the entire screen assembly portion (lid) and replace it? I have two broken pixelbooks and I’d like to make a working one.

Trevor Standley -

Still waiting for a display replacement. link.

Menoats Untouchable -

Found a full-lid assembly replacement on eBay, but no instructions. Should be easier than this, but I'm not sure without instructions. Any ideas? (Actually rented my life, so a full replacement is really great)

Martin Yonke -

Not very useful when the only replacement screens I can find are culls from dead Pixelbooks on eBay :-(

Paul Ste. Marie -