Einleitung
A very special thanks to @Declan acoustic-unicyclist for the zip-tie trick. My first change took 2 hours, my second had some detours but next time will be more smooth. Sadly these two changes have been in less than 100 miles so I’m not expecting this tube to last either.
Werkzeuge
Ersatzteile
-
-
Remove the four edge screws with a #1 Phillips screwdriver. Turn the Mten3 over. Remove the additional four edge screws.
-
-
-
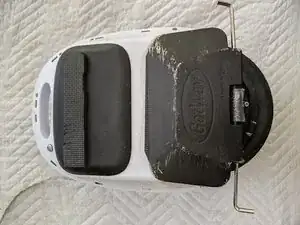
Lay the machine left-side-up with the anti-spin switch facing up
-
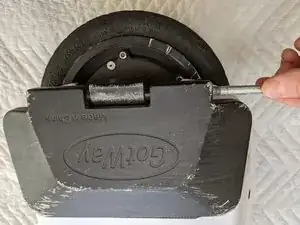
Remove the two 5mm hex Allen set screws, one at each end of the left foot pedal
-
Use the Allen tool to push the hinge pin, and then remove the hinge pin
-
Set aside the foot pedal, allen screws, spacers, and hinge pin
-
-
-
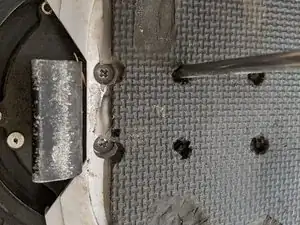
Remove the screws that mount the left shell of the housing to the motor.
-
This may require you to remove the pad. To explain the photo, I installed a jump pad home-made from exercise mat. I used a small magnet and an awl to locate the screws and then punched access holes.
-
-
-
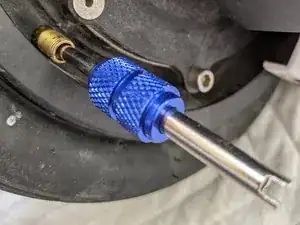
Use a removal tool to remove the Schrader valve core to relieve the inner tube of any remaining pressure.
-
-
-
Mark the location of the valve stem, on the other side wheel. The valve stem is on the same side of the axel as the motor wires enter, so you'll be working from the other side.
-
-
-
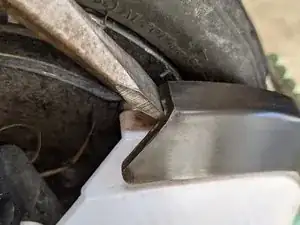
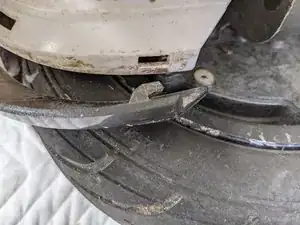
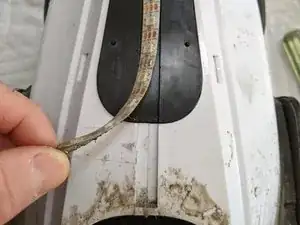
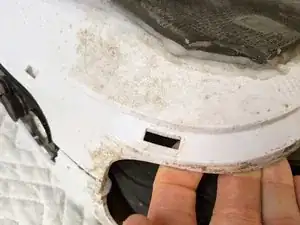
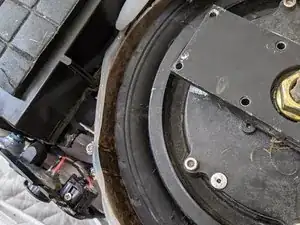
Open the case, starting at the wheel well. If you have followed this procedure before, you will need to tear the seal above the wheel well.
-
-
-
Lay the halves of the case open side by side so that the wiring for the anti-spin-out switch is slack
-
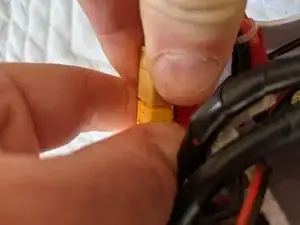
Disconnect the battery. Cover the battery connector, for example with tape or a small plastic bag.
-
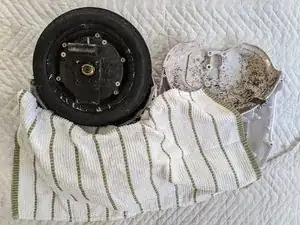
Cover the battery and controller with a shop rag or towel.
-
-
-
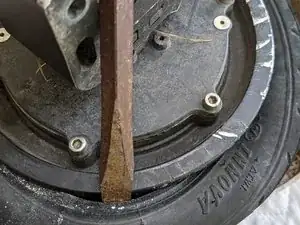
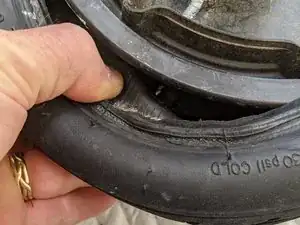
Two ways to go here. One, you could pry one side of the bead and lift the bead over the rim, using giant pry tools, and you might damage the bead or the rim like I did.
-
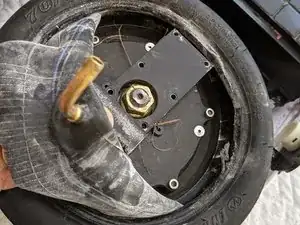
This is enough to remove and replace the tube.
-
-
-
Alternatively, the zip-tie method should allow you to remove the tire entirely, without using tools.
-
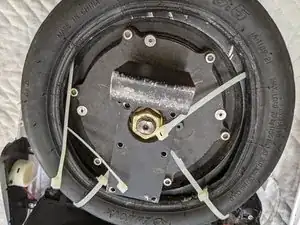
Thread at least five zip ties between the rim and the tube/tire, all the way through the channel, equally spaced around the rim.
-
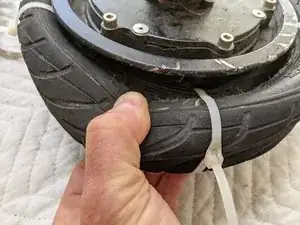
For each zip tie, press the two tire beads together, with the tube inside the tire. Snug the zip tie so the beads are held closed together. This will allow the beads to drop into the channel at the center of the wheel.
-
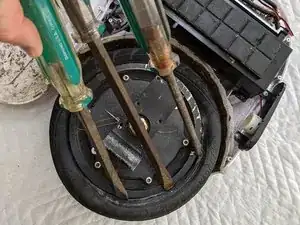
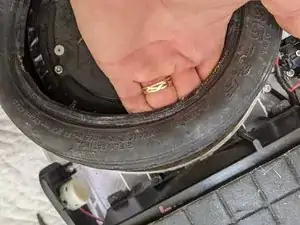
It is now possible to pull the tire off-center and work it over the rim. A flat-blade screwdriver can be used, but hand strength may be sufficient.
-
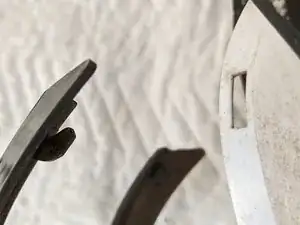
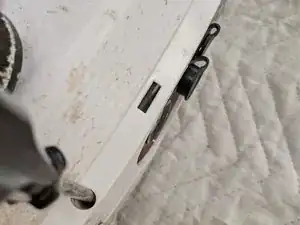
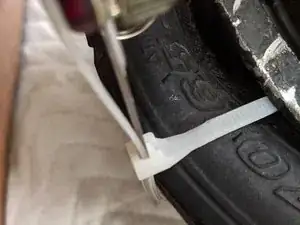
The zip ties can be salvaged by inserting a knife blade between the parts of the fastener.
-
-
-
Examine Slime marker for location of puncture.
-
Use a vaccum cleaner, compressed air, or a damp cloth to remove any debris from inside the tire. You know what a rock in your shoe is like...
-
Feel for any sharp irritants remaining in the tire wall, giving special attention to the identified location of the puncture.
-
Add some powder in the tire and distribute it to reduce "blistering" friction between the tube and the tire.
-
-
-
This is probably as good a time as any to inject an ounce or so of Slime into the new tube. Be careful the tube does not open and fill with air.
-
Install at least 5 zip ties positioned around the tire, so that the tube is inside the tire and the beads are held closed together. Do not corrugate the tread wall, flatten it instead.
-
I was able to reinstall the tire using only hand strength and no tools.
-
The zip ties can be cut or salvaged.
-
-
-
Remove the cap from the valve stem.
-
Rotate the tire on the wheel so that the valve stem is aligned with the hole.
-
Work the valve stem through the hole. For us with big fingers, this is easier done indirectly by manipulating the tire and tube.
-
Replace the cap on the valve stem so that it cannot go back through the hole.
-
-
-
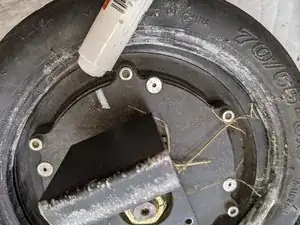
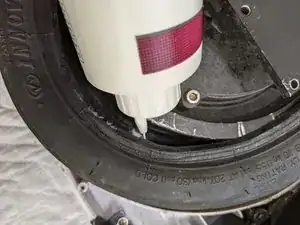
Apply a bead of sealant at the top of the wheel well as a barrier to forceful water and dust penetration from the wheel well into the electrical power and electronics housing.
-
Silicone bathtub caulk is working for me. In my experience it is easily tearing loose when I need to open the case. I looked for some "H-channel" but couldn't find a source.
-
Do not clean the surfaces. Or treat at least one surface with a chemically compatible releaser like Armorall. This won't be the last tube you change, so you you want to fill the gap but not adhere permanently.
-
Mind the anti-spin switch wiring. Brand new my Mten3 had glitchy erratic behavior blamed on this wire being pinched at the factory.
-
Mind the alignment of the plastic fingers on the power panel.
-
Mind any other gaps that aren't closing or snapping together, they might be crushing wiring.
-
Reassemble the shell, screws, foot pedal, LED strip, and bezel in reverse order of disassembly.
-
To reassemble your device, follow these instructions in reverse order.
