Einleitung

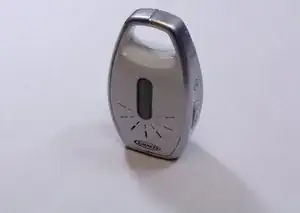
Use this guide to replace the LED on your Graco Secure Coverage Digital Baby Monitor for parent unit.

The LED replacement includes the LED and battery replacement.

  1. xrupRgUOX1Ojcj6A
    xrupRgUOX1Ojcj6A
    mKmSBKgAhwI1RKqi
    mFhZdqvOGYAIW6Ei
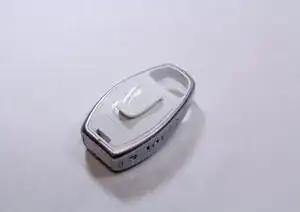
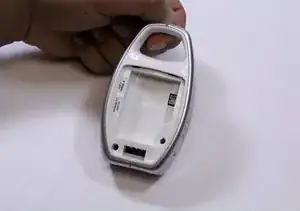
    • Using plastic opening tool, pry and remove the battery lid.

  2. fLHcQcBMPES5yYKn
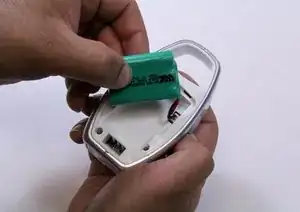
    • Remove the battery by holding the device with one hand and pulling the battery out with other hand carefully.

    • Make sure that you disconnect the battery's wire before you remove the battery.

  3. Z2ODHIAESrfKLNgR
    Z2ODHIAESrfKLNgR
    XBGHqaycTKPoYngN
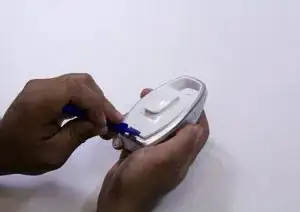
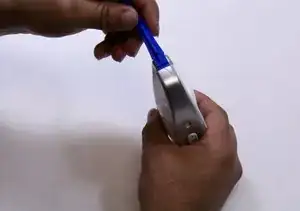
    • There are two screws on the rare case of the device. For the one shown in blue marker requires either an extended screwdriver or putting on a little pressure on a regular screwdriver.

    • Remove the two 9mm Phillips #1 screws from the rare case of the device.

    • If you cannot remove the screw with low pressure, do not use high pressure to remove it. It may cause a damage on the device case. Use an extended screwdriver instead.

  4. PpYS36mybSXHEgSV
    PpYS36mybSXHEgSV
    IPGYoJpjDFq16nbh
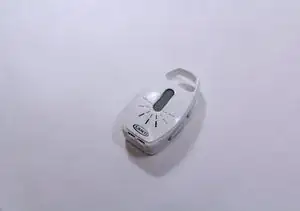
    • Using opening plastic tool, pry the two grey cases from both sides of the device.

    • Take your time and apply constant force to avoid breaking or damaging any other plastic parts.

    • While pry off the grey cases, hold the device with your other hand to remove the cases

  5. 1OdSjAiDDulGqwxV
    • Pry the edges of the device to separate the front and rare cases.

    • While prying the edges, hold the device with one hand to pull out each case a part.

    • Make sure you use a constant force, and the pushbuttons are pried off completely.

  6. I2Mrp6WgDNko2CTD
    I2Mrp6WgDNko2CTD
    aVhtxN3lCkagDh4b
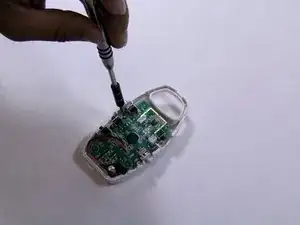
    • Remove the 7mm Phillips #1 screw from the mother board.

    • Place the screw in a secure place.

  7. eL3NqRC1FUAyPsZg
    eL3NqRC1FUAyPsZg
    SViZ3EfHVOFDwvtO
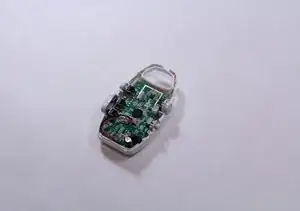
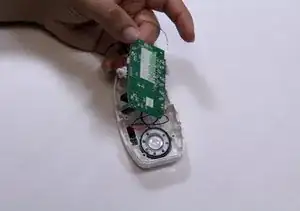
    • Flip over the motherboard.

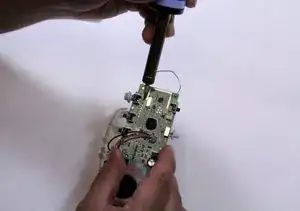
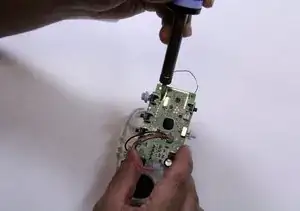
    • Solder off LED from motherboard.

    • There are many pins attached to the motherboard, make sure you solder off the proper pins that attached to the LED's.

    • Replace the LED's

Abschluss

To reassemble your device, follow these instructions in reverse order.
Bryson Wolff

Mitglied seit: 31/08/15

237 Reputation

0 Kommentare