Einleitung
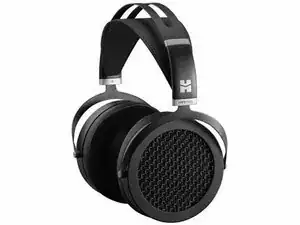
This guide will show you how to replace the headstrap on your HIFIMAN Sundara planar magnetic headphones.
In preparation for this guide, you will need the following tools:
- Cutting pliers.
You will also need the following materials:
- HIFIMAN Sundara
- New HIFIMAN Sundara headstrap
Werkzeuge
Ersatzteile
-
-
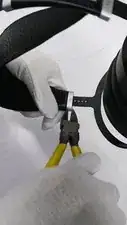
This step is necessarily destructive, and with careful application of the cutting pliers, no damage will be done to the headphones. Make sure to remove both fasteners.
-
The headstrap-headband interface is the piece of plastic which the headstrap itself adheres and whereby it attaches or interfaces with the headband. This part will be referred to as Interface for brevity from here on.
-
-
-
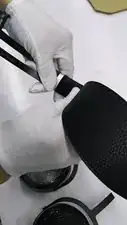
Remove the old headstrap from the headband as shown by detaching the Interfaces from the headband.
-
A metal strip is present inside both of the Interfaces. Make sure to retrieve them and set them aside in a salient location.
-
Remove the drivers (speakers) as shown.
-
-
-
Insert the new headstrap as shown into the headband by inserting the Interface into the headband, but do not yet press the Interface into the headband.
-
Don't forget to re-insert the metal strips mentioned in Step 2 here as shown in the video.
-
-
-
As the design of the headband is ambipolar, which side of it is designated as the left or right side does not matter.
-
Before inserting the drivers back into the headband, make sure to slip on the metal fasteners, one for each driver, onto the extension adjustment.
-
Make sure the metal fasteners have the written polarity, either L or R, facing on the inside.
-
After ensuring the fasteners are facing the correct direction, slide the drivers back into the headband and firmly press closed the Interface as shown in the video.
-
-
-
Firmly push the metal fastener upwards to permanently secure the Interface to the headstrap as shown. No adhesive is required.
-
Make sure to apply equal amounts of force as you push the fastener onto the Interface.
-
Headstrap replacement is complete.
2 Kommentare
you absolutely do not need to cut the metal fastener in step 1. just pry it downward carefully with a flathead screwdriver and it comes free.
Thanks for this tip, had to deal with a loose headstrap and it is very easy to just pry it with a screwdriver. You don't even dent it at all if you're careful.
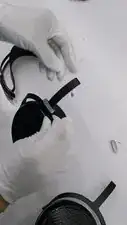
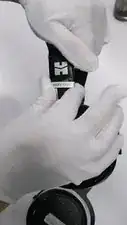
DON'T CUT IT.
from the inside of the headband, stick a flathead between the metal fastener and the plastic body, and pry downward carefully. the metal fastener should come free without breaking it.
never perfect -