Einleitung
Werkzeuge
-
-
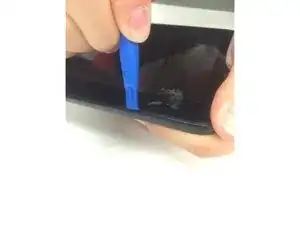
Remove back of tablet using the plastic opening tool
-
Slide the opening tool between the back of the tablet and the digitizer
-
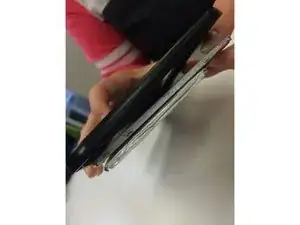
Lift along the edges until the back of the tablet and the digitizer are separated
-
-
-
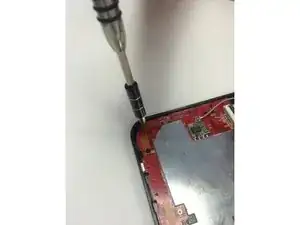
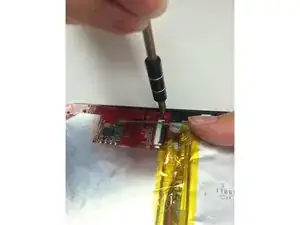
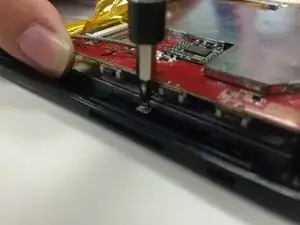
Remove 4 screws located on the red motherboard
-
The red motherboard will be loose, but does not need to come completely unattached
-
-
-
Remove 7 screws located around the edges of the tablet
-
5 screws are visible around the edges of the device and 2 screws are located underneath the red motherboard
-
-
-
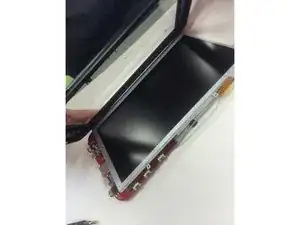
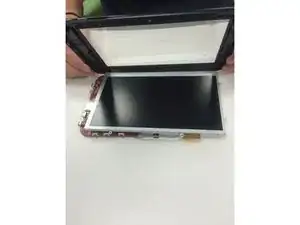
Lift digitizer from the screen
-
After removing all of the screws, the screen should easily separate from the digitizer
-
Abschluss
To reassemble your device, follow these instructions in reverse order.
