Einleitung

  1. 3b1OwNMpsABL2bca
    3b1OwNMpsABL2bca
    UxmjHqMLZDyRTjwu
    QSEVuILKn4LQEl4O
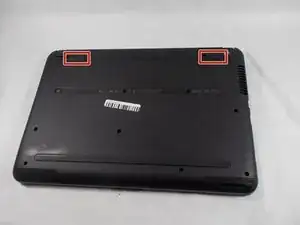
    • Turn the laptop over to its bottom so that the backside is facing you.

    • Using your fingers, push the two locking tabs inwards to release the battery.

    • Remove the battery from the device.

  2. SynfRaNViQV2fc2I
    SynfRaNViQV2fc2I
    1odfAZTd5Z5AlcLm
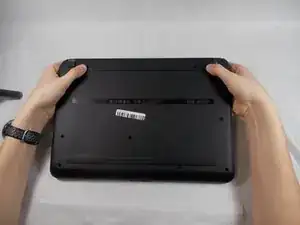
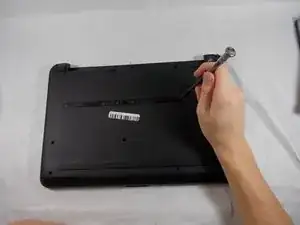
    • After removing the battery with the laptop on its back, expose screws that are hidden under the rubber feet and the center label.

    • Using the Phillips #0 screwdriver, remove fourteen (14) 6 mm screws from the back panel.

  3. sJCnZsmMUtEgJfT4
    sJCnZsmMUtEgJfT4
    vBsBJfmMAShAax4P
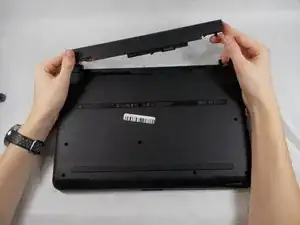
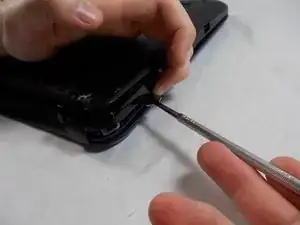
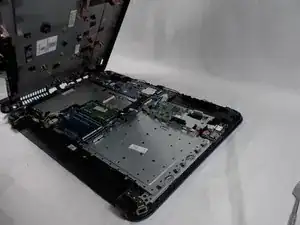
    • Use a prying tool to remove the back panel from the base of the computer.

  4. ep2NDkLgcnLKB1F2
    ep2NDkLgcnLKB1F2
    aqDdfhLeGfD62dVY
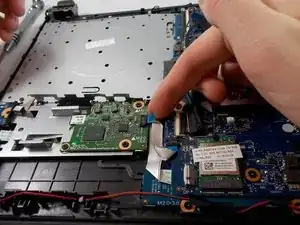
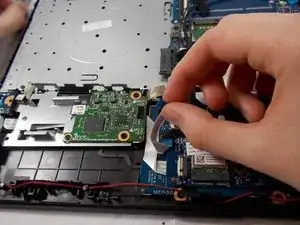
    • Disconnect the daughterboard from the connector with your thumb and pointer finger.

  5. HPlgjylJ4FHqVAGa
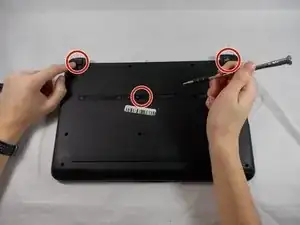
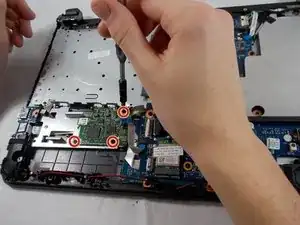
    • Use the Phillips #0 screwdriver to remove three 3 mm screws.

  6. wjxJAMPC2RUPtOLO
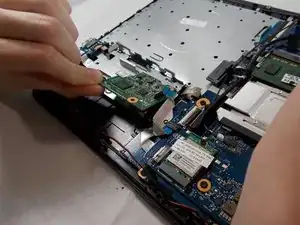
    • Remove the daughterboard from the device.

Abschluss

To reassemble your device, follow these instructions in reverse order.
Paige Fonseca

Mitglied seit: 25/10/21

217 Reputation

0 Kommentare