Einleitung
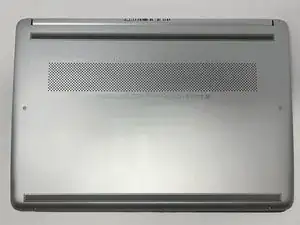
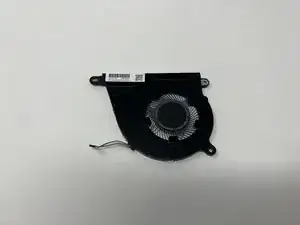
In this guide, you will learn how to remove a HP 14-fq1025nr fan and replace it with a new one. The fan is used to cool the computer down when it is processing data. A faulty fan can result in the computer overheating and may cause it to either slow down or shut down. For additional information and help with troubleshooting the fan, refer to our troubleshooting page.
Werkzeuge
-
-
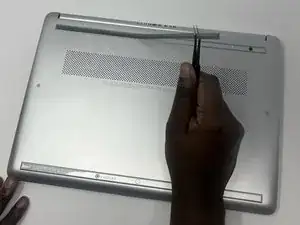
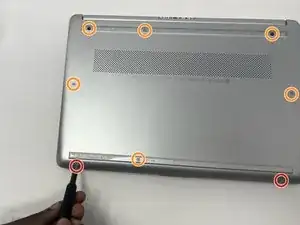
Remove the two 4 mm screws using a Phillips #0 screwdriver.
-
Remove the six remaining 6 mm screws located around the edges and underneath the feet using a Phillips #0 screwdriver.
-
-
-
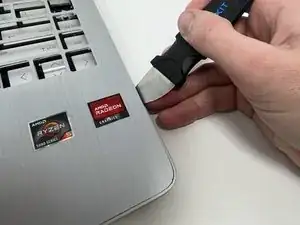
Flip the laptop right-side up and slide an iFixit opening tool and/or Jimmy inside of the bottom cover seam to pry it open.
-
-
-
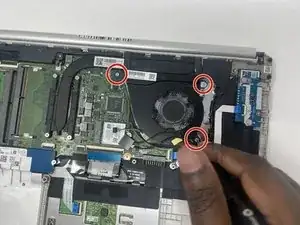
Remove the three silver screws (one 2 mm screw and two 4 mm screws) holding down the fan using a Phillips #0 screwdriver.
-
To reassemble your device, follow these instructions in reverse order.

