Einleitung
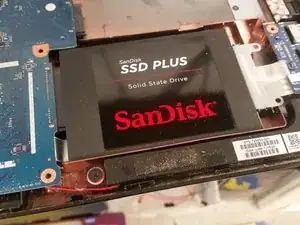
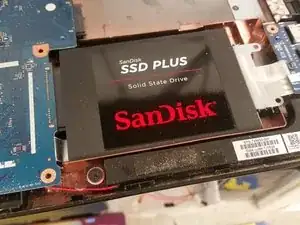
This guide teaches you how to replace the hard drive in an HP 15 Series laptop.
Werkzeuge
Ersatzteile
-
-
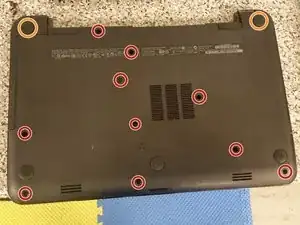
Remove the 10 same-sized Philips screws.
-
Use a tiny flathead screwdriver to pry the rubber feet off, and remove each of the screws under where the rubber feet were. These screws, as you may notice, are longer than the others.
-
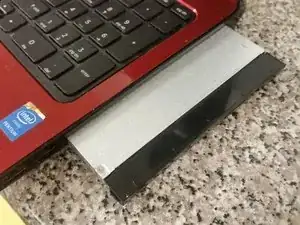
Slide out the optical drive, if there is one.
-
-
-
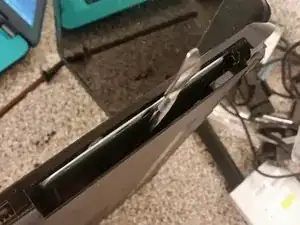
Flip the laptop on its side, optical drive hole up, and use a nice n' long spudger to push the keyboard out through the hole above where the optical drive was. Light always helps to pinpoint the hole.
-
Once the keyboard starts popping up, get under it with your fingers and pull.
-
Set the laptop down to normal position, unlock the keyboard connector, and remove the keyboard cable from the connector.
-
-
-
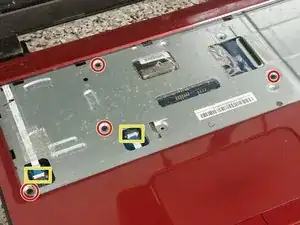
Remove the four screws securing the palmrest to the base.
-
Remove the touchpad and power button cables from their connectors.
-
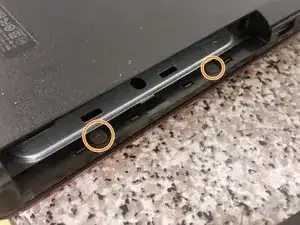
Flip the laptop bottom-up, and remove the remaining two screws holding the palmrest.
-
To reassemble your device, follow these instructions in reverse order.
3 Kommentare
Laptop refuses to power on at all after this, just gives a 6 second blink of the power LED and the F12 LED when the power button is pressed. No screen backlight, no fan noises, no light under the power button...
rp12345 -
Laptop refuses to power on at all after this, just gives a 6 second blink of the power LED and the F12 LED when the power button is pressed. No screen backlight, no fan noises, no light under the power button... Anyone know what could be wrong? All ribbon cabels reseated properly, and used ESD protective wrst strap during procedure throughout.
rp12345 -
The laptop itself magically started working again after a few more cycles of disassembly and re-assembly. No clue how, but it runs now and seems to be back in good health. Didn't do anything differently between the times it failed to power on when reassembled and the time it just started working again, but it works now.
rp12345 -
