Einleitung

This guide will detail the removal of the onboard Random Access Memory (RAM) modules that are installed in the laptop.

  1. aGgkjkTGoMIvrQFt
    aGgkjkTGoMIvrQFt
    XVvtwopPhPWyKr2h
    SFTpuPX1TStA2NRD
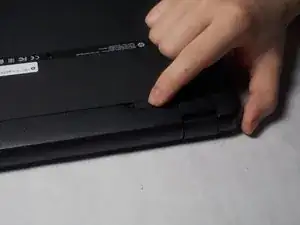
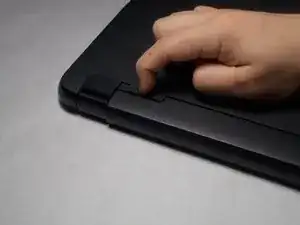
    • Unclip the two latches on the bottom of the laptop.

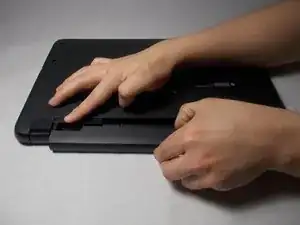
    • Slide the battery straight out while holding the clip open.

  2. WBALnI5wJFHViBg4
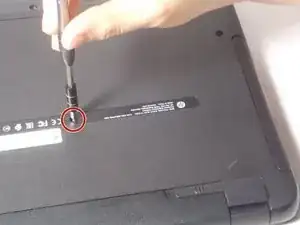
    • Using the Phillips #0 screwdriver, remove the 7.5mm screw from the underside of the plastic frame that holds the disc tray in place.

  3. j6Pl4vjS25nZuIH5
    j6Pl4vjS25nZuIH5
    CgeDiU22D4X6hJfw
    lLoISalgTP1RLwQh
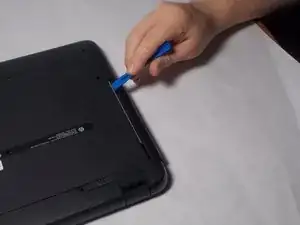
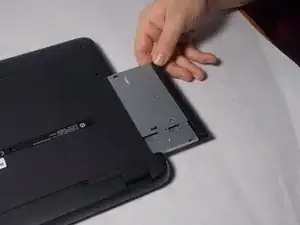
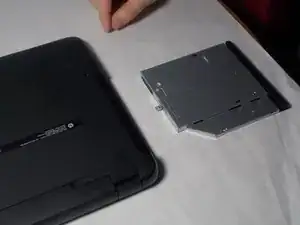
    • Remove the disk tray assembly by sliding it out from the side using the blue plastic opening tool.

  4. vNXwDptFcTdO56HC
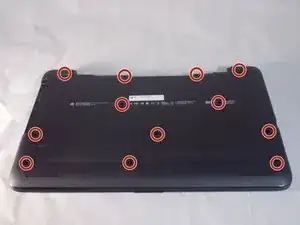
    • Remove all of the remaining back panel screws with a #0 Phillips head screwdriver.

    • Remember to remove the two screws under the rubber feet.

  5. mM1jnBkonXFC5pdU
    mM1jnBkonXFC5pdU
    THSBewG4LArraI3A
    WmFbCY1TRNb23DlX
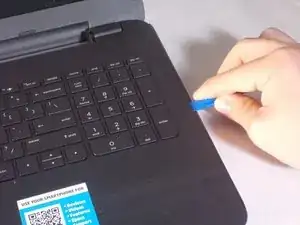
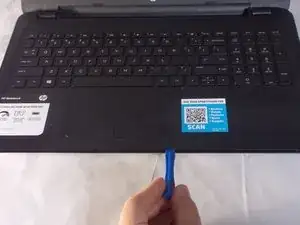
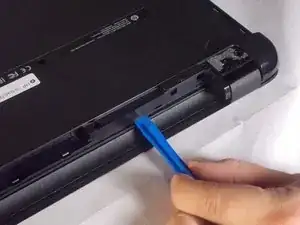
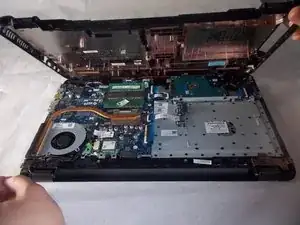
    • Carefully use the blue plastic opening tool to pry the clam shell of the laptop apart.

    • You may need to flip the laptop over to unlatch all of the internal clips.

  6. IQkMDMHCNDWd5V3c
    IQkMDMHCNDWd5V3c
    SRpnZvCmPZokV3kQ
    RNQ5vZskIKtfHRAV
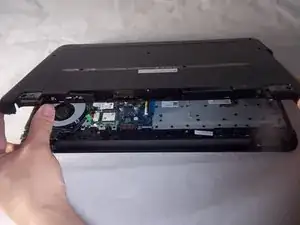
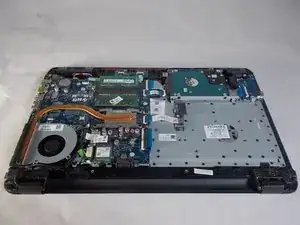
    • Carefully pull the shell of the computer apart.

  7. r5soIJsorF4jrHtE
    r5soIJsorF4jrHtE
    rTjFHWSJZwQ1jTPW
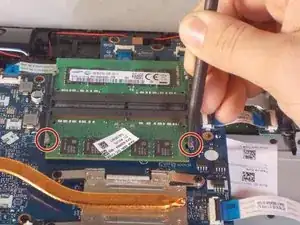
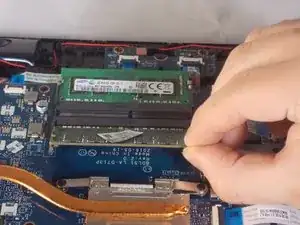
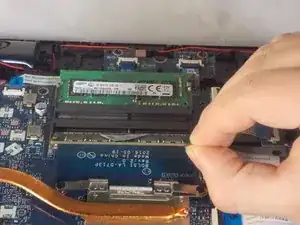
    • Using a plastic spudger, unclip the latch locking the RAM to the motherboard.

  8. ebOEtJo2ELVi4lGe
    ebOEtJo2ELVi4lGe
    meyn16rNuE2VmcjK
    vAVdP6TCY5oMEltQ
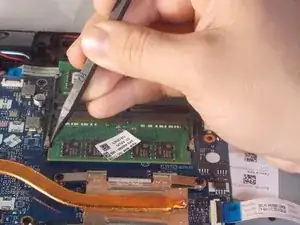
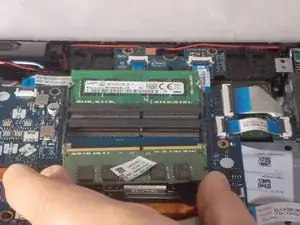
    • Gently tilt the RAM sticks up and slide out each stick.

Abschluss

To reassemble your device, follow these instructions in reverse order.
Benjamin DosSantos Jr

Mitglied seit: 20/03/18

469 Reputation

0 Kommentare