Einleitung

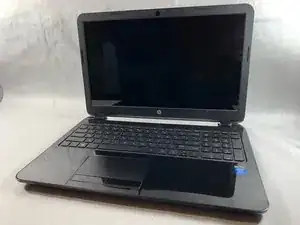
A hard drive can be the source of many issues in a laptop computer. This means that it is important to know how to replace a hard drive. Before you decide to replace a hard drive, you should always attempt to back up your data to a secondary source so that nothing is lost in the process.

  1. iLxH2NcCCImRnV3t
    iLxH2NcCCImRnV3t
    hgbEkMRAXTUQZDXm
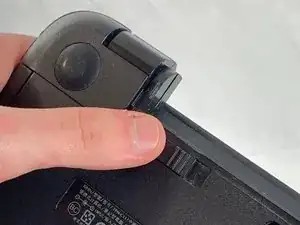
    • Slide the lock mechanism on the left side of the laptop to the right.

  2. 34Hg2JYhuIdiAMCa
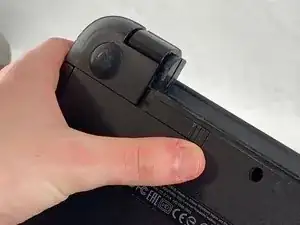
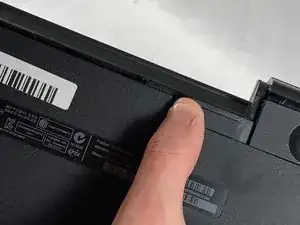
    • While holding the right slide mechanism, remove the battery from the laptop.

    • The battery is not pictured here because it is missing from this particular device.

  3. MAGc1wDN3ZPbdQiA
    MAGc1wDN3ZPbdQiA
    bsb4IUmjXqfvLLFR
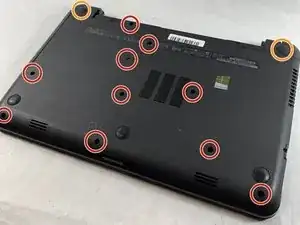
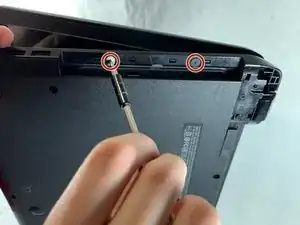
    • Flip the laptop over to reveal screw locations.

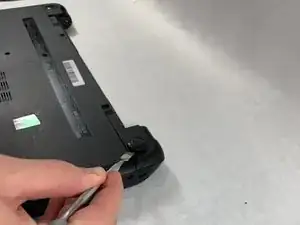
    • Use a metal spudger to remove the two rear rubber feet. There are screws hidden underneath them.

  4. 3wTlE3g4vevTqGZU
    3wTlE3g4vevTqGZU
    jlUvLUq51Lrj4YIF
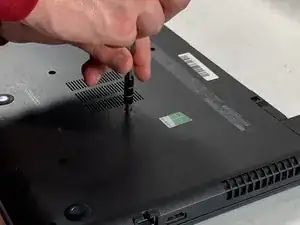
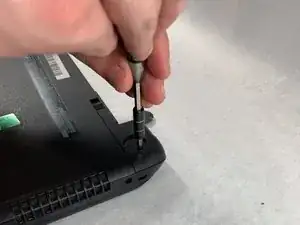
    • Remove the twelve 5mm Phillips #1 screws on the back of the laptop.

  5. NMrXU4MLGsACcThV
    NMrXU4MLGsACcThV
    uBj5ElU2pTyL5CSQ
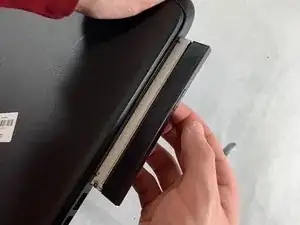
    • Remove the DVD drive from the laptop.

    • Remove the two 3 mm Phillips #1 screws underneath the DVD drive.

    These two steps are in the reversed order! You need to remove the DVD drive before getting access to the screws.

    Lars Voßwinkel -

  6. BGYtP3k2qYkcr6CG
    BGYtP3k2qYkcr6CG
    nfkWa5C3KkY2CHhG
    AaQFx5FHryyDB6IJ
    • Flip the laptop and open.

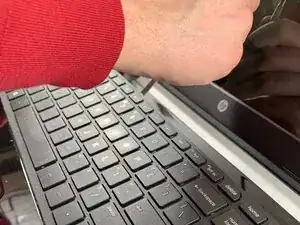
    • Detach the keyboard by prying it free from the laptop using a spudger.

    • Do not completely remove the keyboard yet. It is still attached by a ribbon cable.

    • Disconnect the keyboard ribbon cable.

  7. DH5XQ4fMivAY6V3H
    DH5XQ4fMivAY6V3H
    uDamlkBOJHAFAVwS
    • Disconnect the two narrow ribbon cables to the left of the keyboard connection.

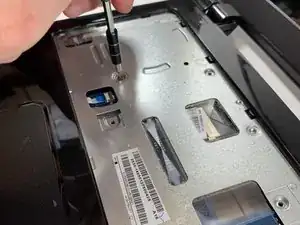
    • Remove five 4 mm Phillips #1 screws from the metal tray for the keyboard.

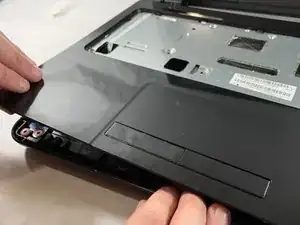
    • Pry open the plastic casing using a spudger.

    • If struggling to remove the plastic case, check that all screws have been removed.

    It was hard to get the edges up of the entire cover because it didn't want to come all the way loose.... So I looked at a video for this and saw that tech was prying up the keyboard FIRST -- BEFORE GOING AROUND THE EDGES AND REMOVING THE TOP COVER.

    Jeff Teachworth -

    ALSO... The black cover top has snaps all the way around the INSIDE hole where the keyboard was removed from. You'll have to unsnap it all along those inside edges too, to get that top cover off. Don't pull the cover all the way off because there's a thin white ribbon cable attaching the touch pad to the main area. I just placed it up higher leaning against the screen, so the hard drive and the RAM areas would be accessible since I'm replacing the RAM today.

    Jeff Teachworth -

  8. oyHIh44PVyY6MNB4
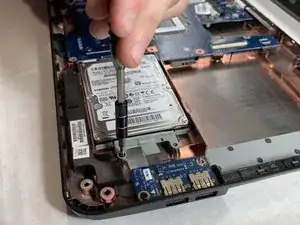
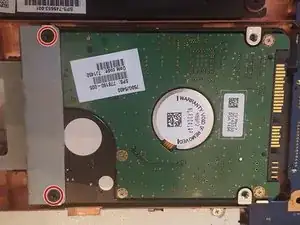
    • Remove two 5 mm Phillips #1 screws located at the base of the hard drive.

  9. qgtNBdOqTPs4ZTSQ
    qgtNBdOqTPs4ZTSQ
    aVisygB2M6TYyxGI
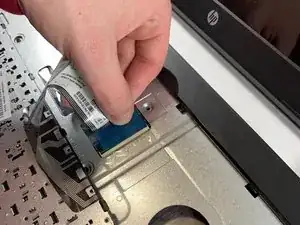
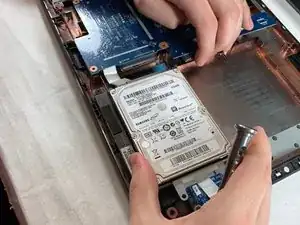
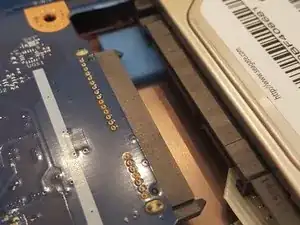
    • Pull the hard drive upwards and away from the laptop.

    • The hard drive should disconnect from its port on the motherboard as shown in the second image.

  10. CtMRTwpMBVvtpd2y
    • Flip the hard drive over.

    • Remove the two 4 mm Phillips #1 screws from the base of the hard drive.

    • Remove the mounting brace (silver bracket) from the hard drive.

Abschluss

To reassemble your device, follow these instructions in reverse order.
Ethan Guillotte

Mitglied seit: 20/03/19

463 Reputation

0 Kommentare