Einleitung

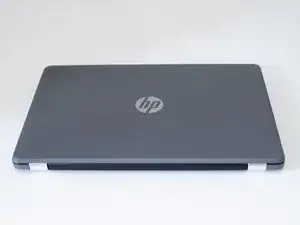
Before replacing the fan on your laptop, follow this troubleshooting guide to make sure it is a hardware issue with your fan. If your fan is making a lot of noise/sounds like it is rattling or your computer is constantly getting very hot, follow this guide to properly remove and replace your fan.

  1. NsDtJgNBUPJKi1ob
    NsDtJgNBUPJKi1ob
    pwLcGLGIs1EJifqc
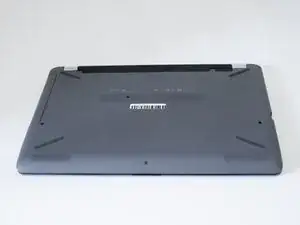
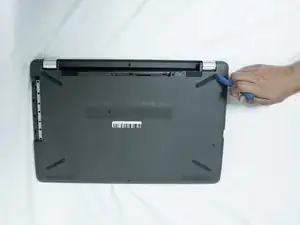
    • Unplug your laptop from its power adapter.

    • Turn the laptop over.

  2. pA3ZPpmtH1AqHxpF
    pA3ZPpmtH1AqHxpF
    iRb6JTlkbFEy15DD
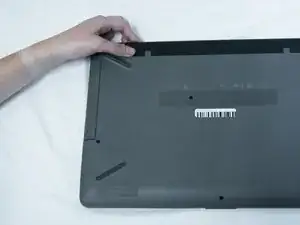
    • Slide the Battery lock slider to the right until you see the “Unlocked” lock symbol.

  3. YOkMrvdCgCEQAn2K
    YOkMrvdCgCEQAn2K
    lOmjk5qCIolAhXSe
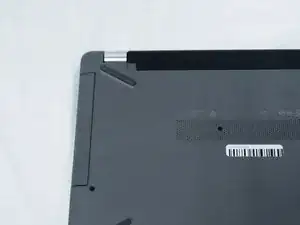
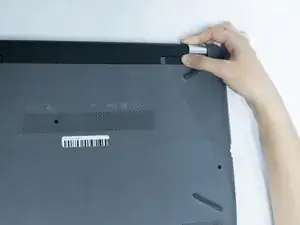
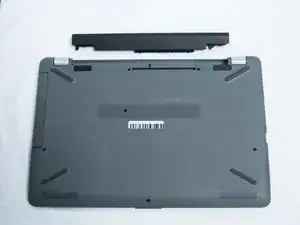
    • Slide the Battery release slider towards the battery while pulling the battery out.

  4. q4hpMUZE2jCxXDPN
    q4hpMUZE2jCxXDPN
    BY1h1cylZX4hINl3
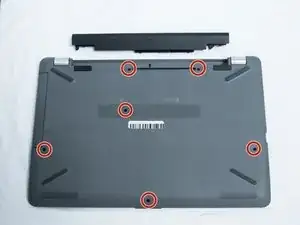
    • Use a Phillips #0 screwdriver to remove the six 10.5 mm screws visible on the bottom of the laptop.

  5. j6WIJYof51LJSqUf
    j6WIJYof51LJSqUf
    YLfjrGBVihhpsRjC
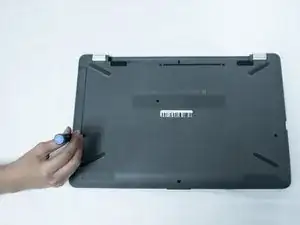
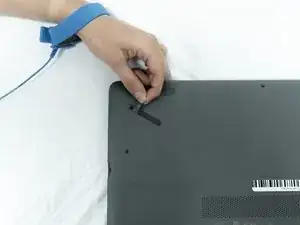
    • Carefully peel the four rubber feet off the bottom to reveal the four hidden screws.

    • Use a Phillips #1 screwdriver to remove the four 10.5 mm screws.

  6. MPyJLwVeCtoBH5Zk
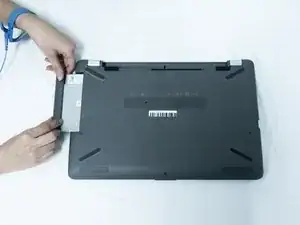
    • Remove the DVD drive by carefully sliding it out.

  7. pZjq6sBL6gYZvJPw
    pZjq6sBL6gYZvJPw
    QV4FLvRLHHtBfbiQ
    NtsBVFZWA6ME1gab
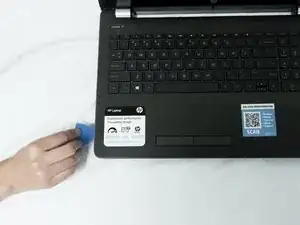
    • Flip the laptop over and open the screen.

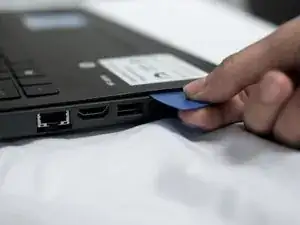
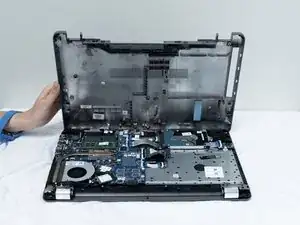
    • Carefully use a flat plastic card to separate the bottom plastic shell from the main body of the computer. Slowly slide the plastic card around the computer in between the two halves of its casing.

    • Flip the computer back over and remove the bottom plastic shell.

  8. MNlBTBcXDXaSnCmw
    MNlBTBcXDXaSnCmw
    6DxKvkpbBpcGOIqN
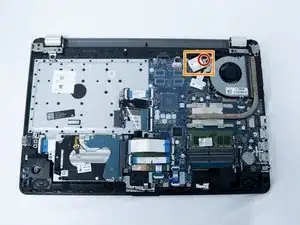
    • Using a Phillips #1 screwdriver remove the screw from the Wi-fi card.

    • Remove the card.

  9. TxLUjiTnRCOQWAF6
    TxLUjiTnRCOQWAF6
    2tAsEn4pnCL1ZCsT
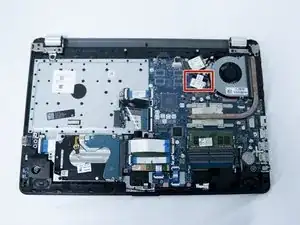
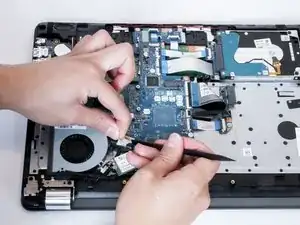
    • Carefully unplug the LCD connector using a plastic spudger.

  10. OFTuQu2kaTbbMjBx
    OFTuQu2kaTbbMjBx
    BIhqqDeKPQ1Gk5KI
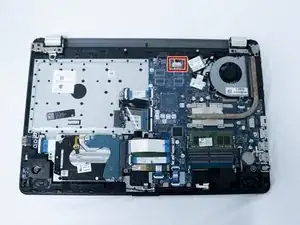
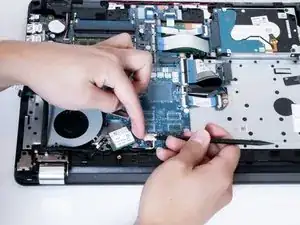
    • Unplug the power connector.

  11. lBI36Fp2FIKKBPn6
    lBI36Fp2FIKKBPn6
    iM4iDIQvrVotrl3J
    fFttORmPnSkRiQLn
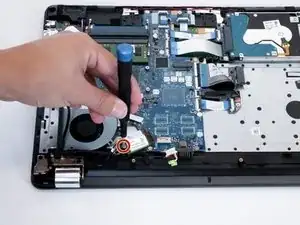
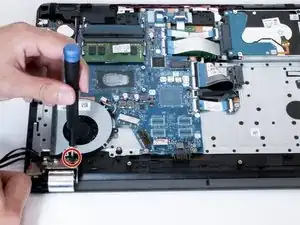
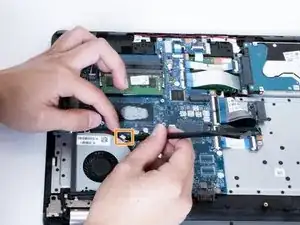
    • Pull all three cables to the side to reveal the 6.7 mm screw attached to the fan.

    • Remove the screw with a Phillips #0 screwdriver.

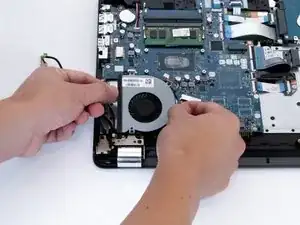
    • Unplug the fan connector.

    • Pull out the fan carefully leaving the heatsink in place.

Abschluss

To reassemble your device, follow these instructions in reverse order.
Christian Puga

Mitglied seit: 18/10/19

340 Reputation

0 Kommentare