Einleitung

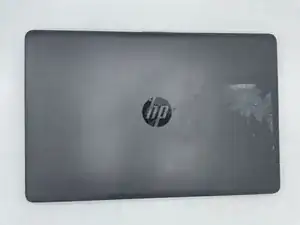
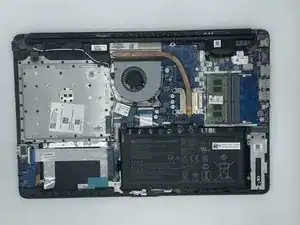
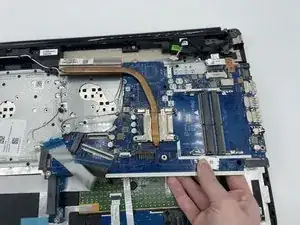
If you ever need to replace your motherboard due to water damage, electricity damage broken parts, etc, or simply you just want to upgrade your motherboard, follow this guide to remove it.

  1. 5ekgiaIUE5Fx21cF
    5ekgiaIUE5Fx21cF
    mfISxJR4GtU2u2AA
    • Turn the laptop off and unplug it before starting.

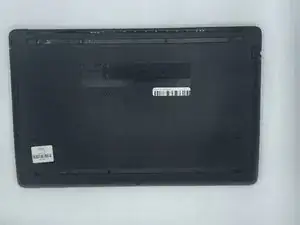
    • Flip your laptop over, face down.

  2. QGQlM3aKotfqUK2Z
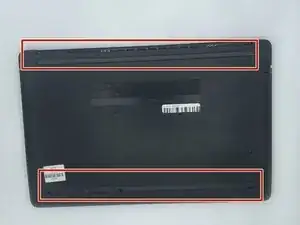
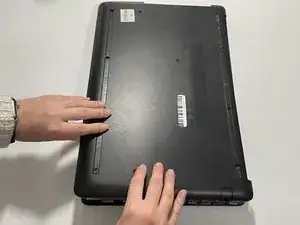
    • Peel off the two long rubber grips running lengthwise on the laptop.

  3. 6pWBmIuvVIVFQTAB
    6pWBmIuvVIVFQTAB
    k1nQ4KOLEKNltf1q
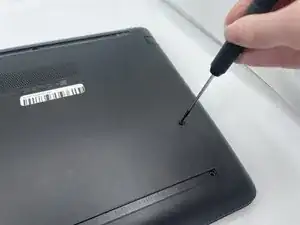
    • Using a Phillips #000 screwdriver, remove the eleven 10 mm screws located on the underside of the laptop, that are holding the back panel in place.

  4. IZCVJMQK1QifktNc
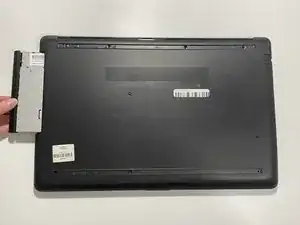
    • Carefully slide the optical drive out of the laptop.

  5. xXTkUukUahFJOf2K
    • Use a plastic opening tool to separate the back panel from the laptop.

    • For an easier removal, start at the corner and run the tool along the edge of the cover.

    • If you do not have a plastic opening tool, open it carefully using your hands, as shown.

    • Be careful to not bend the back panel, or to not apply too much pressure and force, doing so could cause the panel to break.

  6. YYED234IgWXGxAav
    YYED234IgWXGxAav
    pk2ufLUWlHTAivBo
    teHAGJ2SPiC5UTDD
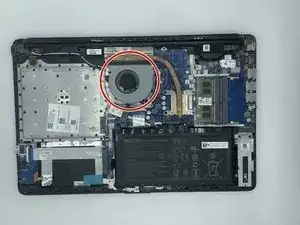
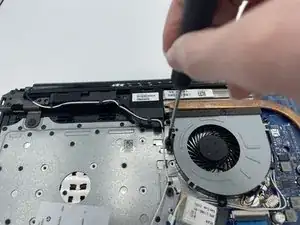
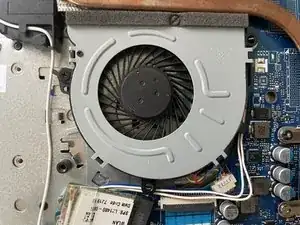
    • Using a Phillips #000 screwdriver remove the 5mm screw holding the fan in place.

  7. 2C55TscTC3WtsdKj
    2C55TscTC3WtsdKj
    MfBSXpMJMVhPCYLt
    ODIREPIIokQRclSI
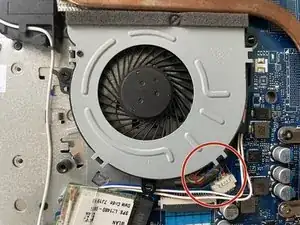
    • After the screw is removed, carefully unplug the set of wires with one of each colored, red, black, yellow, and blue, from the white connector it is secured at.

    • To unplug it gently pull the white connector from the adapter, possibly in a back and forth motion to free it.

    • DO NOT pull on the wires, doing so could cause damage to the wires, or for them to become disconnected to the white adapter they are attached to.

  8. 1D25hLVi2UlGiQBp
    1D25hLVi2UlGiQBp
    VpQQCcDHSNUAV1fa
    rhuLKpGWseUHxfGX
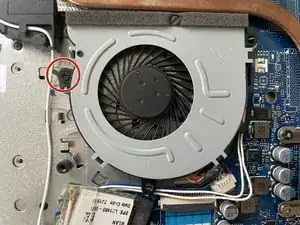
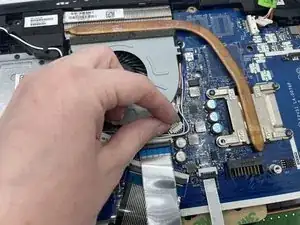
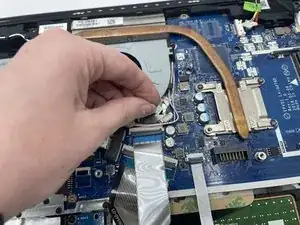
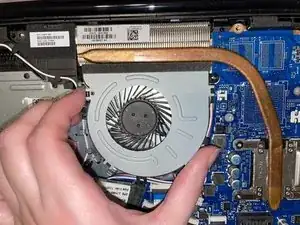
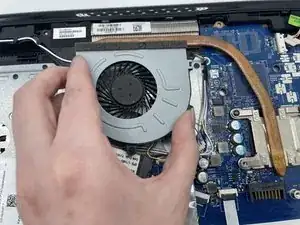
    • Carefully remove the fan from the laptop.

    • Be careful with removal as to not bend or break anything. There is a metal peg shown in the image, that the fan is secured on that could potentially bend

  9. VunnVDHcrcSYM2Hv
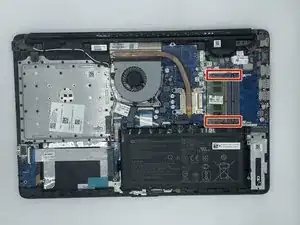
    • Gently pull apart the two silver arms securing the RAM until it slightly flips up.

    • Pull the RAM directly out of its port.

  10. RgPKDpISaEeV3pHF
    • To put the RAM back into the device. Have the RAM facing you with the four grey boxes towards you. Then carefully slide it under the first grey bar shown circled in the picture and push slightly downwards as it will pop back into place.

  11. gA6jTgL4OdbMXpyu
    gA6jTgL4OdbMXpyu
    WFJuI5TpFMxm3dEh
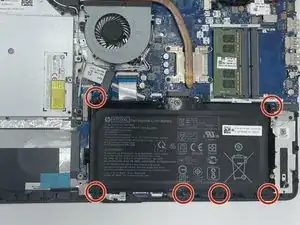
    • Using the Philips #000 screwdriver remove all of the six 5mm screws.

  12. np4RFiWdnUKSUHWP
    np4RFiWdnUKSUHWP
    OmXRu4nDUgJBybEn
    Ha1Xw4cFUuZidodH
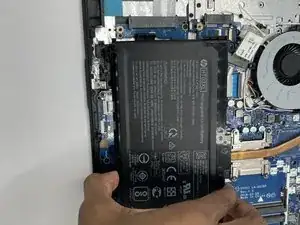
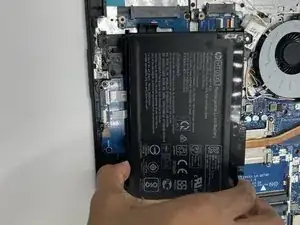
    • Disconnect the battery connector.

    • Slide the battery up and out.

  13. aU4ehTZRTCv1rHDY
    aU4ehTZRTCv1rHDY
    Y5WR4vmQ2NBoX1XK
    n2lFpcrPbkIU1DMw
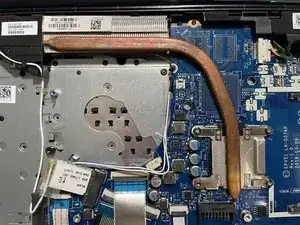
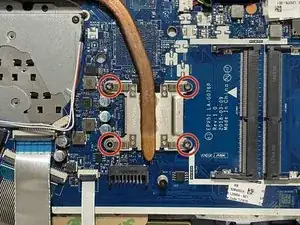
    • Unscrew the four 3 mm screws using a Philips #000 screwdriver.

  14. dy1HwrhRHFHpSU4U
    dy1HwrhRHFHpSU4U
    VLaLQS55yvuZOQyJ
    • Remove the seven screws using a Phillips #000 screwdriver.

  15. tv2NKGDaoyQvkObc
    tv2NKGDaoyQvkObc
    kESXNIuumEQc4ghI
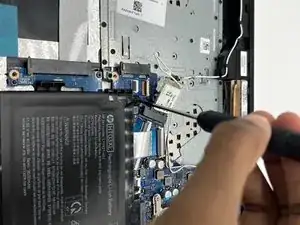
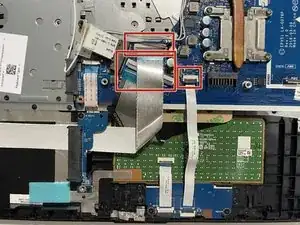
    • Remove the three ribbons that are attached to the motherboard by flipping up the black lock bar, then sliding the ribbon cables out.

  16. SWBJcifGaAimIoAw
    SWBJcifGaAimIoAw
    HhoUnFHQrLhBAQMy
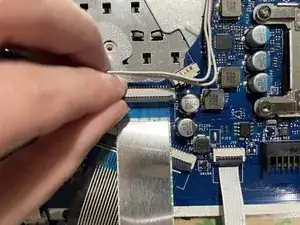
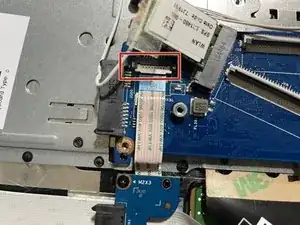
    • Remove the following ribbons that are attached to the motherboard.

    • Flip up the white lock bar, then gently disconnect the ribbon cable.

  17. 2k4WUVILTyhNsUlQ
    2k4WUVILTyhNsUlQ
    VVrvVrIeJ1MKTqNE
    TO3UZCXnP3jcTRlH
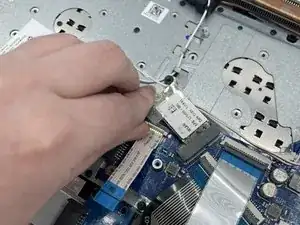
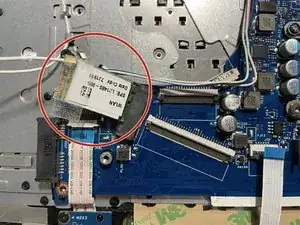
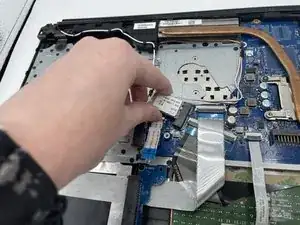
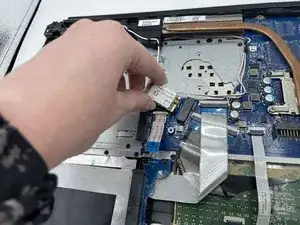
    • Remove the Wi-Fi card, attached to a white wire, by carefully sliding it out of its port.

  18. qQUC1SHOBihGimMU
    qQUC1SHOBihGimMU
    5EVV35IIFmLnmtUx
    JkrbTFRShPHbKNiJ
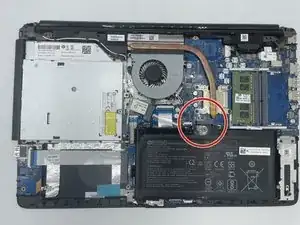
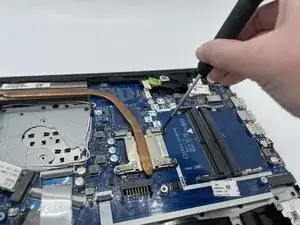
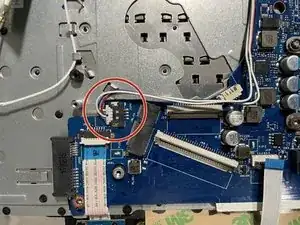
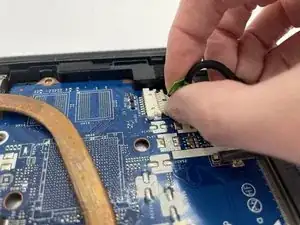
    • Next is to remove a small white connector, with two white, one red, and one blue wire, shown in the image. It was located underneath the WLAN.

    • To remove it, holding on to the white plastic piece, carefully pull it from the blue connector. You may have to move it in a shimmying motion to carefully free it from the connector.

  19. QZOfWASvtDY2ujIn
    QZOfWASvtDY2ujIn
    mdT4p2BdR2NS2egd
    AKkJPv3efV3KkWhx
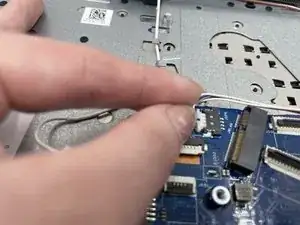
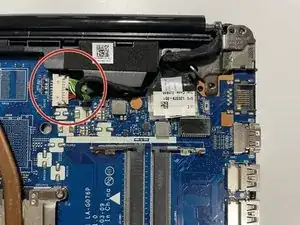
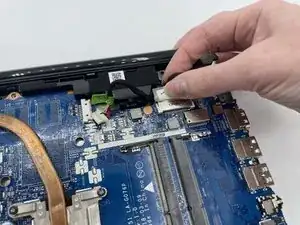
    • The next piece is to detach a piece with one white, yellow, and copper wire, as well as two red, and two black wires. all wrapped in a nylon casing, attached to a white plastic connector. It is connected to a white attachment. This is located at the top right hand corner.

    • To remove it, repeat the same motion in the previous step.

  20. YXAqJGDJRPUoO3Pj
    YXAqJGDJRPUoO3Pj
    n3QnKHP5lubPTqZC
    DCLisKOXrqXGIUhG
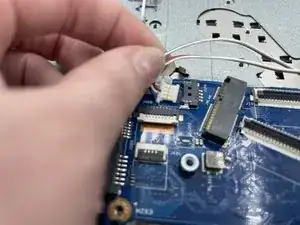
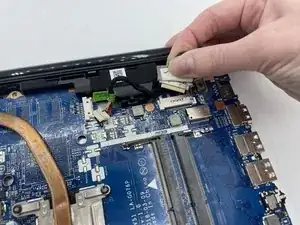
    • Next is to remove the other piece wrapped in nylon, shown in the image. It is located to the right of the previous piece.

    • This one has a metal connector, and it is a bit more difficult to remove. To remove, firmly pull it from the connector, holding on the attachment piece opposed to the wire.

    • Use the same motion used in the previous two steps, to help free it from its attachment point.

  21. o6SDIpRh6TbDQJGD
    o6SDIpRh6TbDQJGD
    jW5QNNrFCoHLGufL
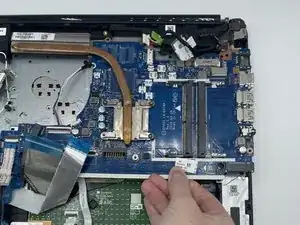
    • The last step is to remove the motherboard from the laptop. To do so, working from the bottom, gently ease the motherboard from its connector point at the top right corner.

    • To remove, pull straight out towards you. Do not lift up as you are removing, doing so could cause the motherboard or other components to break.

Abschluss

To reassemble your device, follow these instructions in reverse order.
Britanni Arizola

Mitglied seit: 22/09/22

535 Reputation

0 Kommentare