Einleitung
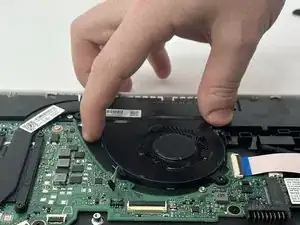
If your HP 15-dy2024nr laptop is consistently overheating, you can hear the fan running loudly, or cannot hear it at all the fan may need to be cleaned or replaced. This guide will help you access the fan allowing you to clean the fan or remove it if it is broken.
Prior to accessing the fan for cleaning you will need to remove the back cover of your laptop. If you are removing a broken fan you will need to remove the battery first.
If you are planning on cleaning the fan you can use a compressed air can. Before removing any part be sure that the laptop is completely powered off.
Werkzeuge
-
-
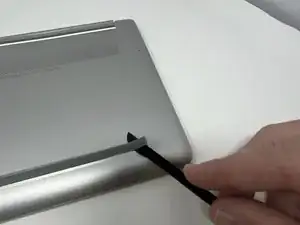
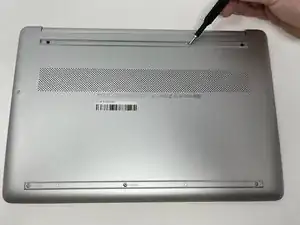
Use the Halberd spudger to peel one corner of each of the rubber feet from the bottom of the laptop.
-
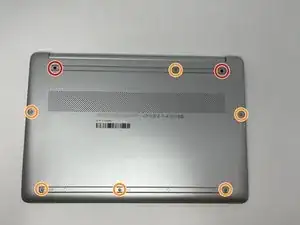
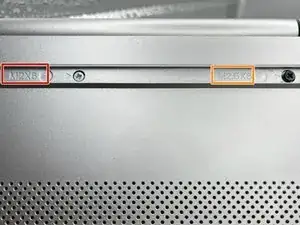
Gently peel the feet from the laptop revealing the screws underneath.
-
-
-
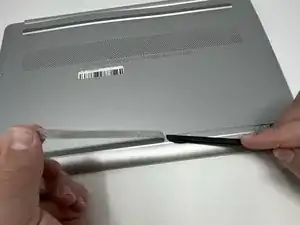
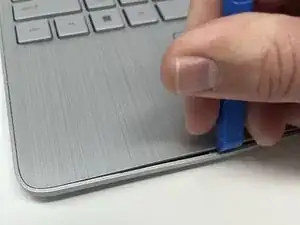
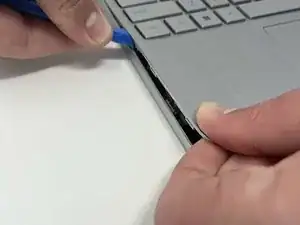
Insert an iFixit opening tool into the seam between the keyboard area and bottom cover.
-
Using another iFixit opening tool, slide along the seam to unhook the clips.
-
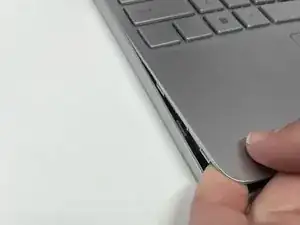
When the front of the laptop is open, you can use your finger to hold a corner open then slide an iFixit opening tool along the seam toward the back corner.
-
After the clips have been released, flip the laptop over and lift the cover.
-
-
-
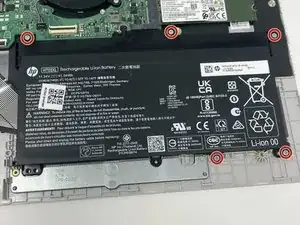
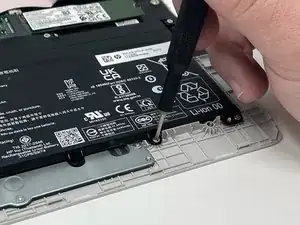
Remove five 2.0mm x 3.0mm screws using a Phillips #00 screwdriver.
-
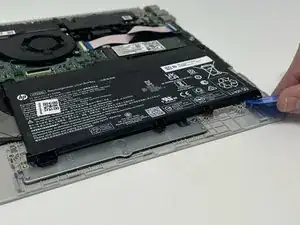
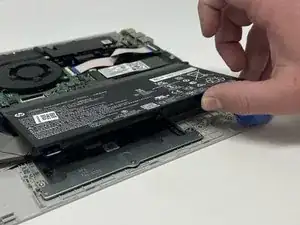
Use the iFixit opening picks to lift the battery away from the laptop.
-
-
-
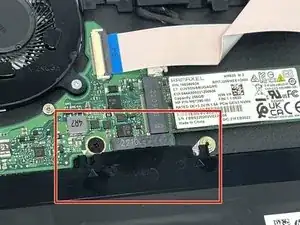
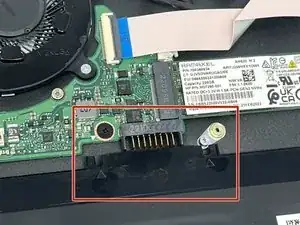
Unplug the battery from the motherboard.
-
Lift the battery away from the laptop and remove.
-
-
-
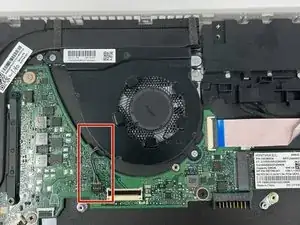
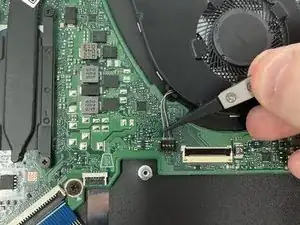
Use the nylon tipped reverse tweezers to lift the cables up from off the motherboard before attempting to disconnect the connector from the motherboard.
-
-
-
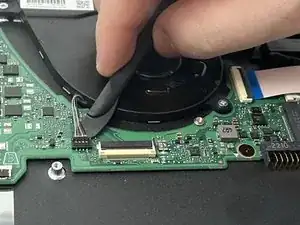
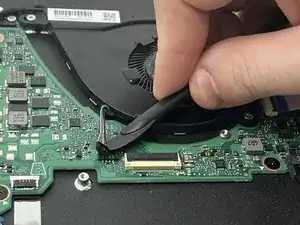
Wedge the Halberd spudger between the black plastic connector and the motherboard.
-
Lightly twist the spudger blade up. The connector should pop off.
-
-
-
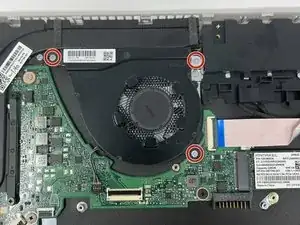
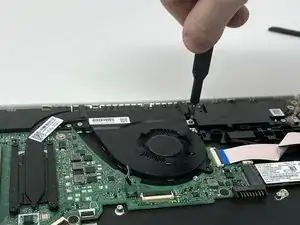
Remove the three chrome-plated 2.0mm x 3.0mm screws holding the fan assembly in place using a Phillips #0 screwdriver.
-
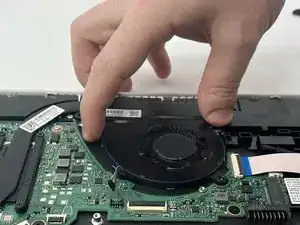
Lift the fan assembly out of the laptop.
-
To reassemble your device, follow these instructions in reverse order.
