Einleitung
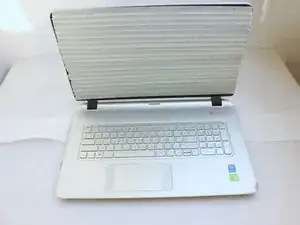
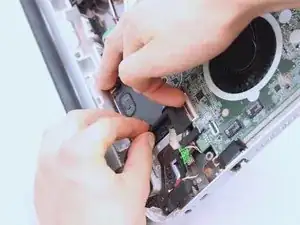
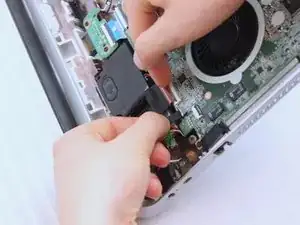
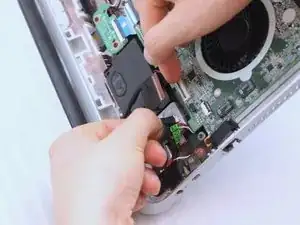
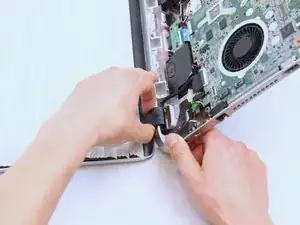
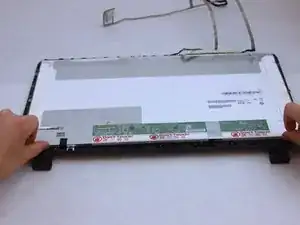
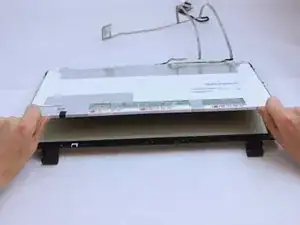
Use this guide to replace the display panel inside an HP Envy 17t-k000 series laptop.
A broken screen severely hinders the usefulness of a laptop. The symptoms of display damage range from a few nonfunctional pixels to visible cracks or even deformation in the display. This series of HP laptops features a display panel located behind a plastic or glass sheet. If the display damage is localized to the display panel, then replacing this part should restore the screen to working order.
As with all guides that involve disassembling a computer, it is recommended to first backup all important data stored on the laptop if possible. Additionally, since the sensitive internal electronics will be exposed during the repair, be sure to take the necessary Electrostatic Discharge precautions.
Although this guide should be applicable to the entire 17t-k000 family of HP laptops, note that your laptop may differ from the exact model pictured in the steps.
Werkzeuge
-
-
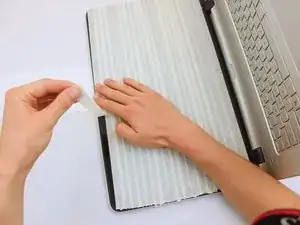
If the screen is cracked or otherwise severely damaged, apply painter's tape (or a light adhesive tape) over the screen to protect yourself and the laptop.
-
-
-
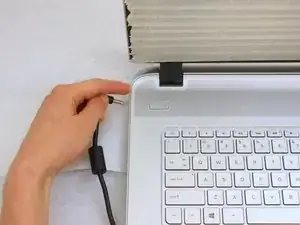
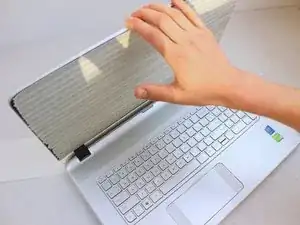
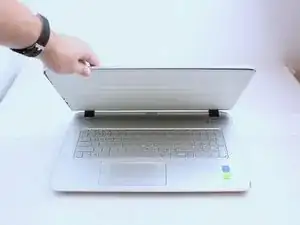
Make sure that the laptop is completely powered off. The power light should remain off.
-
Disconnect all cables and external devices from the laptop.
-
-
-
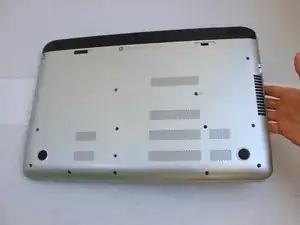
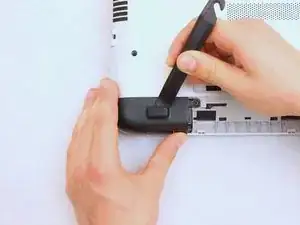
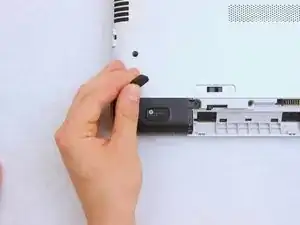
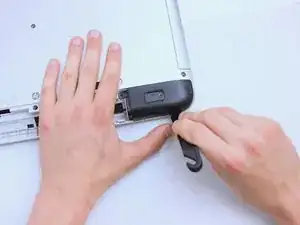
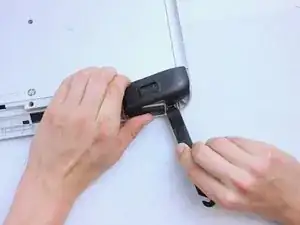
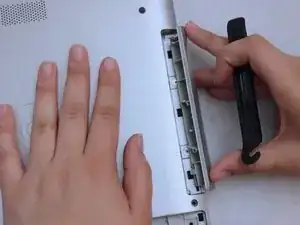
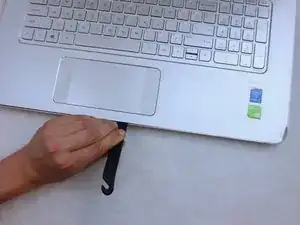
Remove the rubber feet on each corner cover with a plastic spudger or plastic opening tool.
-
-
-
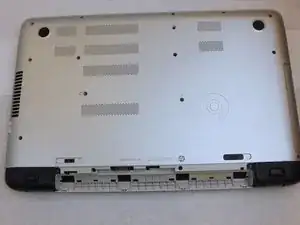
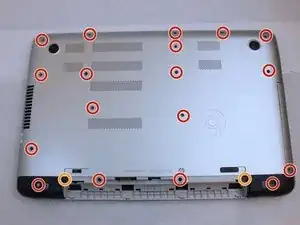
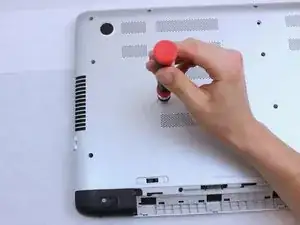
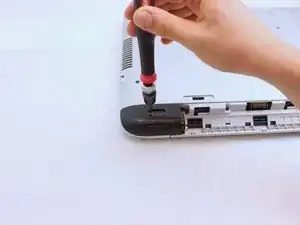
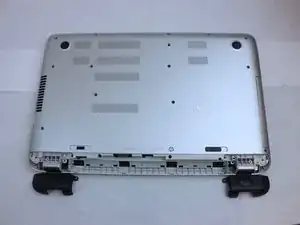
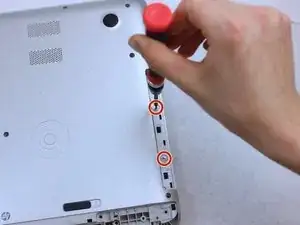
Remove the following screws from the back case and corner covers:
-
Eighteen 6 mm Phillips #0 screws
-
Two 7 mm Phillips #0 screws
-
-
-
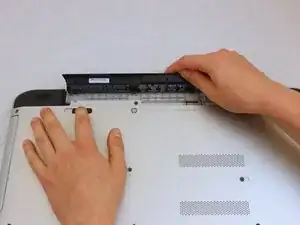
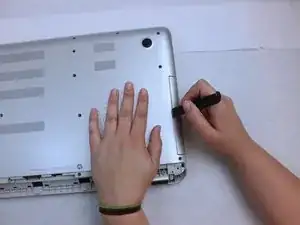
Remove the optical drive cover with a spudger or plastic opening tool.
-
Remove the two 2 mm Phillips #00 optical drive screws.
-
-
-
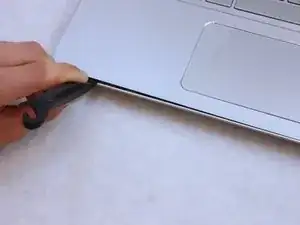
Begin prying up the keyboard at a front corner of the laptop with a plastic opening tool.
-
Continue prying up the keyboard, working your way toward the other front corner and then along the sides.
-
-
-
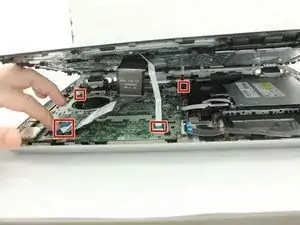
Disconnect the four ribbon cables that come from the underside of the keyboard.
-
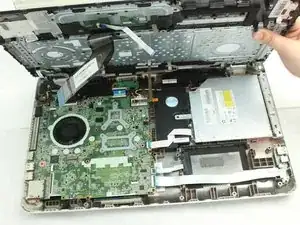
Lift the keyboard up and set it to the side.
-
-
-
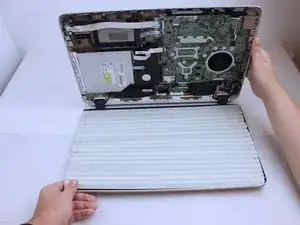
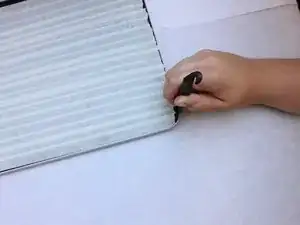
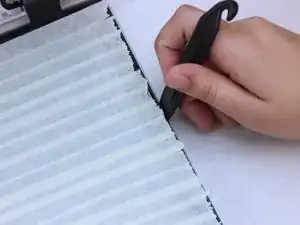
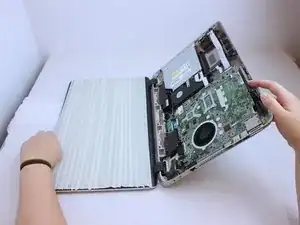
Starting at a corner, pry up the screen with a plastic pry tool.
-
Continue around the screen until the screen has completely separated from the top cover.
-
-
-
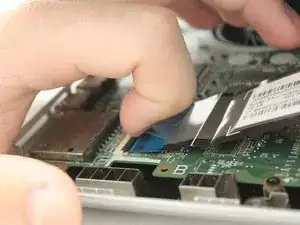
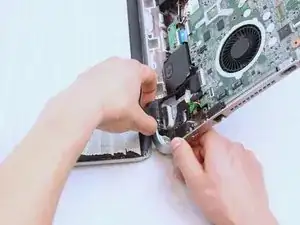
Release the primary display ribbon cable by gently prying up the retention clamp to a 90 degree angle.
-
Pull out the smaller sliding connector next to it.
-
-
-
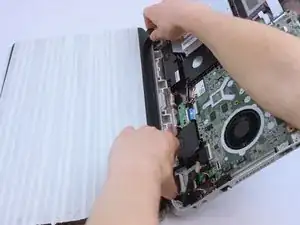
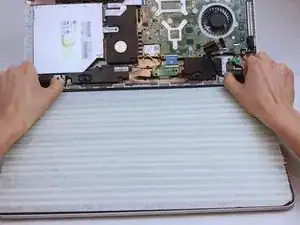
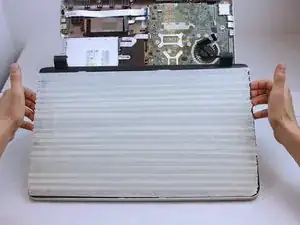
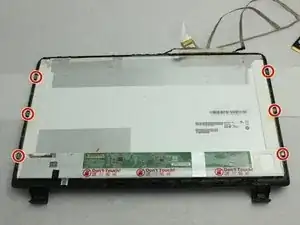
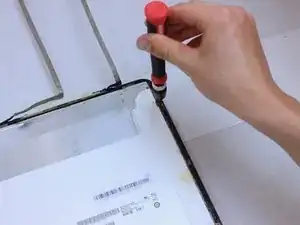
Gently lift the screen, bezel, and backlight panel out by the hinges.
-
Set them down so that the internal components face up.
-
-
-
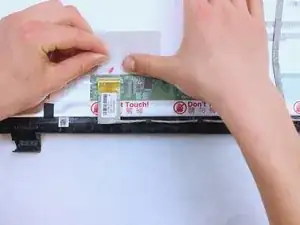
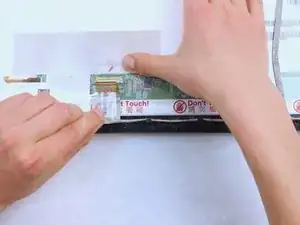
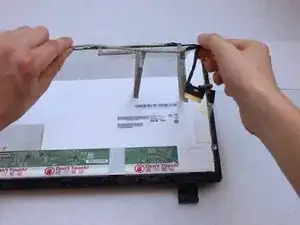
Carefully peel up the tape securing the connector on the back of the display panel.
-
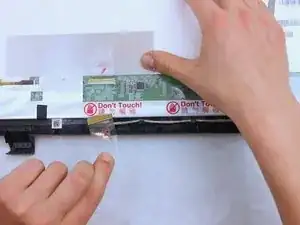
Remove the connector from its socket by carefully pulling straight back on the tape.
-
If the flat part of the cable is stuck to the display panel, slowly pull it up to break the adhesive.
-
-
-
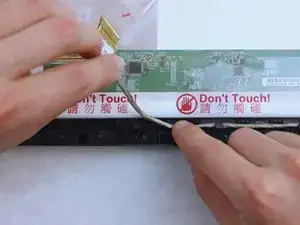
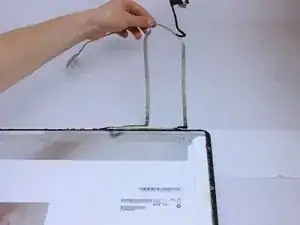
Follow the display cable back toward the hinge cover, carefully pulling it up from the routing channel as you go.
-
-
-
Lift the display cable up and fold it out of the way.
-
If part of the cable is stuck to the display panel, slowly pull up on it to release the adhesive.
-
To reassemble your device, follow these instructions in reverse order.
