Einleitung

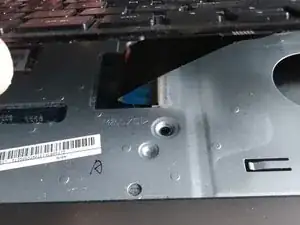
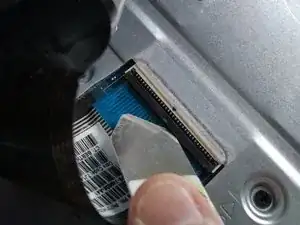
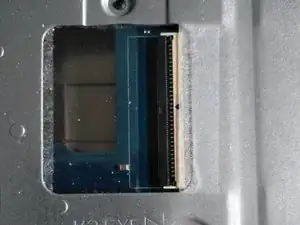
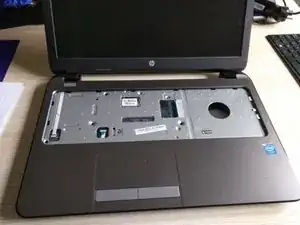
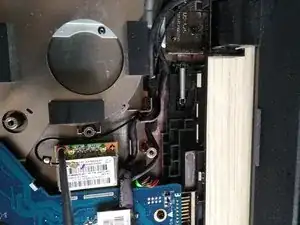
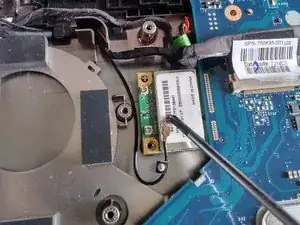
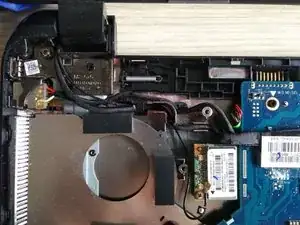
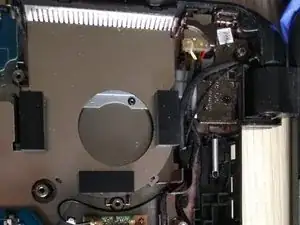
If a malfunctioning WiFi module is suspected in an HP 250 G3, it can be detected through the Windows Device Manager tool. In the event that the WiFi module is indeed determined to no longer be operating correctly, the card should be replaced, and this guide demonstrates how to do so. This process is relatively lengthy, but no special technical skills are required to complete this repair.

  1. kd4lWli1u2mGPQZu
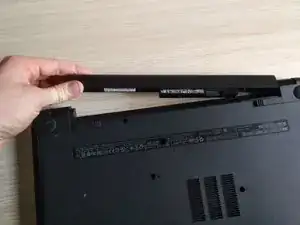
    • Remove the battery.

  2. LlsMYQlIIOXjdhKW
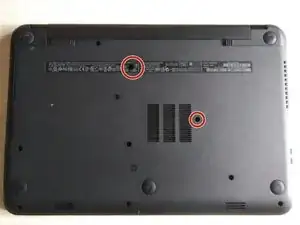
    • Remove the two indicated screws using a #1 Phillips driver.

    Hi, are those screws any different than rest on back panel? i’m looking for spare keyboard screw but can’t find anywhere

    Woj -

  3. QTDAXFEG26plUISr
    QTDAXFEG26plUISr
    FNGjGCcJ4L1Bd2LV
    YA3EVFVr3RSYG5ba
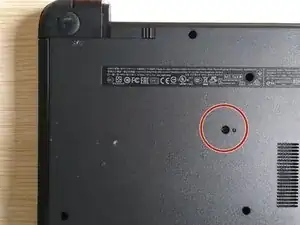
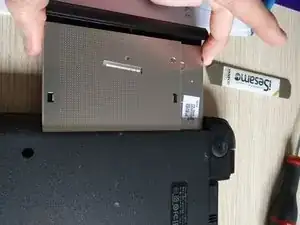
    • Use a #1 Philips driver to remove the disc drive's screw.

    • Using a spudger, gently pry the drive out of the housing.

  4. GIDeIuKOLlRXcja6
    GIDeIuKOLlRXcja6
    bshi4e2a1jKr2oXp
    tbnUNAaBxncOiFdC
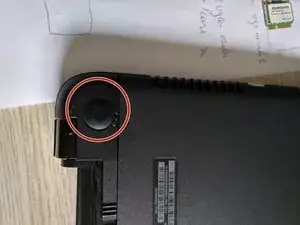
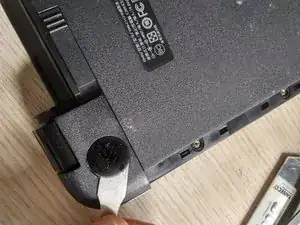
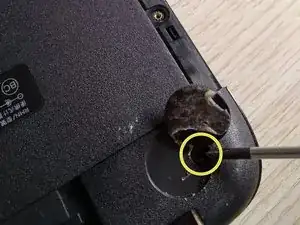
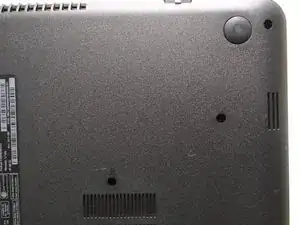
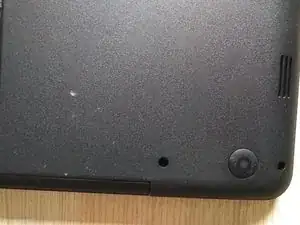
    • Remove the rubber rests on the rear of the device, which are close to the battery.

    • Remove the hidden screws placed under the rests using a #1 Philips driver.

  5. SBSePSq2PXZeubNC
    SBSePSq2PXZeubNC
    IYxchGDcHvFabPyH
    DIctt1FoQCNZELKJ
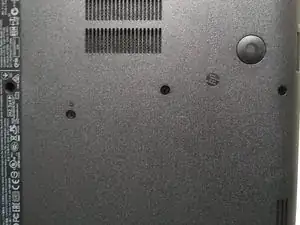
    • Remove the remaining screws on the bottom of the device.

    • Remove the two little screws at the DVD entrance.

  6. B2MnWqmHpuLZVZ6J
    B2MnWqmHpuLZVZ6J
    yFavt2X2MVl4ZJmP
    INqsChqLfKV6mSK2
    • Turn the laptop around.

    • Open up the laptop (to remove the keyboard).

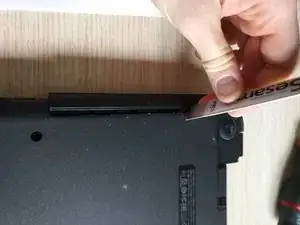
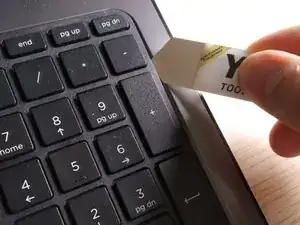
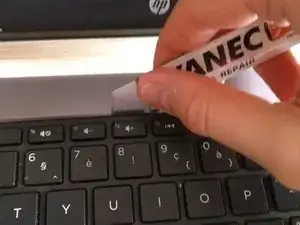
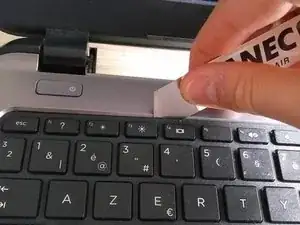
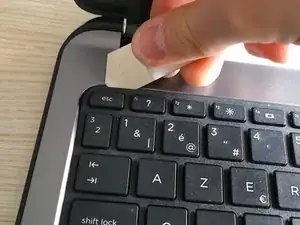
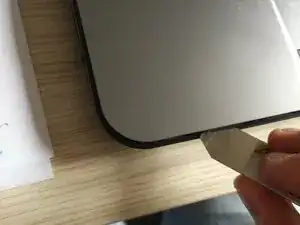
    • Use a spudger or iSesamo to remove the keyboard.

    • Slide the iSesamo around the upper side of the keyboard as shown in the pictures (you will hear clicks).

  7. tIpqcnueAADWA1EC
    tIpqcnueAADWA1EC
    3RuKZ1tdpqKIwwRK
    jAVdmPR2eNrgQI5C
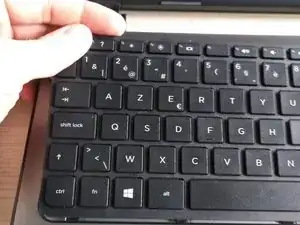
    • When it becomes loose, gently slide the keyboard to the left as shown in the third picture.

    • Be gentle as the thin ribbon can easily tear.

  8. nFFdAkQwjBUxrW5y
    nFFdAkQwjBUxrW5y
    OtiTNaEIDP1JsrDO
    MUG3IDRDKKfsuUAL
    • Gently lift the keyboard up.

    • Spot the thin ribbon cable attached to the connector (the connector has a plastic lid).

    • Carefully open the lid with a spudger and slide the ribbon cable out of the connector.

    • Be very gently with the cable and the connector as the lid may come loose.

    • Close the lid after removing the cable so that the cable cannot fall out.

  9. bOfMYKDaJdVkADQh
    bOfMYKDaJdVkADQh
    HslRYh1dUI4JHNsS
    XHmAGUgMu3Joodah
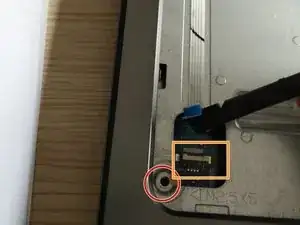
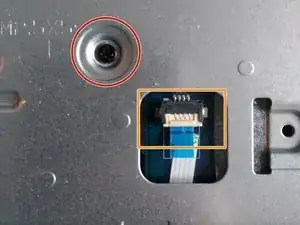
    • Remove the screw circled in the second picture.

    • Remove the tape over the cable and the connector.

    • Remove the white ribbon cable from the connector.

    • Open up the lid with a spudger, and gently remove the ribbon cable.

    • Use caution, as the ribbon cable is pasted to the plate.

    • This ribbon cable is the connector from the ON/OFF switch.

  10. 23bipAV622PGglYU
    23bipAV622PGglYU
    3GLKWD1TADvxfdME
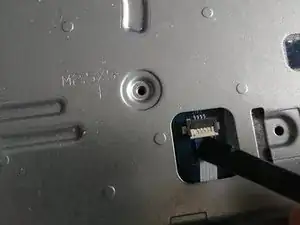
    • Remove the circled screw.

    • Remove the ribbon cable from the connector.

    • The ribbon cable/connector is the touch pad/mouse connector.

  11. mT1gaGPcXYWXBPge
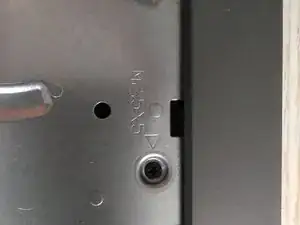
    • Remove the screw on the upper side of the laptop.

    • Remove the last screw (unfortunately, I do not have a picture of this, but you will see it on your laptop).

  12. AAS2HQoDCPa24NRM
    AAS2HQoDCPa24NRM
    eWKW5Fciwh6JcTxl
    VOfiZLFdOMgSIwvN
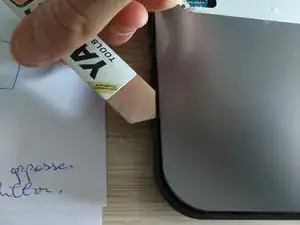
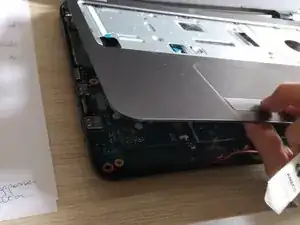
    • Slide your iSesamo around the case as shown in picture 1 and 2, and go around the entire laptop.

    • You will hear clicks after using the iSesamo.

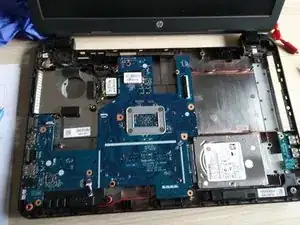
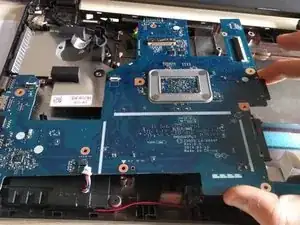
    • Lift the upper plate to reveal the motherboard.

  13. HrBLARLkEvrscFng
    HrBLARLkEvrscFng
    eFXNpoe5vlmdK2Fe
    ND3nrRNIQIiIhlWe
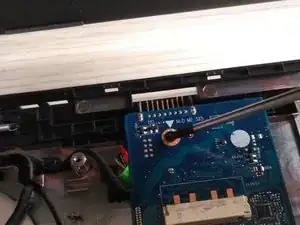
    • Remove the two screws holding the main board to the plate (see pictures two and three).

    Hello. The steps 15-19 are necessary to remove wifi card? Can you give me an alternative model to upgrade wifi or it has to be the same?

    Anna THANOPOULOU -

  14. OLyyJO5pUPMY4VvJ
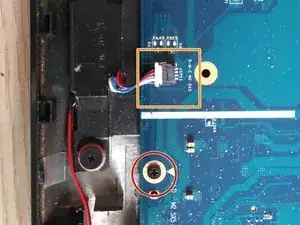
    • Use an IC extractor to remove the audio connector from the socket.

  15. yvaVIKYNYAL4hZB5
    yvaVIKYNYAL4hZB5
    MElDSDXLKm6McZKm
    fKg4OjxdOfQ3VoIp
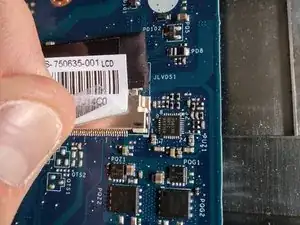
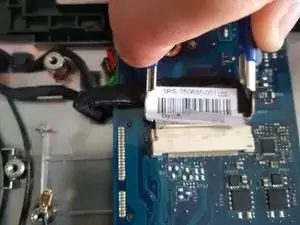
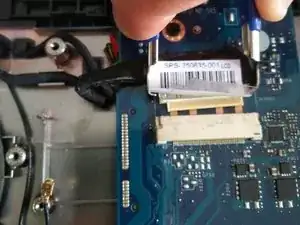
    • Use a spudger to remove the tape/sticker.

    • Be very gentle as the connector is a hard-to-remove ribbon cable with several small cables. Ripping one of them will damage the ribbon cable, and will thereby damage the screen.

    • It is recommended to use an IC extractor to remove the LCD connector (however, you can use two small flathead screwdrivers or tweezers to slide the connector out of the socket).

  16. kUNFVi1JXTOEHtZW
    kUNFVi1JXTOEHtZW
    dM3WsfQ6lJCA2WZJ
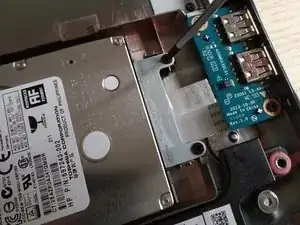
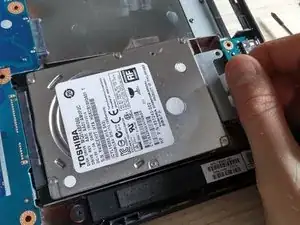
    • Remove the two screws holding the HDD.

    • Slide out the HDD.

  17. jHd2vjkOSYsXMOQK
    jHd2vjkOSYsXMOQK
    j2rtc42aa6QZetBF
    jNcVOhPLiuSKDMIt
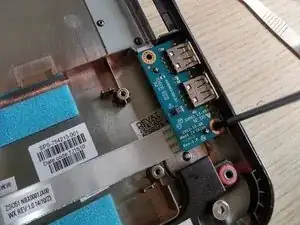
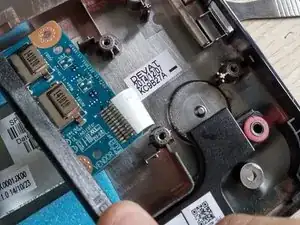
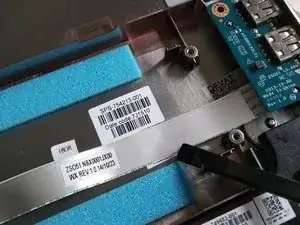
    • Use a spudger to loosen the cable from the bottom plate.

    • The flat ribbon cable is pasted to the bottom plate, and the ribbon cable is soldered to the PCB.

  18. KDvPERl1qbNPNDdA
    KDvPERl1qbNPNDdA
    wGd3WJcLQ6FHPncK
    MLBVNoC2KGjEi5Q6
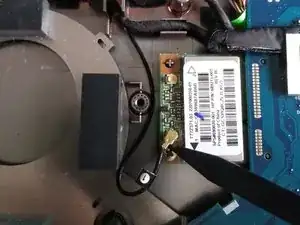
    • Remove the golden antenna cable from the socket. Be very careful, and use a spudger.

    • Remove the screw.

    • The WiFi module will jump up when the screw is removed. Slide the WiFi module out.

    • Wear gloves to avoid touching the antenna or the antenna sockets.

    • To install the new Wifi module, slide the new WiFi module in, push it down, and drive the screw back in.

    • Reattach the antenna.

    In this Image wireless module have one side connection only (black one) Is it correct connection ?

    In my hp 250 g3 only black wire connected another red wire not connected coz of this maybe wifi is not ON

    Karthick C -

  19. DxSvef5GkSeJoZ6b
    DxSvef5GkSeJoZ6b
    vFm5tU3NReyD4Hyu
    GOFhBpcaPYKEs2HG
    • In this case I did not remove the main PCB because I would have had to remove the DC jack. It is a very breakable connector, and the wires are very thin. If they are broken the laptop will no longer charge.

    • If the DC jack is damaged or broken in your laptop, remove the hinge instead (this is holding the DC power jack in place).

Abschluss

To reassemble your device, follow these instructions in reverse order.
Kevin D

Mitglied seit: 02/05/14

7102 Reputation

0 Kommentare