Einleitung

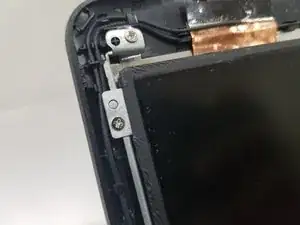
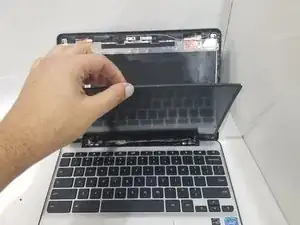
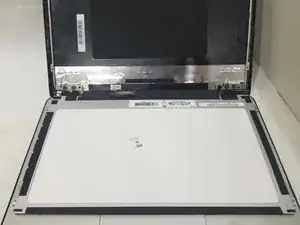
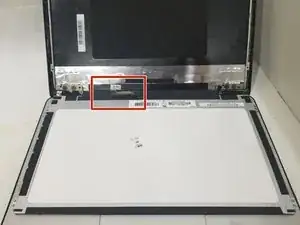
This is a replacement guide for the HP Chromebook 11 G5 screen. The main purpose of the steps below is to show you how to replace the screen. The screen is the most important output device of the Chromebook and is required to display information visually. Symptoms of a defective screen include an unresponsive, black screen after the device has been powered on and streaking lines or distorted images being displayed. If these steps are followed carefully and correctly the screen should be easily replaced. Be sure to power off your device before beginning the replacement process.

  1. HBhxhfpIE5VveVYS
    HBhxhfpIE5VveVYS
    hKDgfRtCZbfyyP2N
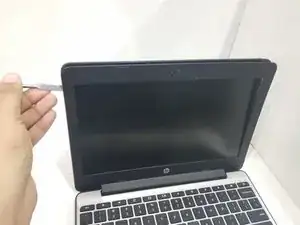
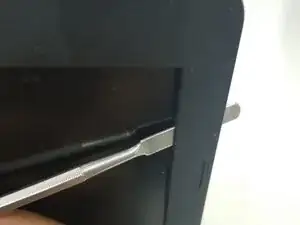
    • Open the lid as far as possible.

    • Slide your spudger into the bezel of the laptop until it appears on the other side.

    • Make your way around the bezel with the spudger while gently prying up the bezel to snap it out of place.

    • You should hear an audible click when the snap is removed.

    • Make sure there is a gap between the spudger and the components behind the bezel while prying.

  2. OlrHYQRe1v2qhXpS
    OlrHYQRe1v2qhXpS
    hDtKHOFdREElPhMm
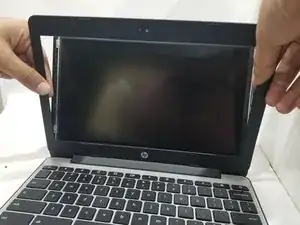
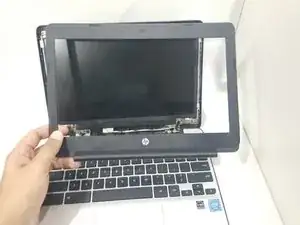
    • Hold the bezel on both sides, and twist the bezel repeatedly until the bottom bezel snaps out of place.

    • This step is likely the most difficult, and you may have to use additional force to remove the bezel.

  3. RJcXTIeVEBGjlvdH
    RJcXTIeVEBGjlvdH
    p4ijYgJvyfgHQZSN
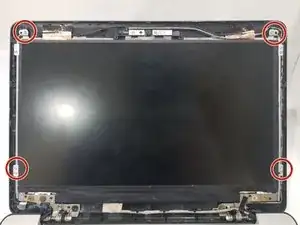
    • Unscrew the four silver 4mm Phillips #0 screws on the edges of the display.

    • To ensure that the LCD panel does not immediately slide down upon removing the screws, make sure the display is still tilted as far back as possible.

  4. cOVuvF1jCFdp5hbl
    cOVuvF1jCFdp5hbl
    qGdJfcE3FA2HUd2m
    • Gently lift the LCD panel out of the body and lower it onto the keyboard deck.

    • Ensure that the power button is not accidentally pressed while lowering the display.

  5. 6cCnux6JAhBsFWBA
    6cCnux6JAhBsFWBA
    HDU3S2VUJSIlDmEm
    ZLRsXWRQMGnSIIqn
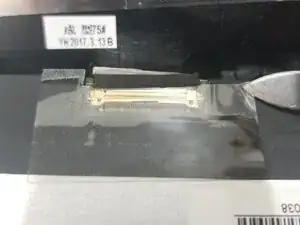
    • Identify the eDP 30-pin connector and use the sharp end of the spudger to peel off a corner of the tape over the connector.

    • To avoid damaging internal components, only use a metal spudger as a last resort.

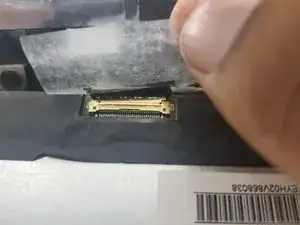
    • Use your fingers to peel off the rest of the tape.

    • Peel the tape slowly to ensure that the connector does not get pulled while peeling the tape.

  6. nFyiMv1gYIHxDsPN
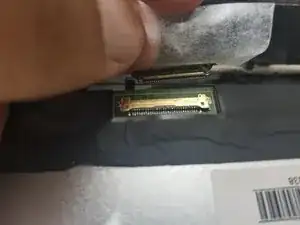
    • Hold both sides of the tape and gently push back the connector to disconnect the display.

    • When attaching the new display, make sure there is no gap between the connector and its socket.

    • Two audible clicks should be heard when the connector is reattached, one click for each side of the connector.

Abschluss

To reassemble your device, follow these instructions in reverse order.
Kunal Chopra

Mitglied seit: 15/01/20

474 Reputation

0 Kommentare