Einleitung

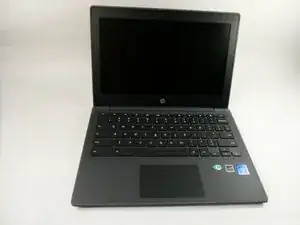
For this guide, you will be replacing the screen on your HP Chromebook 11 G8 EE. You may need to replace the screen if it is cracked or no longer functional. It's important your device is fully powered down throughout this process.

  1. 45iUQJo4XLHoSUhK
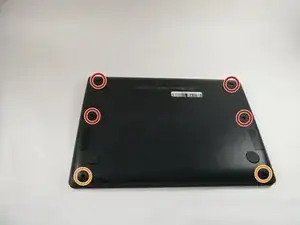
    • Use a Phillips #1 screwdriver to remove:

    • Four 7 mm screws.

    • Two 8 mm screws.

  2. ZBVM6jICWnxa53Ke
    ZBVM6jICWnxa53Ke
    WuYafVowAt2xqCAD
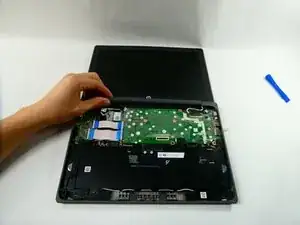
    • Flip the device over and open the lid.

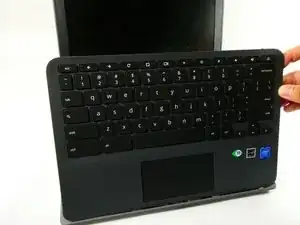
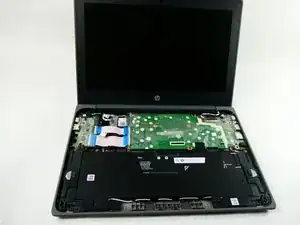
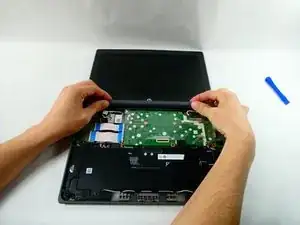
    • Use a plastic opening tool to pry the keyboard assembly away from the bottom case, prying around the perimeter until it fully separates.

    • Lift the keyboard assembly from the laptop towards you, away from the screen.

  3. UIXKNLRLCXZrISrM
    UIXKNLRLCXZrISrM
    PgFF3BCLTmvuLgVr
    afyRXGIDwxSKyWkx
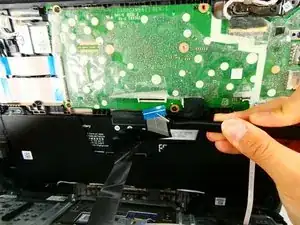
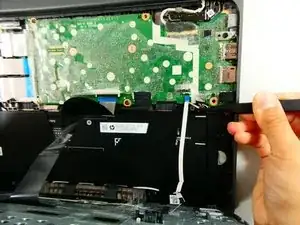
    • Lift the keyboard ribbon lock bar and use tweezers to disconnect the keyboard ribbon from the motherboard.

    • Lift the lock bar and use tweezers to remove the touchpad ribbon.

    • Remove the keyboard.

  4. Z4ajJBQwlClySIPp
    Z4ajJBQwlClySIPp
    UWcFHnLR3aAh41Wg
    • Using your hands, pry off the hinge cover by lifting it.

  5. LDiUFK53AldCiDlL
    LDiUFK53AldCiDlL
    5biIVNdDIx6JpMic
    uiobMhLGJUTMVP2j
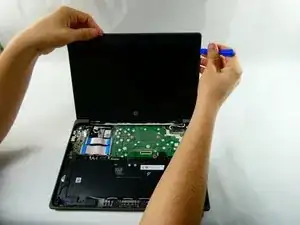
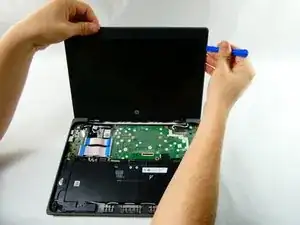
    • Using the opening tool, pry the bezel away from the top case.

    • It requires a bit of force; you aren't going to break it!

  6. AwCkMOMg2JRvLFjA
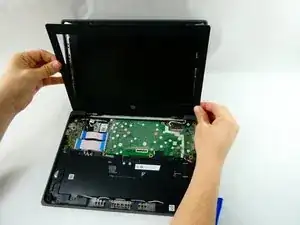
    • Pull the bezel toward you.

    • Peel it away from the screen gently.

  7. LIwFdoyAoIAfPU4G
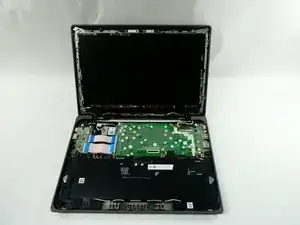
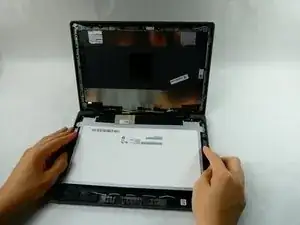
    • Completely remove the bezel.

  8. ecPObOAYLoYspj1J
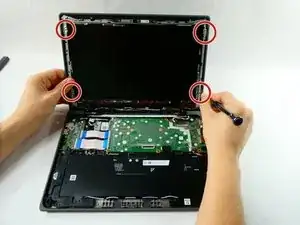
    • Remove the four 3.5 mm screws with a Phillips #1 screwdriver.

  9. WxpgnlILrBFAgnbE
    • Flip the screen toward you.

  10. DPmqxEjx2xuKJ55w
    DPmqxEjx2xuKJ55w
    wpNBGnocjaSAmjOT
    Jw3jCyBV4rDu1XXN
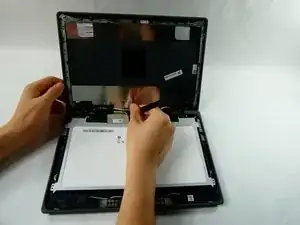
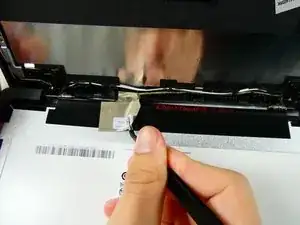
    • Use tweezers to peel away the black tape holding the connector.

  11. sqAEnN4ftEIRIPLC
    sqAEnN4ftEIRIPLC
    Qo2kNARMxNaKkvZb
    rA1ZCVYEwAmGNerN
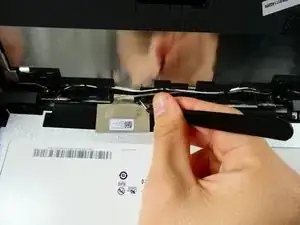
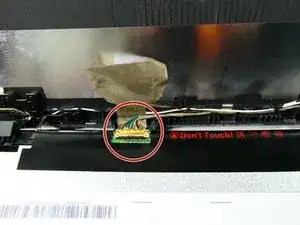
    • Use the tweezers to pull away the tan tape.

    • You should see the colored wires of the connector.

  12. 123PBJGgYOL21E2O
    123PBJGgYOL21E2O
    qe5bAs6EC2lFFl3a
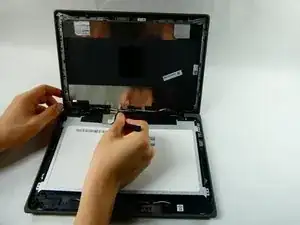
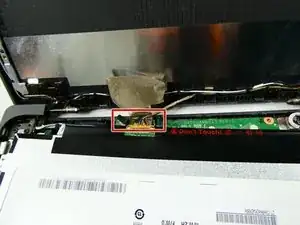
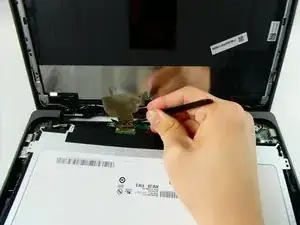
    • Using the tweezers, lift up the small red latch on the connector.

    • Pull off the connector.

  13. vCXIM3MVWQ22bukS
    • Remove the screen.

Abschluss

To reassemble your device, follow these instructions in reverse order.
Isabella Brown

Mitglied seit: 25/10/22

312 Reputation

0 Kommentare