Einleitung

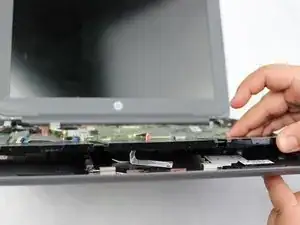
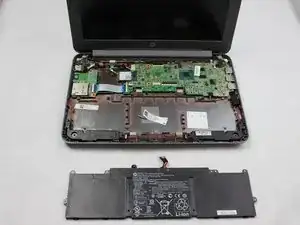
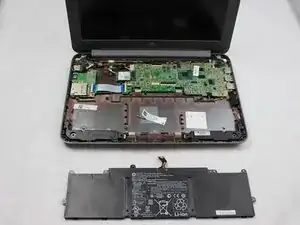
This guide will show you the correct way to remove the battery according to an HP Chromebook 11-2210nr in the need to replace a faulty or damaged battery. Once the battery is removed, access to speakers is more accessible.

  1. dsTaMxDammvFTtlg
    dsTaMxDammvFTtlg
    oEaqCMtWbeUAmJPk
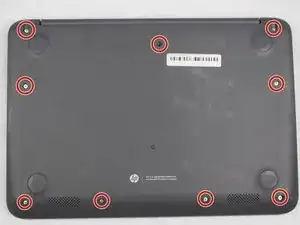
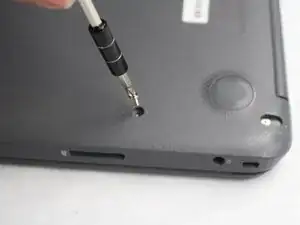
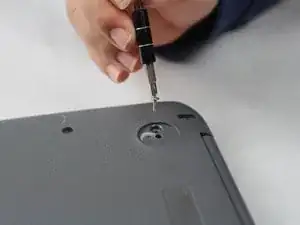
    • Position your closed laptop face down to remove the 9 visible 6 mm screws using a Phillips #1 screwdriver.

  2. XQDT5vR6BiF5W4MY
    XQDT5vR6BiF5W4MY
    ImLunT2EFLOW1VA2
    BFUN6ZKAdZIHtP4q
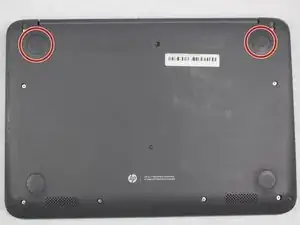
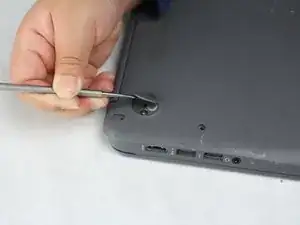
    • Use a metal spudger to remove the two bottom rubber pads located closer to the hinge of the laptop.

    • Remove the two additional 6 mm screws located beneath the rubber pads using the Phillips #1 screwdriver.

    • The other two bottom rubber pads do not have screws beneath them.

  3. hsMDotpVrgu6sqQB
    hsMDotpVrgu6sqQB
    3PlXJEoZSlEPnokv
    tK3BJi2N1LqLcEWO
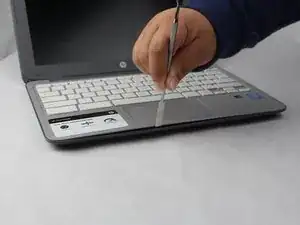
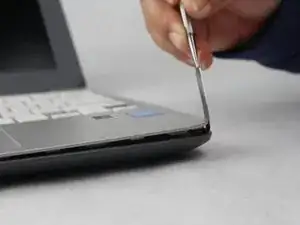
    • Turn the Laptop over, and with the metal spudger start to run it along the plastic seam to pry it off.

    • You will hear popping sounds when you are sliding the spudger along the device.

    • For an easier removal, start from the sides and work your way in to the corners.

    • Be careful when using the metal spudger as it could cause damage to the internals of the device. Don't push the spudger too deeply into the seam.

  4. 3Wf5KeHl1x6vQvKS
    3Wf5KeHl1x6vQvKS
    Y323TdRb1djfpsDd
    JW65YSqcQWGKufrw
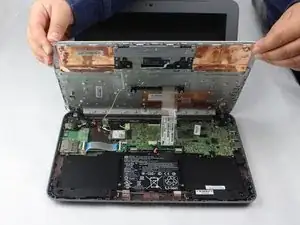
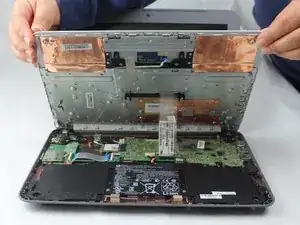
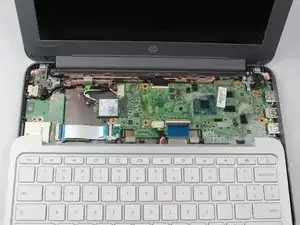
    • Carefully lift the keyboard up and gently place it towards you until the two ribbon wires become visible and place the keyboard down.

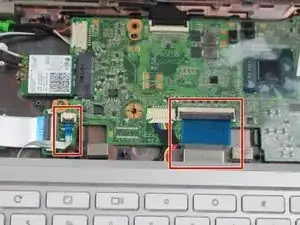
    • Locate where the two ribbon wires are being held in place by two locks.

    • This does not disconnect the keyboard from the laptop just yet.

  5. BZFtcl3hKr1PKFJx
    BZFtcl3hKr1PKFJx
    XDuuLupneRdMR1mX
    MHNBQ4NjZ1sTDfMF
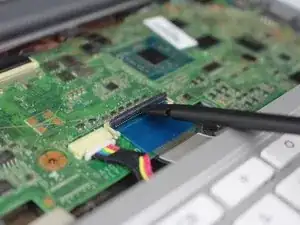
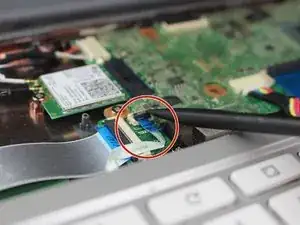
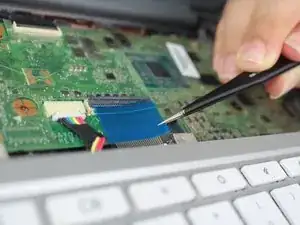
    • Using the nylon spudger, push the plastic clasps holding the two ribbon wires up to properly disconnect the wires.

    • It is important to use the nylon spudger for this step to avoid any metal on metal circuit damage.

    • This step completely disconnects the keyboard to allow safe removal.

  6. FBJWMviIZh2pBxtV
    FBJWMviIZh2pBxtV
    ntxeokdIUDgpuUto
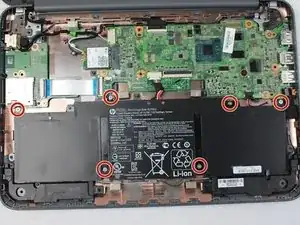
    • Remove the six 4 mm screws holding the battery in place with a Phillips #1 screwdriver.

  7. kfhBd4v12PZNnCKN
    kfhBd4v12PZNnCKN
    KgSE6UAVxqyH3YC2
    ClLnXuUiFEDajdJa
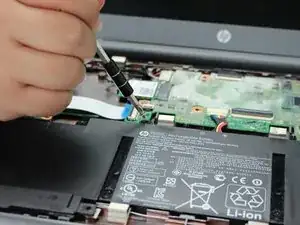
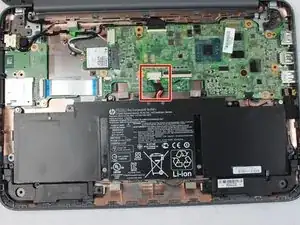
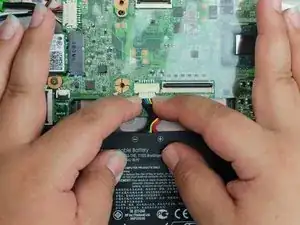
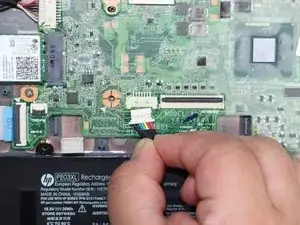
    • Carefully unplug the bundle power cable by pulling both edges towards you.

    • This successfully disconnects the battery from the laptop.

  8. 3pRPQsUGylCVlLSJ
    3pRPQsUGylCVlLSJ
    PqEfZQYNs5mkMaEa
    nVq5a5xBnEJXo5Du
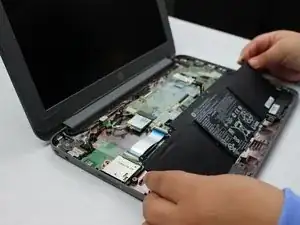
    • Carefully lift the battery and remove it from the laptop.

    • The battery may have an adhesive sticker attached to the bottom, if so apply more force when lifting up.

Abschluss

To reassemble your device, follow these instructions in reverse order.
Kimberly Rodriguez

Mitglied seit: 02/10/18

425 Reputation

0 Kommentare