Einleitung

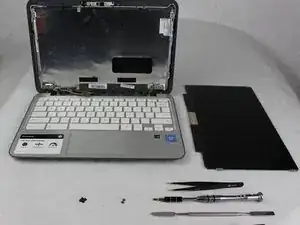
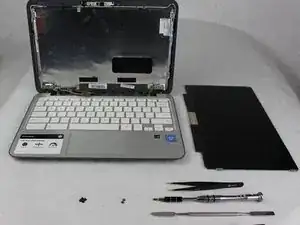
This guide will show you how to safely remove a damages or defective LCD screen for replacement according to a HP Chromebook 11-2210nr.

  1. FlSm2CGbUOJGjjHP
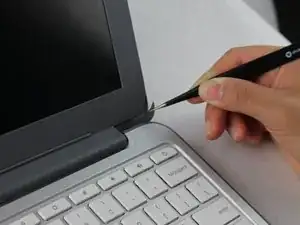
    • Remove adhesive tabs using fine point tweezers or a metal spudger.

    • These adhesives are typically located at the bottom left and right corners of the screen.

  2. cSqZCBwUfGCRKxrZ
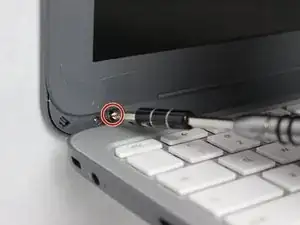
    • Remove the one 3 mm screw located underneath both adhesive layers using a Phillips #0 screwdriver.

  3. TUQbAglTXmMa2piC
    TUQbAglTXmMa2piC
    DvRAHvAJsAfgKUsI
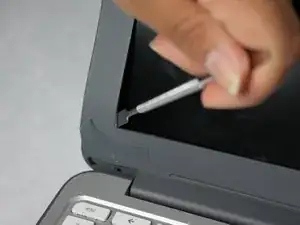
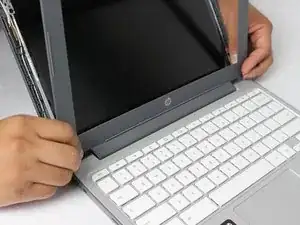
    • Using a metal spudger, gently pry the front plastic frame (or bezel) off of the device by inserting the tool along the inside edge of the bezel.

    • Completely open the screen as far as possible to remove the bottom edge of the bezel from the laptop.

    • Be sure to disconnect the bezel from all the way around the screen before completely removing.

  4. KTLJ1xcADY6kfRDv
    KTLJ1xcADY6kfRDv
    EWPhlf3EPqoGkT2y
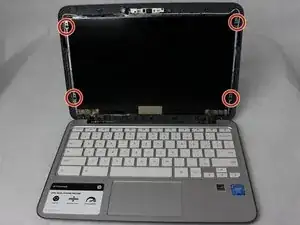
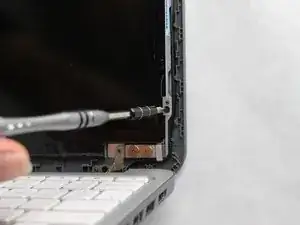
    • Remove the four black 3 mm screws along the left and right sides of the LCD screen using a Phillips #0 screwdriver.

  5. bsKZYmBWOcM5AjiY
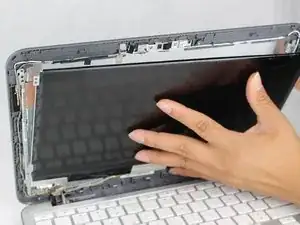
    • After removing all screws, gently lower the LCD screen onto the keyboard.

    • The LCD screen will not be completely disconnected from the laptop just yet.

  6. 3QWZo2XhMlgWpUXe
    3QWZo2XhMlgWpUXe
    xIsJfNRikEqwfEqV
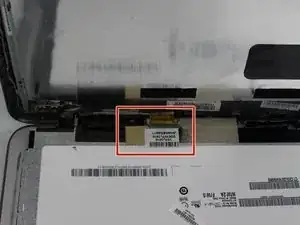
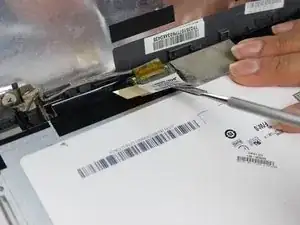
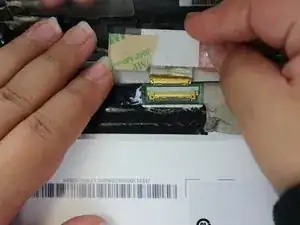
    • Gently use the spudger to pry off the tape on top of the gold chip. You may also use your hands to gently remove the tape.

  7. DsycBKuPU1B4VMsB
    DsycBKuPU1B4VMsB
    FsPMTBNXCpeTEwDi
    • Remove the display cable by gently sliding out the cable away from the LCD screen.

    • This action disconnects the LCD screen from the rest of the device, allowing it to be completely removed.

Abschluss

To reassemble your device, follow these instructions in reverse order.
Kimberly Rodriguez

Mitglied seit: 02/10/18

425 Reputation

0 Kommentare