Einleitung

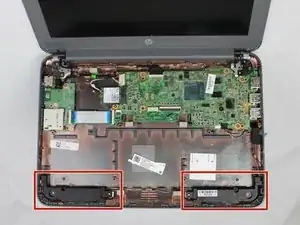
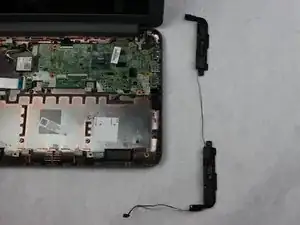
In this guide, you will be able to perform the process of removing and replacing your faulty or broken speakers. Both speakers are connected to a single wire plugged into the motherboard.

  1. spvvuxyMdPQxdBUW
    spvvuxyMdPQxdBUW
    ILnpsMRgBdvsw31d
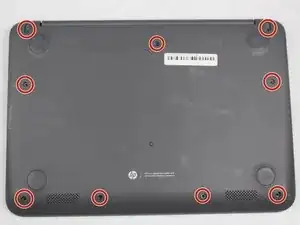
    • Position your closed laptop face down to remove the 9 visible 6mm screws using the Phillips #1 screwdriver.

  2. ZZNrDtWNaVGDUsoG
    ZZNrDtWNaVGDUsoG
    nL2IWJGMVuTmKdjv
    JmTpSNrNokXyB6An
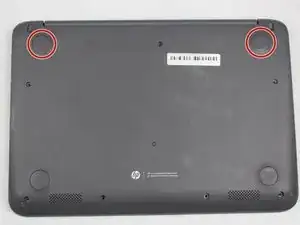
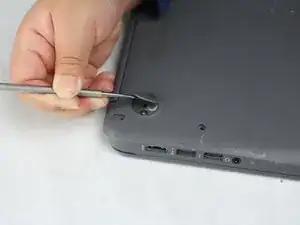
    • Using the metal spudger, remove the two rubber pads that are closer to the hinge of the laptop.

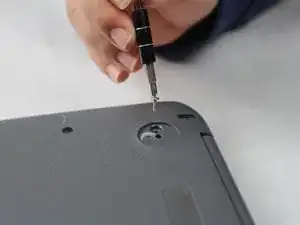
    • Remove the two additional 6mm screws located beneath the rubber pads using the Phillips #1 screwdriver.

    • The two bottom rubber pads do not contain screws, but you may check if you wish to be sure.

  3. DFQhDhnTDLTQBuiB
    DFQhDhnTDLTQBuiB
    VKAgHGhEuJvbdKpl
    wjwjVqduqLTnCbRm
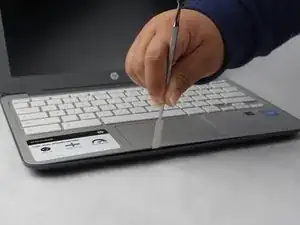
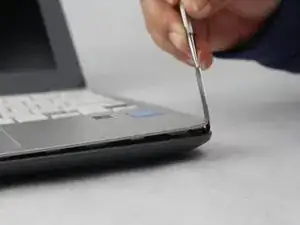
    • Turn the Laptop over and with the metal spudger start to run it along the plastic seam to pry it off.

    • You will hear popping sounds when you are sliding the spudger along the device.

    • For an easier removal, start from the sides and work your way in to the corners.

  4. N1E2ZRY2352WYVHb
    N1E2ZRY2352WYVHb
    UDcqfZAeYCnRelTk
    Hpgo5INPSMpH6hiG
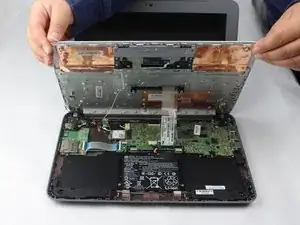
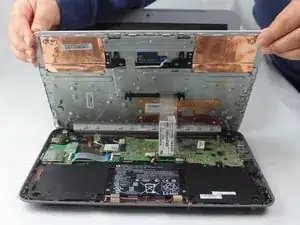
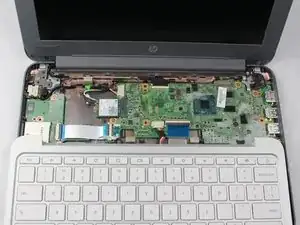
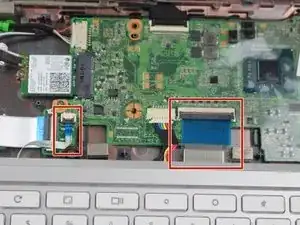
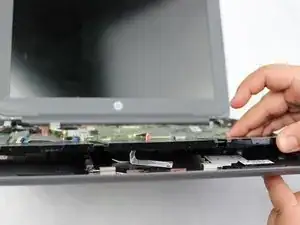
    • Carefully lift off the keyboard and gently place it towards you until the two ZIF ribbon wires become visible and place the keyboard down.

    • Locate where the two ZIF ribbon wires are connecting the keyboard to the motherboard in place by clasps.

    • This does not disconnect the keyboard from the laptop just yet.

  5. BDOnGVmrCuKVubga
    BDOnGVmrCuKVubga
    NswyL6Ns5OlZ4GpS
    lMsD1XUbYWYmFwEU
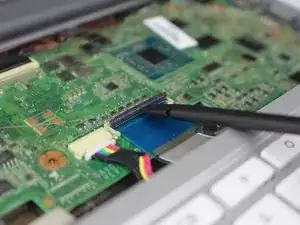
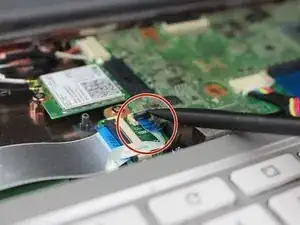
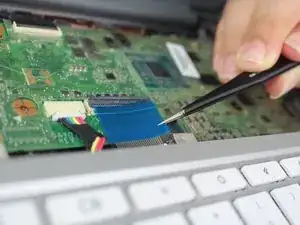
    • Using the nylon spudger, lift the plastic clasps holding the two ribbon wires up to properly disconnect the wires.

    • It is recommended to use the nylon spudger for this step. Any metal can damage your motherboard.

    • This step completely disconnects the keyboard to allow safe removal and replacement.

  6. FcVyHSfFsjsOuBvB
    FcVyHSfFsjsOuBvB
    XIrUbBqaabiQV1FL
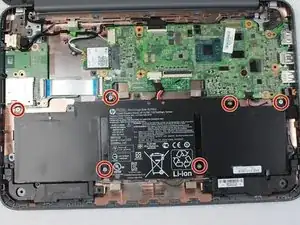
    • Remove the six 4mm screws holding the battery in place with a Phillips #1 screwdriver.

  7. Ae342sQM6PET4JUx
    Ae342sQM6PET4JUx
    UqDCSIUoBQkLXVZ6
    y4mvMB4r54mvsvTJ
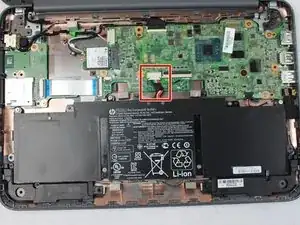
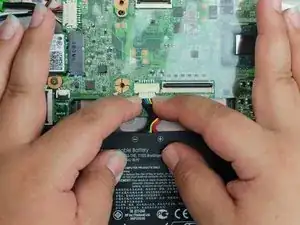
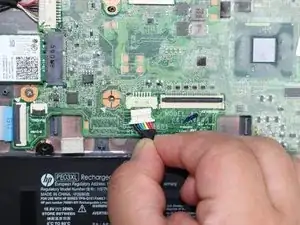
    • Carefully unplug the bundle power cable by pulling both edges towards you.

    • This successfully disconnects the battery from the laptop.

  8. 2OVNQ6dGPEtEV63I
    2OVNQ6dGPEtEV63I
    VHvNgNZraB1SKEGq
    TRFF6cuAqtA2QbLr
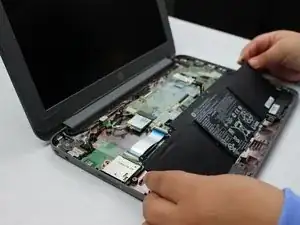
    • Carefully lift the battery and safely remove it out of the laptop.

    • The battery may have an adhesive sticker attached to the bottom. If so, apply more force when lifting it up.

    • After the removal of the battery, the speakers will become accessible.

  9. CYIpDJ4Uy5sNZXpx
    CYIpDJ4Uy5sNZXpx
    4wwBjtJWRlm2qlkZ
    QRARYQCv1YIdGAVn
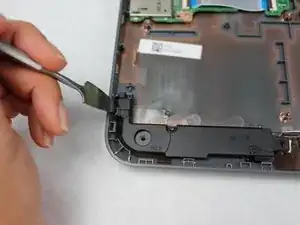
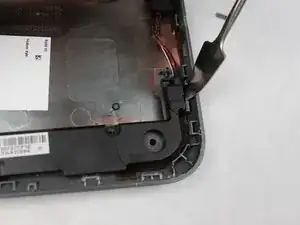
    • Use the metal spudger to release the LEFT speakers from the laptop.

    • Use the metal spudger to release the RIGHT speaker from the laptop.

    • The two speakers are connected to a wire that runs along the bottom edge of the laptop and connected up to the motherboard.

  10. tCtpTrTNsIWfc41I
    tCtpTrTNsIWfc41I
    VJXRETRlj1PZGwAl
    u6IYvG6eApHHcoNG
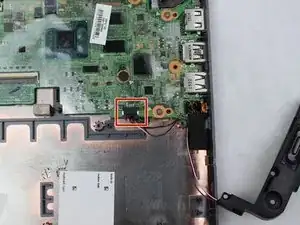
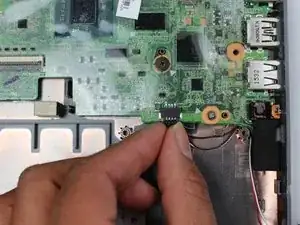
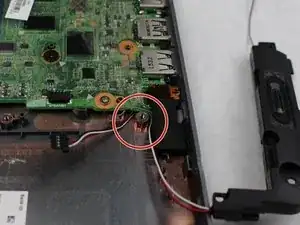
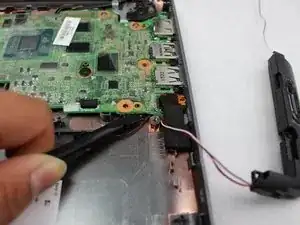
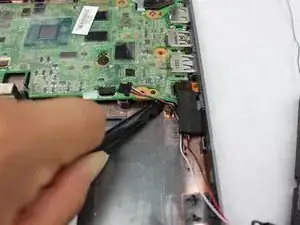
    • Unplug the speakers small wire bundle from the motherboard.

    • You will notice the speaker wire is pinched between a screw slot and underneath the motherboard.

  11. ABDcuIT1MYy4tKri
    ABDcuIT1MYy4tKri
    YmDGHBnTnphlnWng
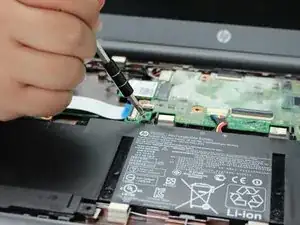
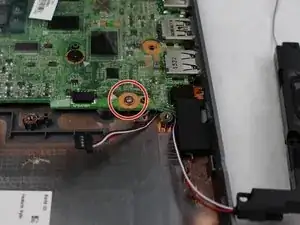
    • Remove the one 4mm screw located above the pinched wire.

  12. 3muhQpJOF6ZnnYHB
    3muhQpJOF6ZnnYHB
    UeZsGdJdFGOqWCDm
    CNxgbJmsCQGUiGce
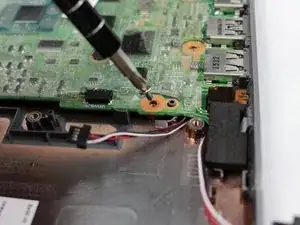
    • Using the nylon spudger, slightly pry up the motherboard to release the pinched wire.

    • This step completely disconnects the speaker from the laptop to be safely removed.

Abschluss

To reassemble your device, follow these instructions in reverse order.
Gerardo Cardona

Mitglied seit: 02/10/18

364 Reputation

0 Kommentare