Einleitung
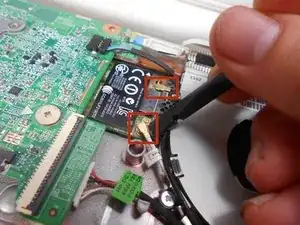
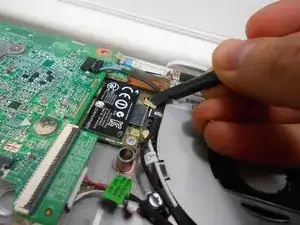
This guide will require removal of 1x3mm screws on the bluetooth and wireless card.
Ersatzteile
-
-
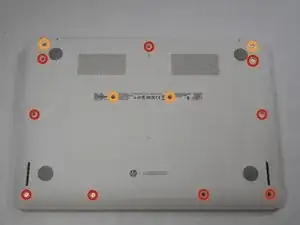
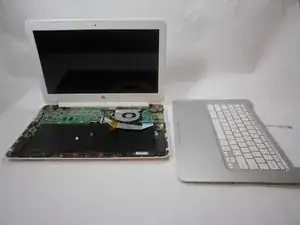
Flip the laptop with the base of the laptop is facing you.
-
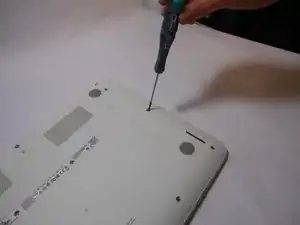
Using the #00 screwdriver, unscrew these screws.
-
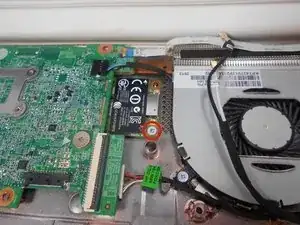
Using the #00 screwdriver, unscrew these screws.
-
-
-
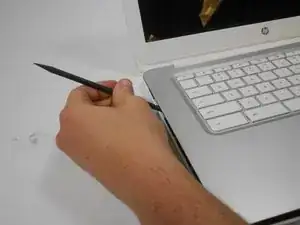
Start from the top right corner of the laptop and work clockwise with an iFixit opening tool or spudger to pry the keyboard from the frame of the laptop.
-
-
-
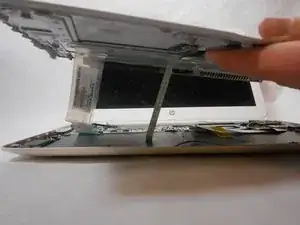
Gently pull the keyboard in the opposite direction of the screen, so the wires beneath are exposed.
-
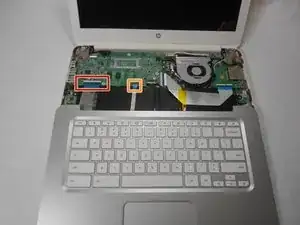
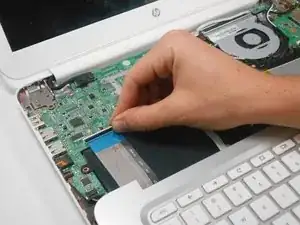
Lift the black flap and pull the blue ribbon gently towards you until it is disconnected.
-
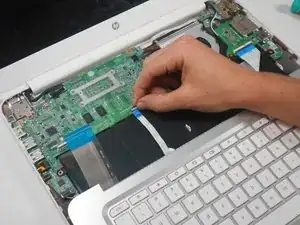
Lift the white flap and pull the blue ribbon towards you until it is disconnected.
-


Abschluss
To reassemble your device, follow these instructions in reverse order.