Einleitung
Werkzeuge
Ersatzteile
-
-
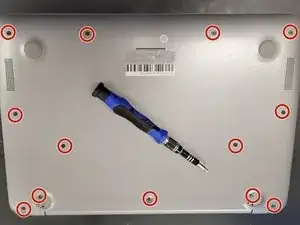
Starting with the laptop on its back, remove the 13 screws holding the keyboard in place with a P00 screwdriver (2 screws are hidden behind the rubber footers)
-
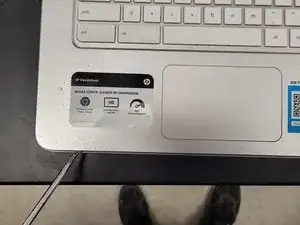
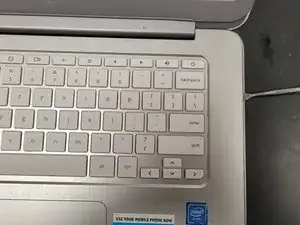
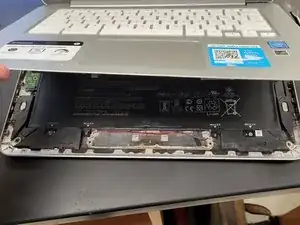
Open the screen, revealing the keyboard. Using a prying tool, 'pop' the keyboard out by sliding the tool around the edge
-
-
-
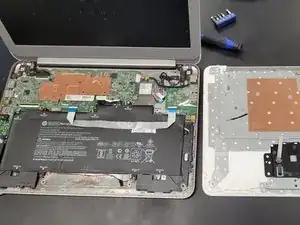
Gently raise the keyboard from the body, careful not to rip out the ribbons
-
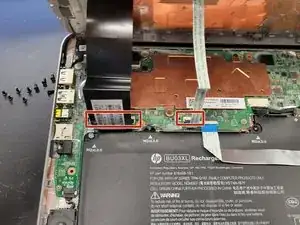
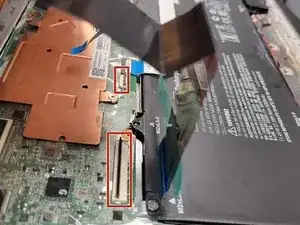
With light pressure, flip the black bar holding the ribbons in place, and remove the ribbons from the body
-
-
-
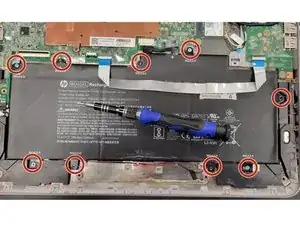
With a P00 Screwdriver, remove the 9 screws holding the battery in place
-
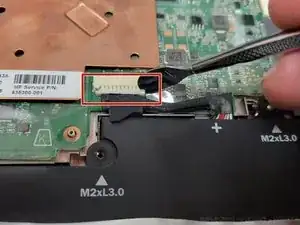
Gently pry the cable connecting the battery to the motherboard off
-
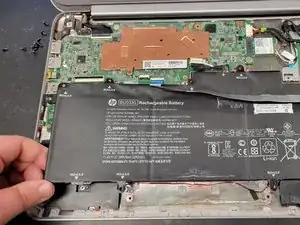
Battery will lift away from the body (screen will now be heavier than the body, be careful not to drop it)
-
-
-
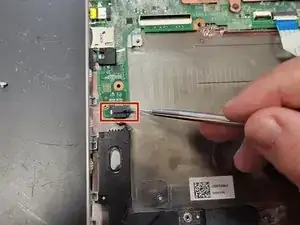
Gently disconnect the cable connecting the internal speaker to the motherboard
-
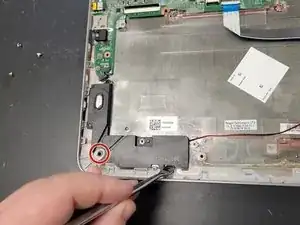
Using a P00 Screwdriver, remove the final screw from the left speaker
-
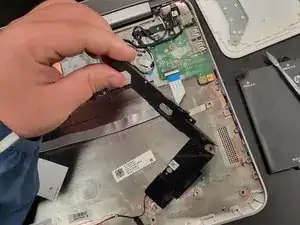
Using a prying tool, carefully remove the speaker out of the body
-
-
-
With a P00 Screwdriver, remove the final screw from the right speaker
-
Carefully remove the right internal speaker from the body
-
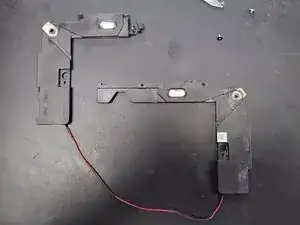
The entire speaker (barring some tape you may need to remove) should lift away from the body of the laptop
-
To reassemble your device, follow these instructions in reverse order.
