Einleitung

Removing the wireless card takes some focus but it isn't very difficult. The only tool needed for this replacement guide is the PH00 bit. Don't worry about losing the first two screws that get unscrewed because they are attached to the device for your convenience. The two 0.4 cm screws are not attached to the device so make sure to put them in a safe place. Make sure the device is off before starting this guide. The Hard Drive Replacement Guide is a prerequisite to this guide so be familiar with that guide before beginning.

  1. YoPTqZZxeybjRqrb
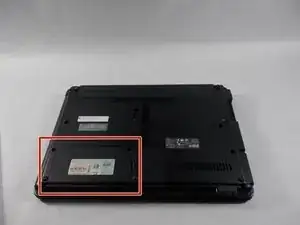
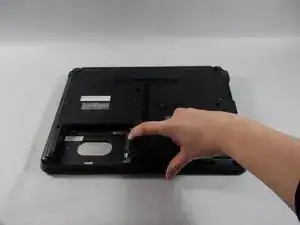
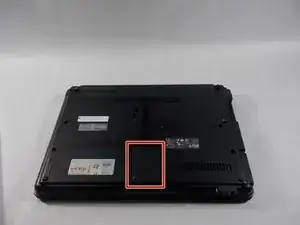
    • Flip the laptop over to the backside. The Hard Drive is located on the bottom left.

  2. wViZIAbTI4nPn5We
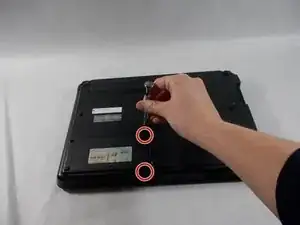
    • Unscrew the two screws with a PH00 bit. This releases the hard drive.

    • The screws are held in place, so there is no need to worry about losing them

  3. 3UMMBdF1WArlGwyw
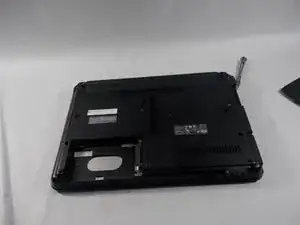
    • Slide the hard drive case off in a horizontal motion away from the device to remove the hard drive.

  4. QfdxBHB1ImX33w5c
    • The wireless card is located on the bottom of the laptop, however the hard drive case must be removed in order to access the wireless card.

  5. O3v4ixwFbEbylNAv
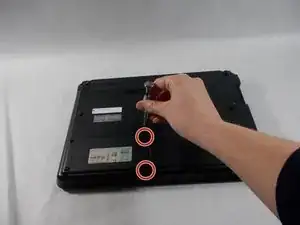
    • Unscrew the two screws holding the hard drive in place, using a PH00 bit.

    • The screws are held in place, so there is no need to worry about losing them

  6. SrEATQCK4o3byUMa
    SrEATQCK4o3byUMa
    OWw2lRoLBYNocSrv
    • Slide the wireless card backing towards you to remove it from the laptop.

  7. pVmMVvWMbolvlhLT
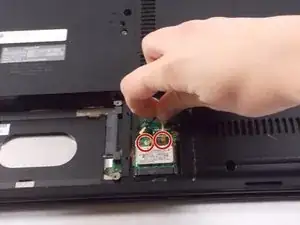
    • Gently remove the black and white wires that are connected to the wireless card.

    • The wires are held firmly in place, so it may take some force to remove them. Be cautious when doing so as the wires may tear or fray

  8. uUPbYEsDCg2lPFpg
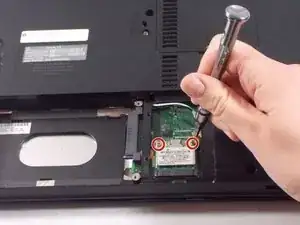
    • Remove the two .4 cm screws with a PH00 bit.

Abschluss

To reassemble your device, follow these instructions in reverse order.
Aleks B

Mitglied seit: 20/03/18

337 Reputation

0 Kommentare