Einleitung
Werkzeuge
-
-
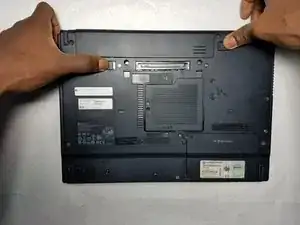
Flip the computer over so the backside is facing you.
-
Using the two prongs that are located in the back, slide the further left prong and the upper right prong to the left as indicated in the image.
-
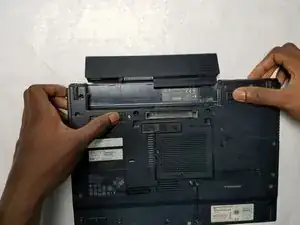
Slide the battery out.
-
-
-
Flip the laptop over and locate the sign that says HP 3D DriveGuard.
-
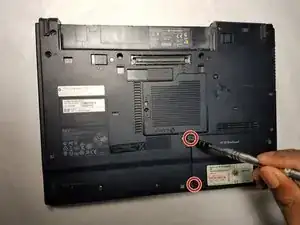
Remove the two 5mm JIS #1 screws with your screwdriver.
-
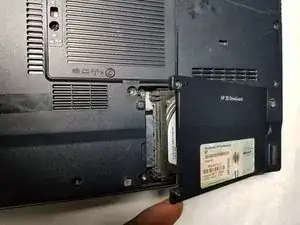
Carefully lift up the cover.
-
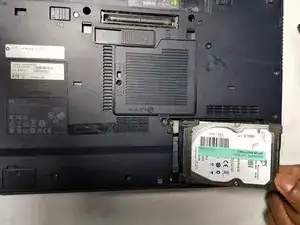
Carefully lift up the hard drive from the back and pull it out.
-
Abschluss
To reassemble your device, follow these instructions in reverse order.
