Einleitung
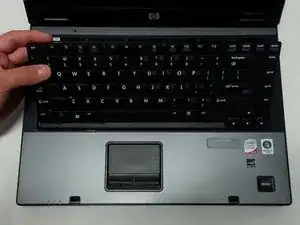
Keyboard removal is necessary to replace heat sink paste and ram.
Werkzeuge
-
-
Flip to the backside of the laptop.
-
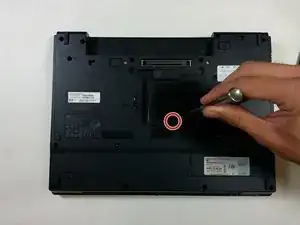
Using a Phillips #1 screwdriver, unscrew the 5mm screw and take off the shown cover.
-
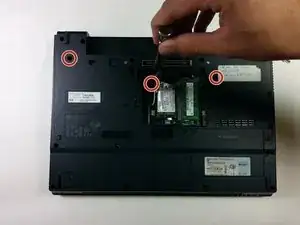
Using the same screwdriver, unscrew the 8mm screws.
-
-
-
Flip over the laptop to the top side, and open the laptop.
-
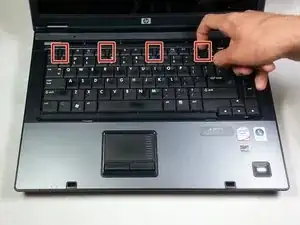
Slide the locking tabs down using a blue plastic opening tool or your fingernail.
-
-
-
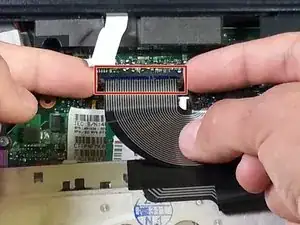
Pull up on both sides of the black locking tab of the connector.
-
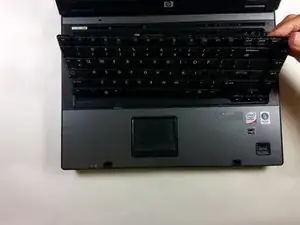
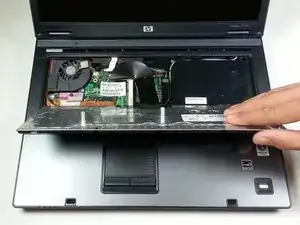
The keyboard should now be free of the computer.
-
To reassemble your device, follow these instructions in reverse order.
2 Kommentare
No parts required to *replace* the keyboard?
David -
Did you really need to be told to get a keyboard part to do a keyboard replacement?
Thanks for the guide
