Einleitung
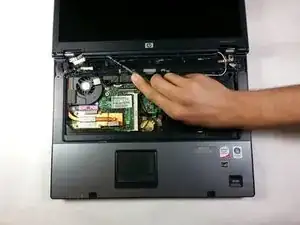
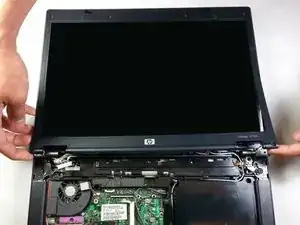
Replace your screen quickly and easily!
Werkzeuge
-
-
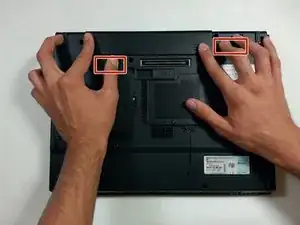
Flip the laptop over to the back.
-
Using two hands, push on the tabs while gently taking out the battery.
-
-
-
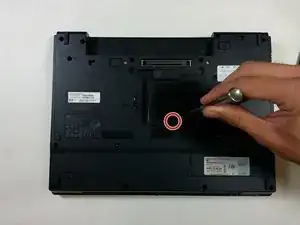
Flip to the backside of the laptop.
-
Using a Phillips #1 screwdriver, unscrew the 5mm screw and take off the shown cover.
-
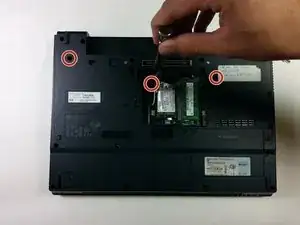
Using the same screwdriver, unscrew the 8mm screws.
-
-
-
Flip over the laptop to the top side, and open the laptop.
-
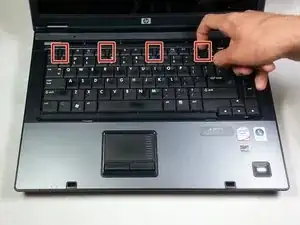
Slide the locking tabs down using a blue plastic opening tool or your fingernail.
-
-
-
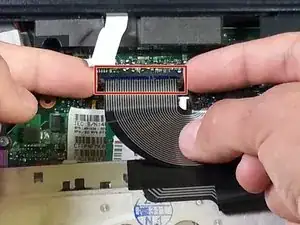
Pull up on both sides of the black locking tab of the connector.
-
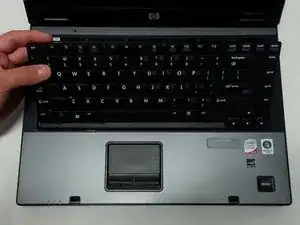
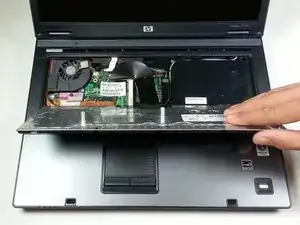
The keyboard should now be free of the computer.
-
-
-
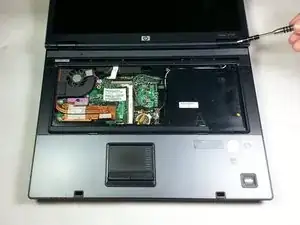
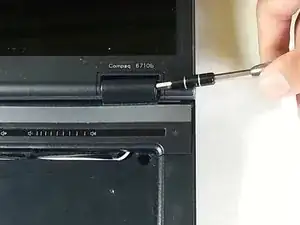
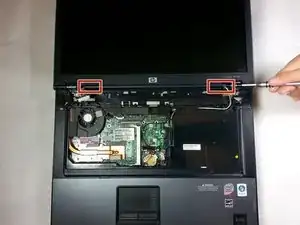
Using a flathead screwdriver, get under each plastic hinge cover until they pop.
-
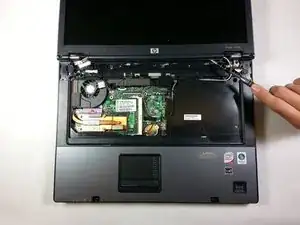
Lift the right edge of plastic strip covering the power button and gently pull it up until the whole strip comes free.
-
-
-
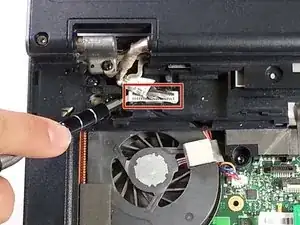
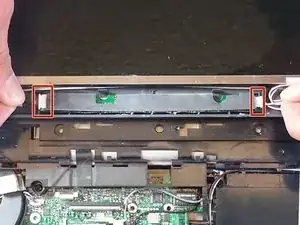
Using a flathead screwdriver, work both sides of the connector next to the fan and take it out.
-
-
-
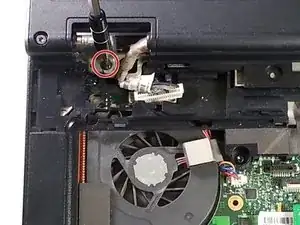
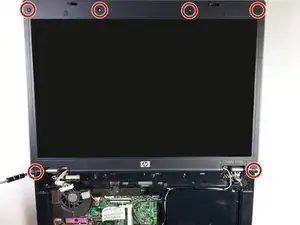
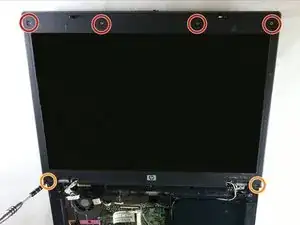
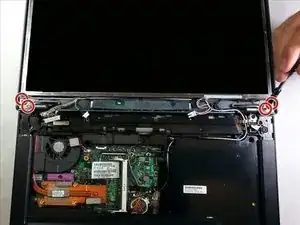
Using a T9 Torx screwdriver, remove the top four 5 mm screws.
-
Remove the bottom two 6 mm screws with the same screwdriver.
-
-
-
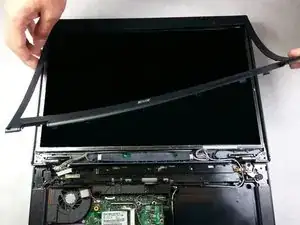
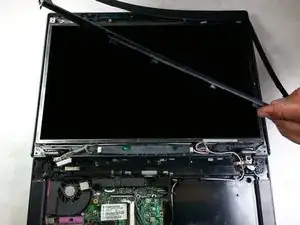
Using a flat head screwdriver, pry the plastic panel over the screen up starting at one of the hinges.
-
Using the flathead, continue running the it under the the plastic screen edge and gently pry it off.
-
-
-
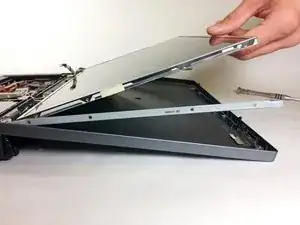
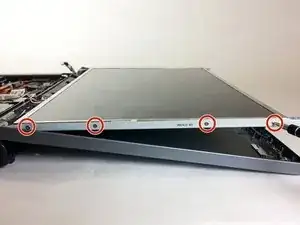
Tilt the screen up from the top to gain access to the screws on the side.
-
Using the PH00 screwdriver, unscrew the 2.5mm screws on the side of the screen. There should be 4 on each side.
-
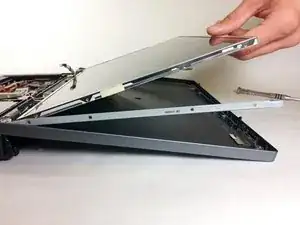
You can now take out the screen.
-
To reassemble your device, follow these instructions in reverse order.
Ein Kommentar
thank you I found it very interesting
Hassan -
